Entra ID Connected PCs

You can use security keys as a passwordless sign-in method within your organization. A security key is a physical device that’s used with a unique PIN to sign in to your work or school account. Because security keys require you to have the physical device and something that only you know, it’s considered a stronger verification method than a username and password.
Using a security key as a passwordless authentication method is currently in public preview. If what you’re seeing on your screen doesn’t match what’s being covered in this article, it means that your administrator hasn’t turned on this feature yet. Until this feature is turned on, you must choose another authentication method from the Security Info page. For more information about previews, see Supplemental Terms of Use for Microsoft Azure Previews.
Before you begin
Before you can register your security key, the following conditions must all be met:
- Your administrator has turned on this feature for use within your organization.
- You’re on a device running the Windows 10 May 2019 Update and using a supported browser.
- You have a physical security key approved by your administrator or your organization. Your security key must be both FIDO2 and Microsoft-compliant. If you have any questions about your security key and whether it’s compatible, contact your organization’s help desk.
Steps
- Join your work-owned Windows 10 device to your organization’s network so you can access potentially restricted resources.
- Use provisioning package to eable login with securitykey sign-in option.
- Register a FIDO securitykey in mysignins.microsofit.com for user to be abel to login.
Connect to Azure AD
What happens when you join your device While you’re joining your Windows 10 device to your work or school network, the following actions will happen:
- Windows registers your device to your work or school network, letting you access your resources using your personal account. After your device is registered, Windows then joins your device to the network, so you can use your work or school username and password to sign in and access restricted resources.
- Optionally, based on your organization’s choices, you might be asked to set up two-step verification through either two-step verification or security info.
- Optionally, based on your organization’s choices, you might be automatically enrolled in mobile device management, such as Microsoft Intune. For more info about enrolling in Microsoft Intune, see Enroll your device in Intune.
- You’ll go through the sign-in process, using automatic sign-in with your work or school account.
To join a brand-new Windows 10 device
If your device is brand-new and hasn’t been set up yet, you can go through the Windows Out of Box Experience (OOBE) process to join your device to the network.
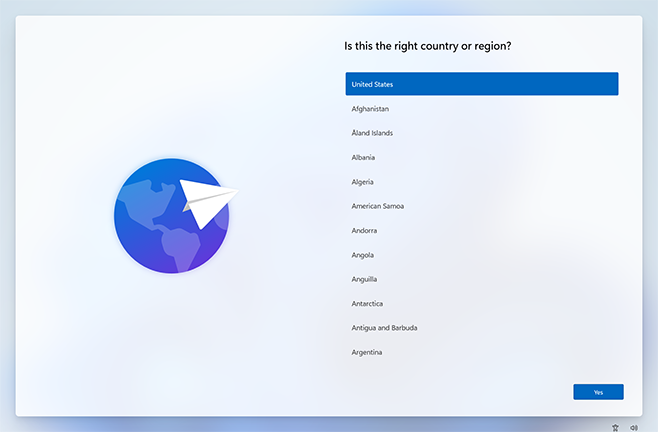
- Start up your new device and begin the Windows Out of Box Experience.
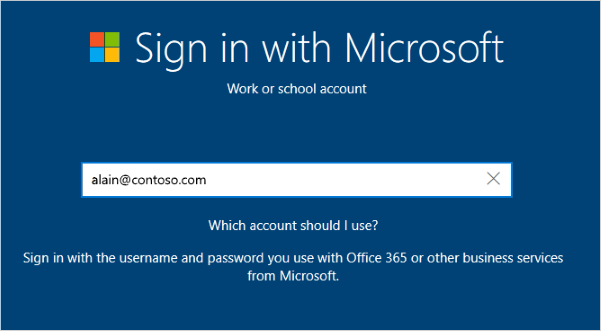
- On the Sign in with Microsoft screen, type your work or school email address.
- On the Enter your password screen, type your password.

- On your mobile device, approve your device so it can access your account.
- Complete the Out of Box Experience, including setting your privacy settings and setting up Windows Hello (if necessary).Your device is now joined to your organization’s network.
To make sure you’re joined (new device)
You can make sure that you’re joined by looking at your settings.
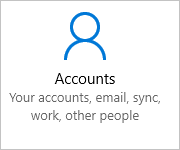
- Open Settings, and then select Accounts.
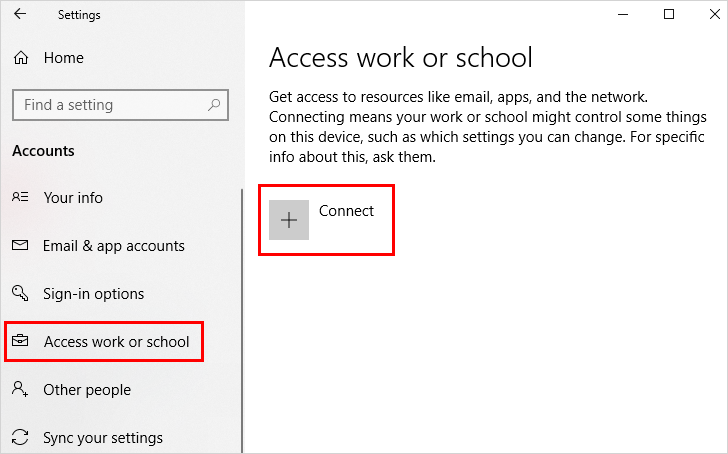
- Select Access work or school, and make sure you see text that says something like, Connected to <your_organization> Azure AD.
To join an already configured Windows 10 device
If you’ve had your device for a while and it’s already been set up, you can follow these steps to join your device to the network.
- Open Settings, and then select Accounts.
- Select Access work or school, and then select Connect.
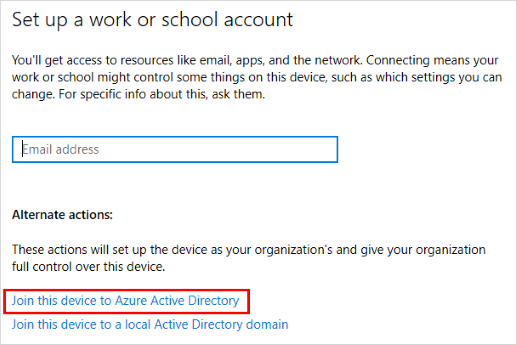
- On the Set up a work or school account screen, select Join this device to Azure Active Directory.
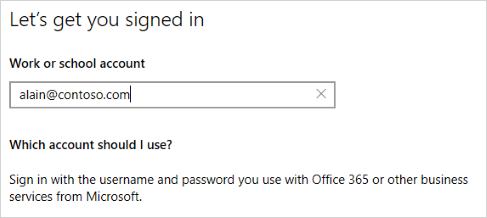
- On the Let’s get you signed in screen, type your email address (for example, [email protected]), and then select Next.
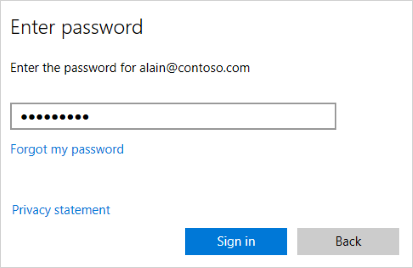
- On the Enter password screen, type your password, and then select Sign in.
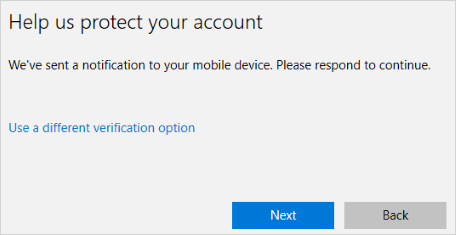
- On your mobile device, approve your device so it can access your account.
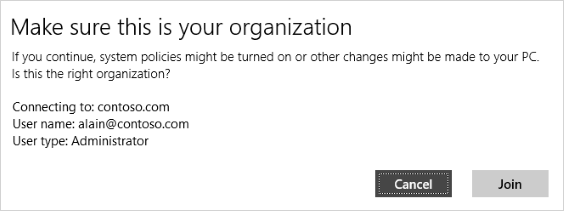
- On the Make sure this is your organization screen, review the information to make sure it’s right, and then select Join.
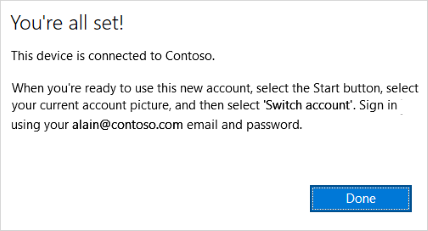
- On the You’re all set screen, click Done.
To make sure you’re joined
You can make sure that you’re joined by looking at your settings.
- Open Settings, and then select Accounts.
- Select Access work or school, and make sure you see text that says something like, Connected to <your_organization> Azure AD.

After you join your device to your organization’s network, you should be able to access all of your resources using your work or school account information.
Enable with a provisioning package
For devices not managed by Microsoft Intune, a provisioning package can be installed to enable the functionality. The Windows Configuration Designer app can be installed from the Microsoft Store. Complete the following steps to create a provisioning package:
- Launch the Windows Configuration Designer.
- Select File > New project.
- Give your project a name and take note of the path where your project is created, then select Next.
- Leave Provisioning package selected as the Selected project workflow and select Next.
- Select All Windows desktop editions under Choose which settings to view and configure, then select Next.
Select Finish. - In your newly created project, browse to Runtime settings > WindowsHelloForBusiness > SecurityKeys > UseSecurityKeyForSignIn.
- Set UseSecurityKeyForSignIn to Enabled.
- Select Export > Provisioning package
- Leave the defaults in the Build window under Describe the provisioning package, then select Next.
- Leave the defaults in the Build window under Select security details for the provisioning package and select Next.
- Take note of or change the path in the Build windows under Select where to save the provisioning package and select Next.
- Select Build on the Build the provisioning package page.
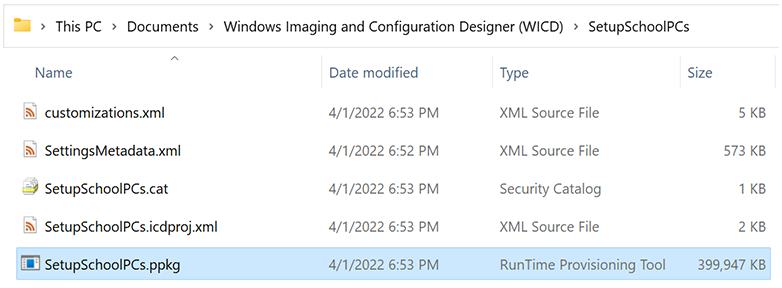
- Save the two files created (ppkg and cat) to a location where you can apply them to machines later.
- To apply the provisioning package you created.
Apply a provisioning package
Provisioning packages can be applied to a device during initial setup (out-of-box experience or “OOBE”) and after (“runtime”).
During initial setup
To apply a provisioning package from a USB drive during initial setup:
- Start with a device on the initial setup screen. If the device has gone past this screen, reset the device to start over. To reset, go to Settings > System > Recovery > Reset this PC.
- Insert the USB drive. If nothing happens when you insert the USB drive, press the Windows key five times.
- If there is only one provisioning package on the USB drive, the provisioning package is applied. See step 5.
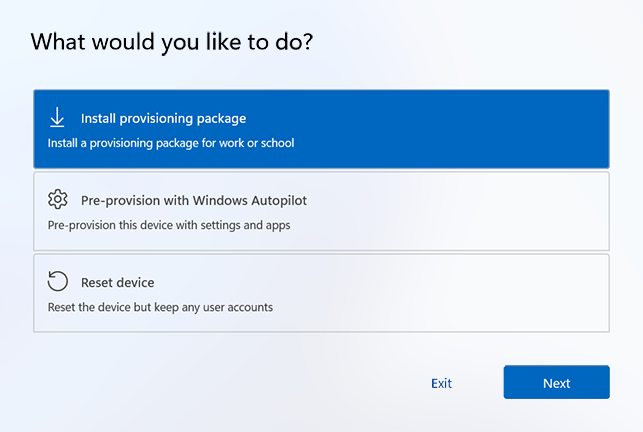
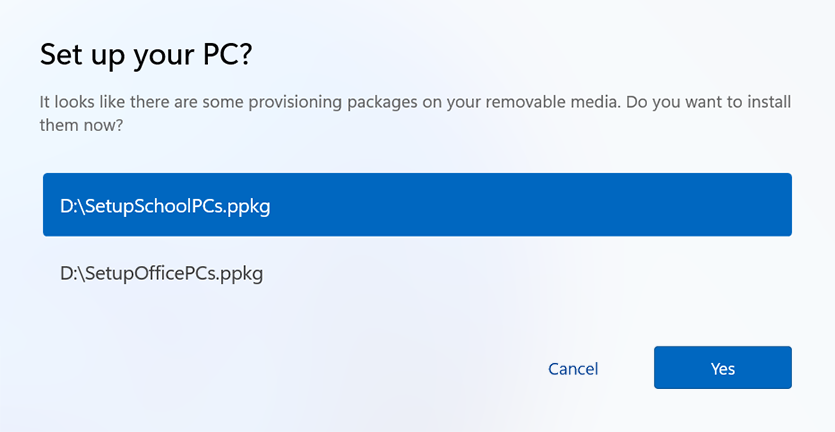
- If there is more than one provisioning package on the USB drive, Windows setup will recognize the drive and ask how you want to provision the device. Select Install provisioning package and select Next.
- Select the provisioning package (.ppkg) that you want to apply, and select Yes.
- The selected provisioning package will install and apply to the device.
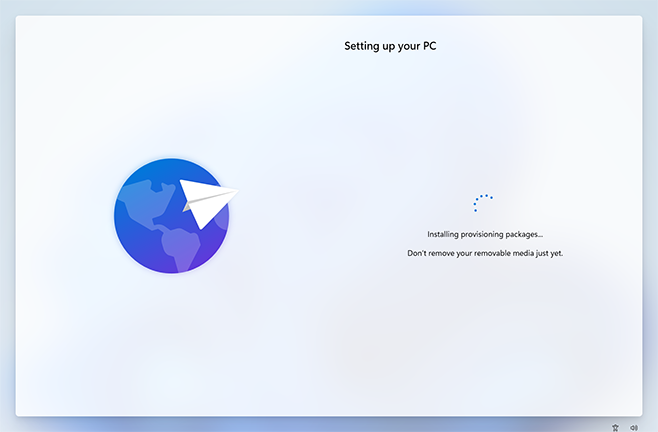
- Wait for the device to load and begin applying the provisioning package. Once you see “You can remove your removable media now!” you can remove your USB drive. Windows will continue provisioning the device.
After initial setup
Provisioning packages can be applied after initial setup through Windows settings or by simply double-clicking a provisioning package.
Windows Settings
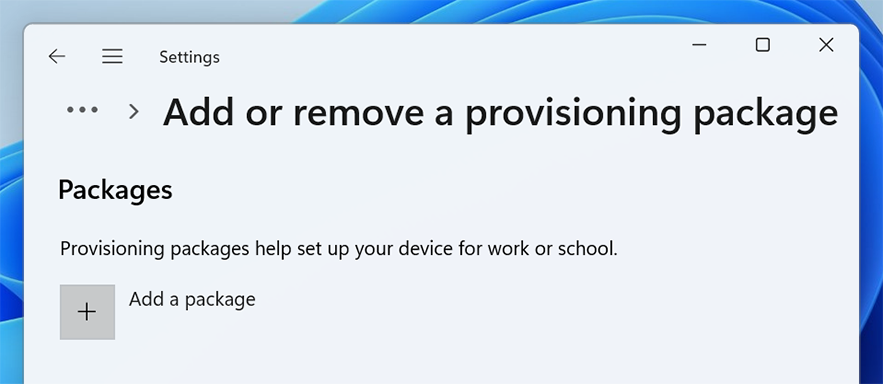
- Insert the USB drive, then navigate to Settings > Accounts > Access work or school > Add or remove a provisioning package > Add a package.
- Choose the method you want to use, such as Removable Media.
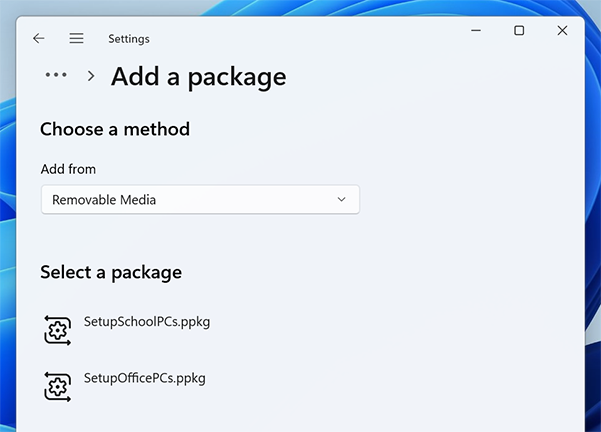
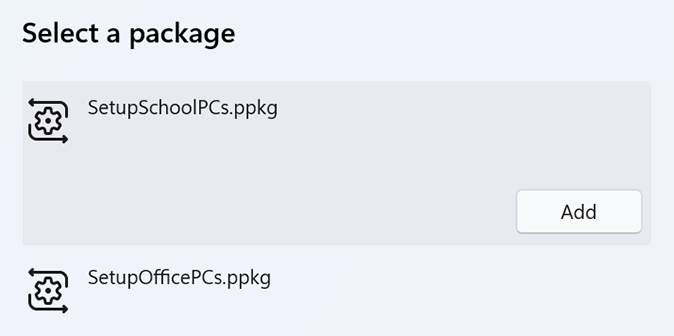
- Select the provisioning package (.ppkg) that you want to apply, and select Add.
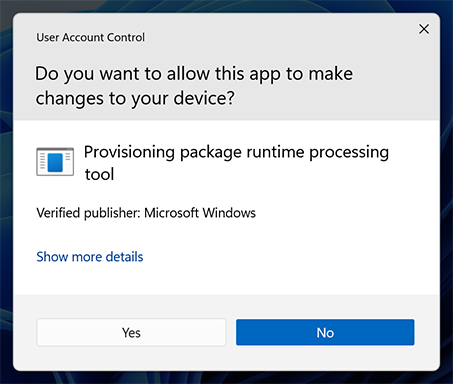
- Provisioning packages require administrator privileges as they can modify system policies and run scripts at the system level. Ensure you trust the package you are installing before accepting the UAC prompt. Select Yes.
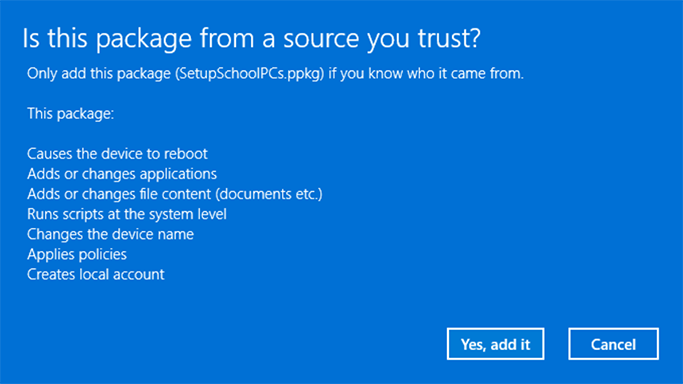
- The provisioning runtime will ask if the package is from a source you trust. Verify that you are applying the correct package and that it is trusted. Select Yes, add it.
Apply Directly
To apply a provisioning package directly, such as from a USB drive, folder, network, or SharePoint site:
- Navigate to the provisioning package and double-click it to begin the installation.
- Provisioning packages require administrator privileges as they can modify system policies and run scripts at the system level. Ensure you trust the package you are installing before accepting the UAC prompt. Select Yes.

- The provisioning runtime will ask if the package is from a source you trust. Verify that you are applying the correct package and that it is trusted. Select Yes, add it.

Register Seucrity key for User
You must create your security key and give it a unique PIN before you can sign in to your work or school account using the key. You may have up to 10 keys registered with your account.
- Go to the My Profile page at My Account and sign in if you haven’t already done so.
- Select Security Info, select Add method, and then select Security key from the Add a method list.
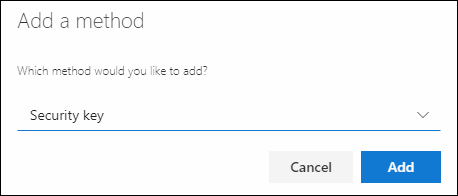
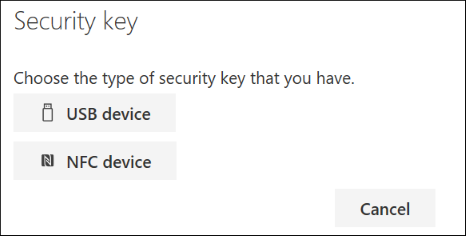
- Select Add, and then select the type of security key you have, either USB device or NFC device.
- Make sure that you have your security key physically available, and then on the Security key page, select Next.
- In the Setting up your new sign-in method page, select Next, and then:
- If your security key is a USB device, insert your security key into the USB port of your device.
- If your security key is an NFC device, tap your security key to your reader.
- Type your unique security key PIN into the Windows security box, and then select OK. You’ll return to the Setting up your new sign-in method box.
- Select Next.
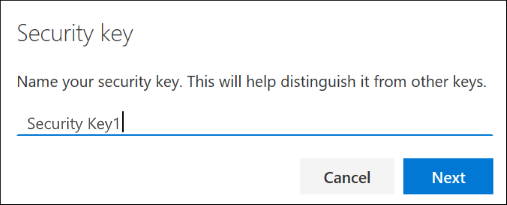
- Return to the Security info page, type a name you’ll recognize later for your new security key, and then select Next.
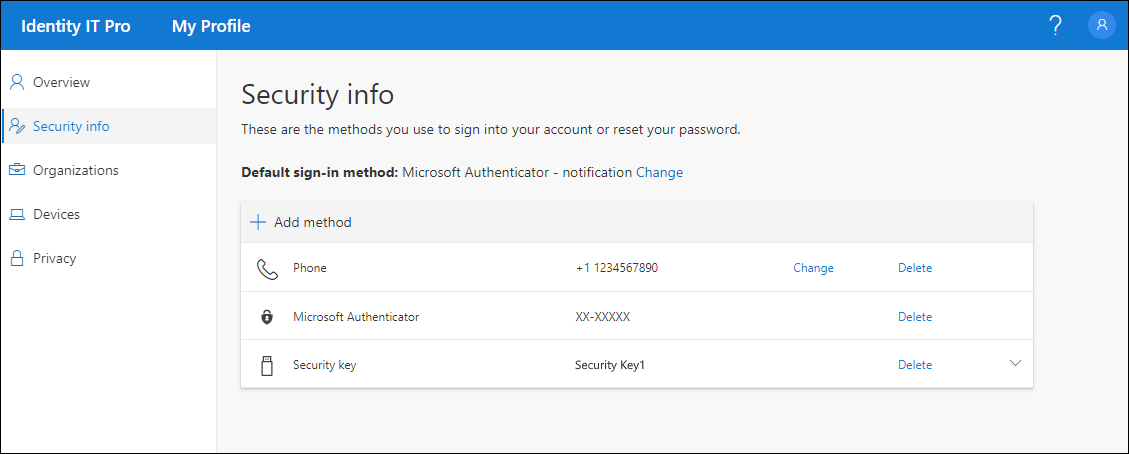
- Select Done to close the Security key page. The Security info page is updated with your security key information.
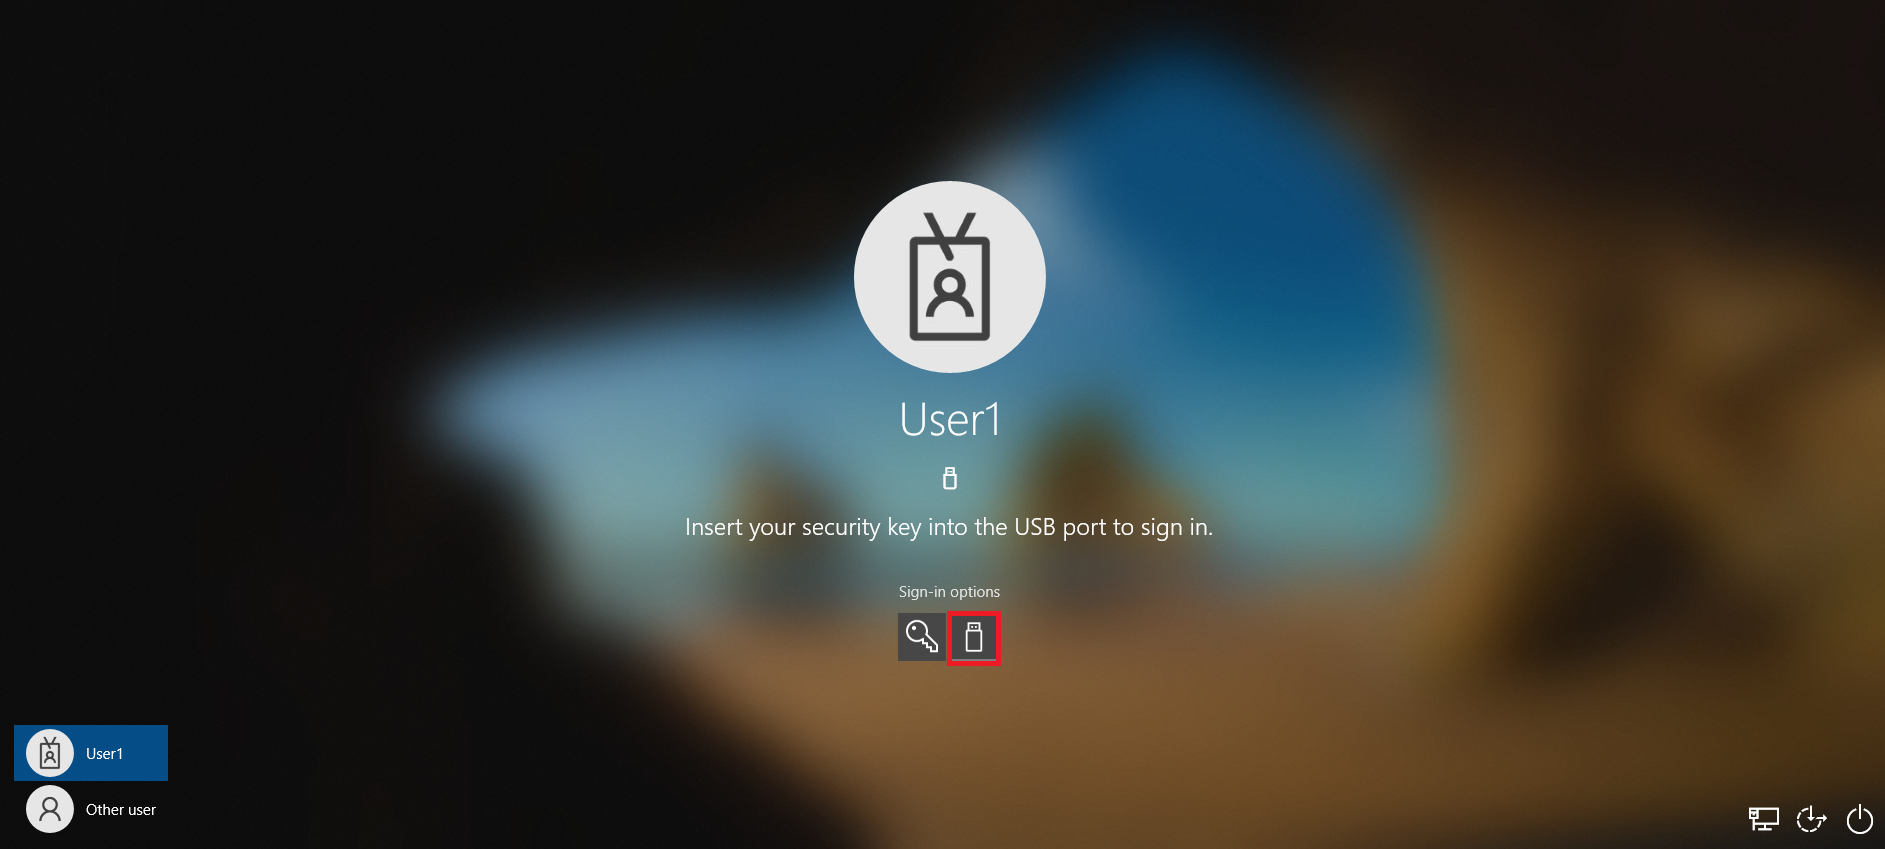
Log in with the Security Key
If you have followed all the above steps correctly, now the sign in option should appear on the lock screen of the client system and you can enter by selecting the FIDO security key option.