IDmelon Provisioning Extension
Introduction
This guide shows how to use the IDmelon Provisioning Extension, designed to simplify the creation of security keys for users on the Microsoft Entra ID sign-in portal.
Prerequisites
Before you start the passkey provisioning process, ensure the following requirements in Azure Portal -> Entra ID Authentication Methods are met:
- Mandatory: The
FIDO2 Security Keymust be available in the authentication methods for the targeted users. - Optional: If using automatic provisioning or manual provisioning with TAP, ensure that
Temporary Access Passis enabled for the targeted users with theone-time useoption set toYes.
To get started, make sure to:
- Use the latest version of Chrome or Edge browsers.
- Install the extension from the Chrome Web Store.
- Open the following link in Chrome/Edge and enable the Allow in Incognito/Allow in InPrivate option:
chrome://extensions/?id=jpiokfcldcenkkhhhkeklechbenokmfo
Passkey Provisioning
To use the extension to register a Microsoft passkey for users to access their Microsoft account, follow these steps:
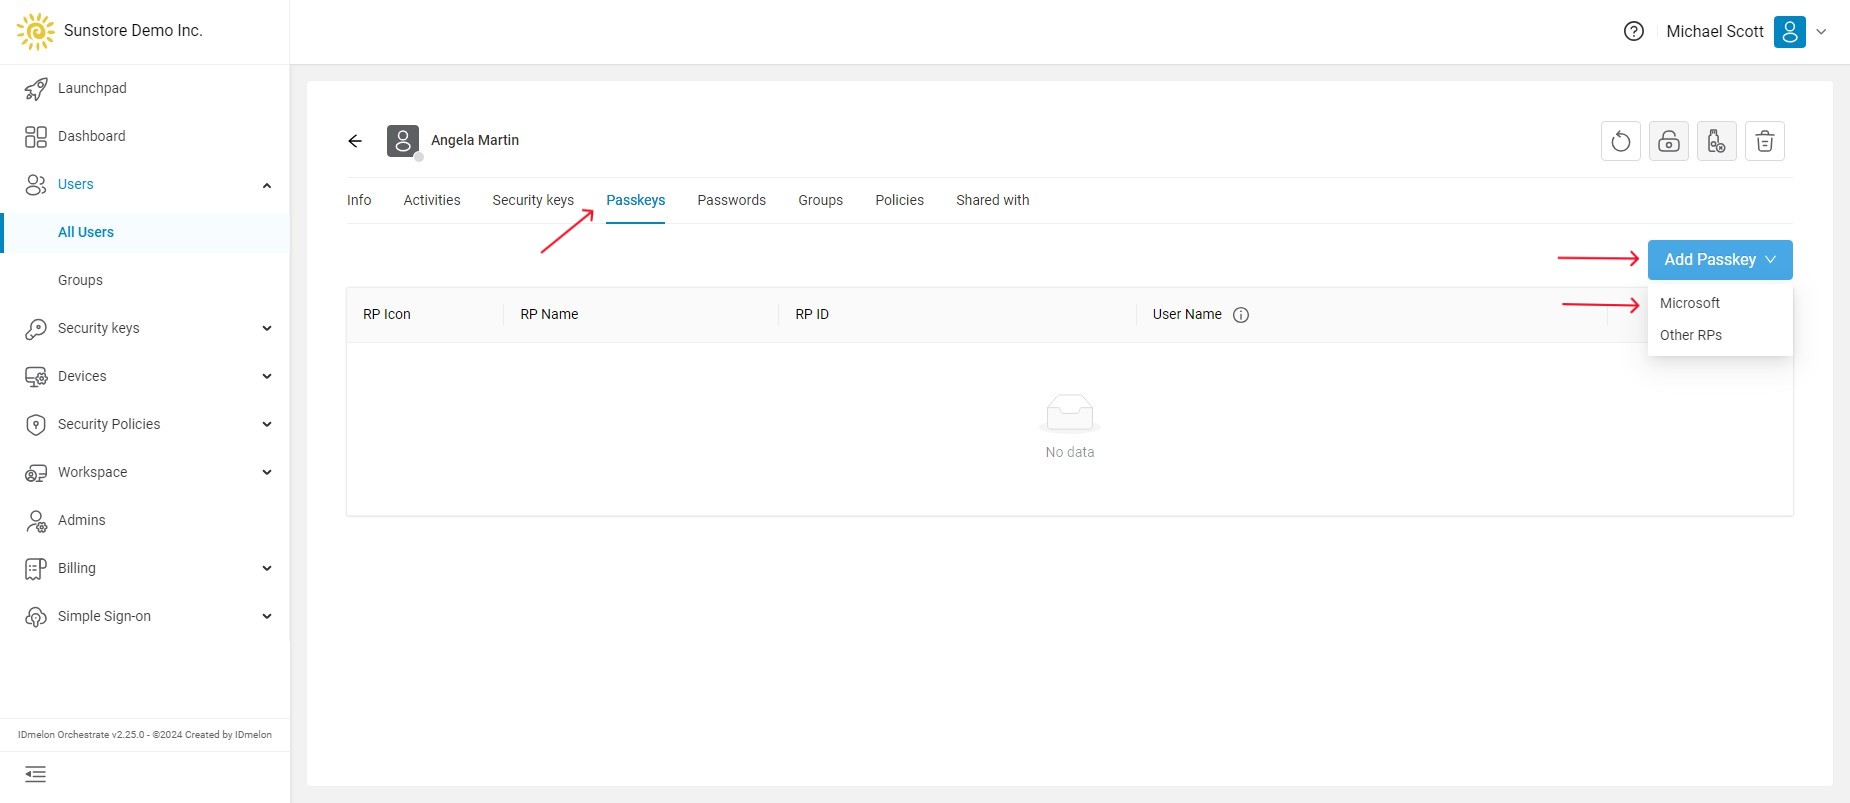
- Log in to the IDmelon Admin Panel and navigate to Users -> All Users.
- Select the user you want to provision.
- Go to the Passkeys tab and from the Add Passkey dropdown, click on Microsoft.
- In the first dialog, click the
Nextbutton.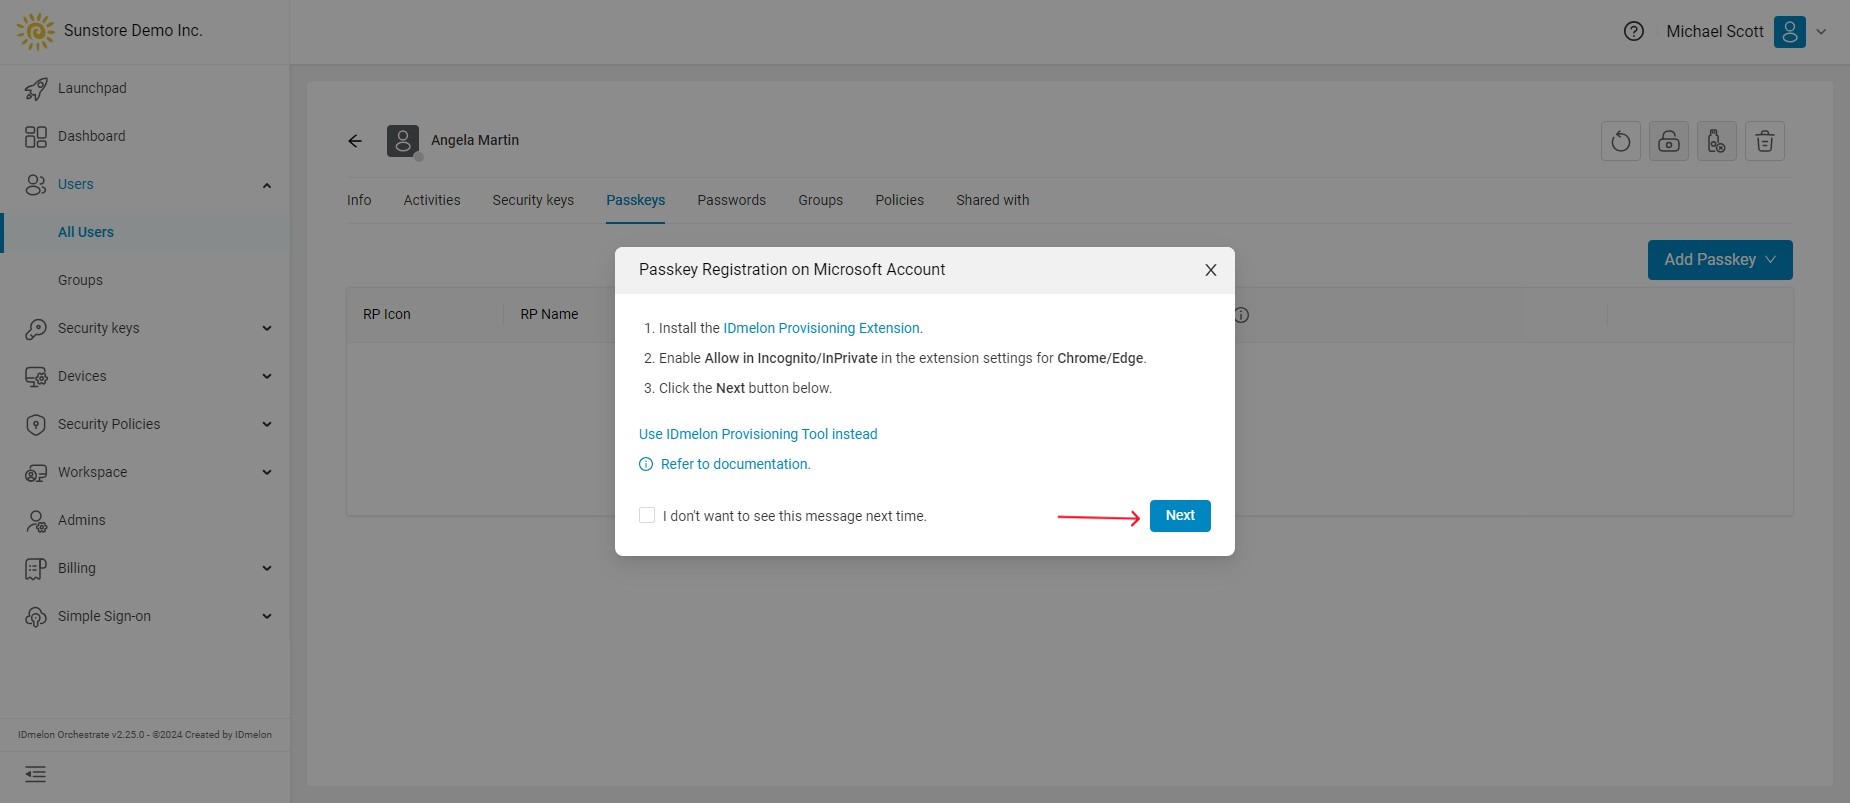
You have two options for provisioning: Automatic and Manual.
Automatic Provisioning
In the automatic mode, the extension handles all necessary steps to create and assign the passkey. Note that this solution may not be supported in all languages. If issues arise, try the manual mode.
- Follow the steps mentioned in the Passkey Provisioning section.
- In the provisioning dialog, click the
Createbutton.
- If redirected to the Microsoft login page, log in with a Microsoft admin account.
Note: To automatically assign a passkey to the user, a Temporary Access Pass (TAP) is required. You must log in using an account with sufficient permissions.
- A private window will open, and all steps will be completed automatically.
- Once finished, the private window will close, and the extension will be ready for the next provisioning request.
Manual Provisioning
If errors occur during automatic provisioning, you can use the manual mode.
- Follow the steps mentioned in the Passkey Provisioning section.
- In the provisioning dialog, click on
registering manually.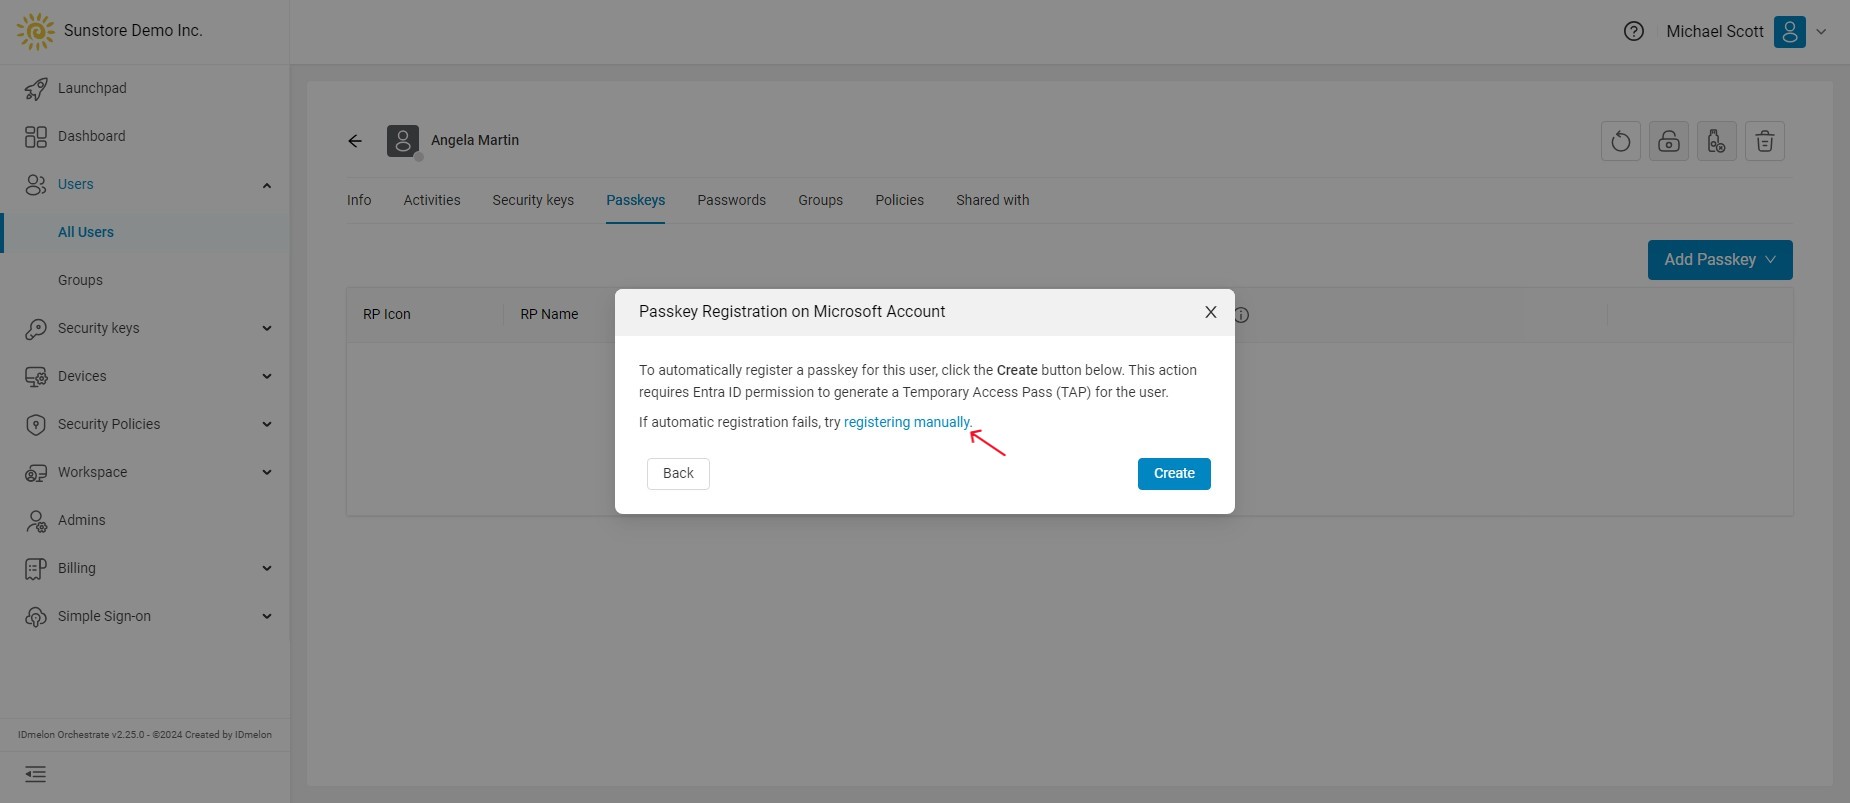
- In the next dialog, click the
Createbutton.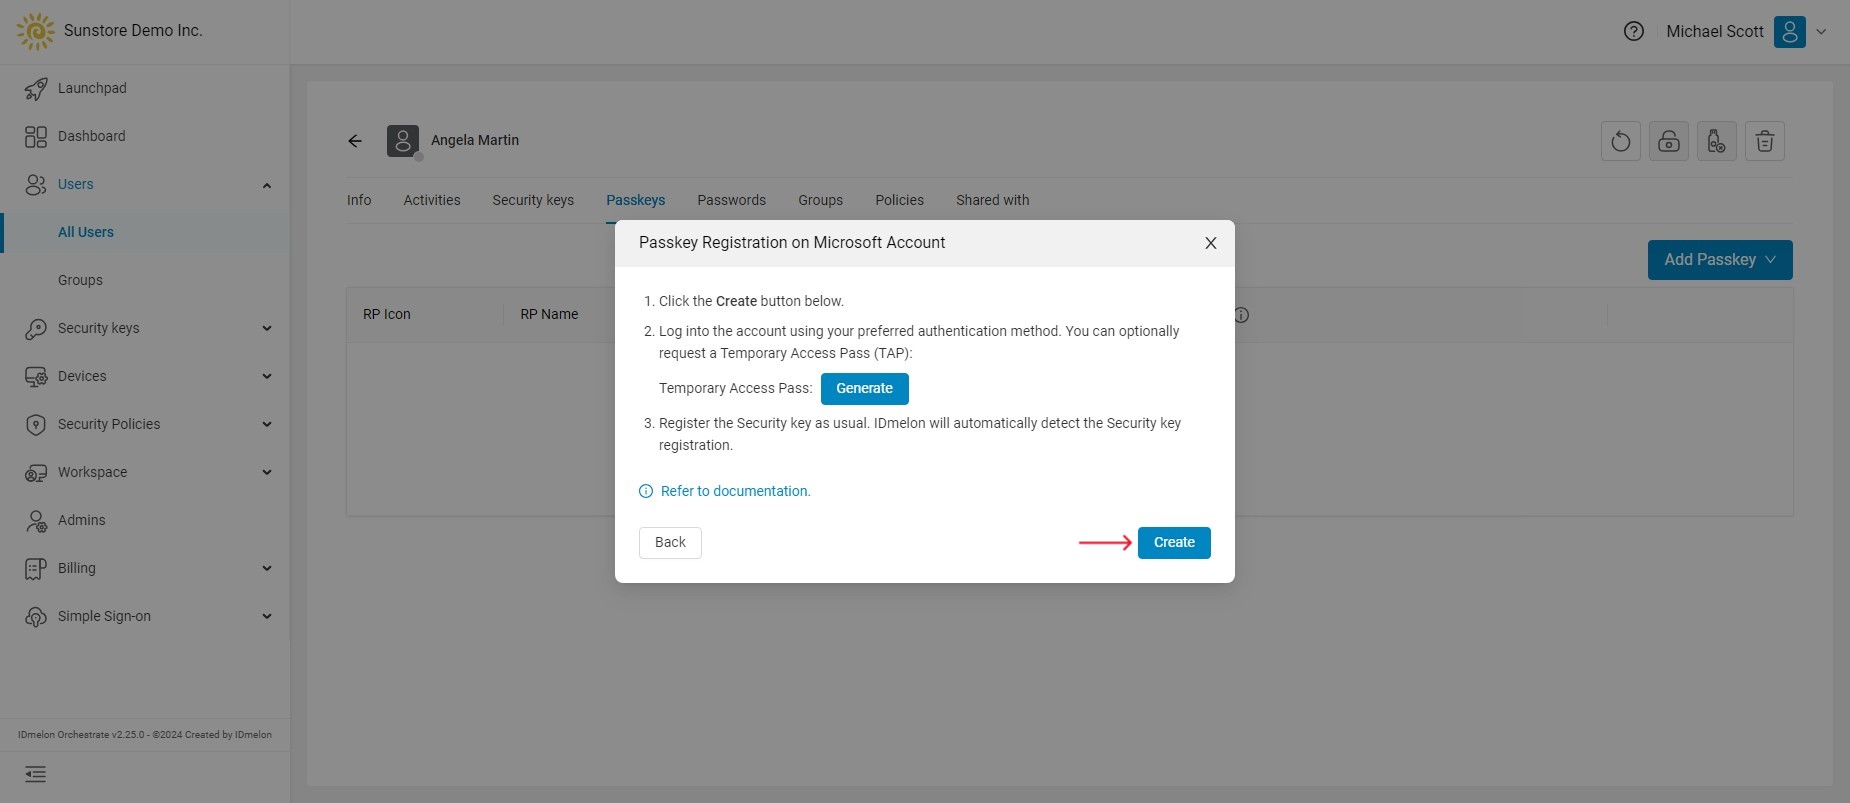
Note: You can optionally request a Temporary Access Pass (TAP) for the user to log in. If so, you may be redirected to the Microsoft login page. Alternatively, you can use the user’s other authentication methods if preferred.
- A private window will open. Log in and complete the required steps manually. The extension will detect the security key assignment.
Troubleshooting
To check the result of the provisioning, open the extension popup and click on Show Logs.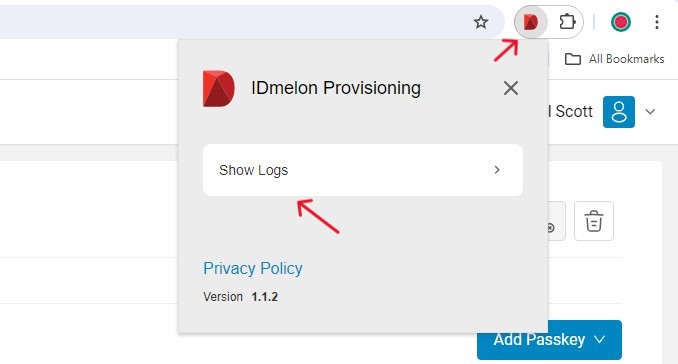
Here you can find the result of the provisioning.