Deploy with PDQ Software
Follow these steps to deploy products using PDQ on computers connected to AD:
Preparing the Setup Files:
- Before starting the deployment, ensure the following setup files are placed in the specified directories:
- For the Pairing Tool:
%PUBLIC%\Documents\Admin Arsenal\PDQ Deploy\Repository\PairingTool\Setup.exe - For the Access Key:
%PUBLIC%\Documents\Admin Arsenal\PDQ Deploy\Repository\Accesskey\setup.exe
- For the Pairing Tool:
- Before starting the deployment, ensure the following setup files are placed in the specified directories:
Opening the Application:
- Begin by launching the PDQ application on the admin system.
Importing the Package:
- On the main screen, locate the “packages” folder in the left panel.
- Right-click on the “packages” folder.
- Select the “import” option from the context menu.
- Choose the relevant XML file for the application (either Pairing or Access Key).
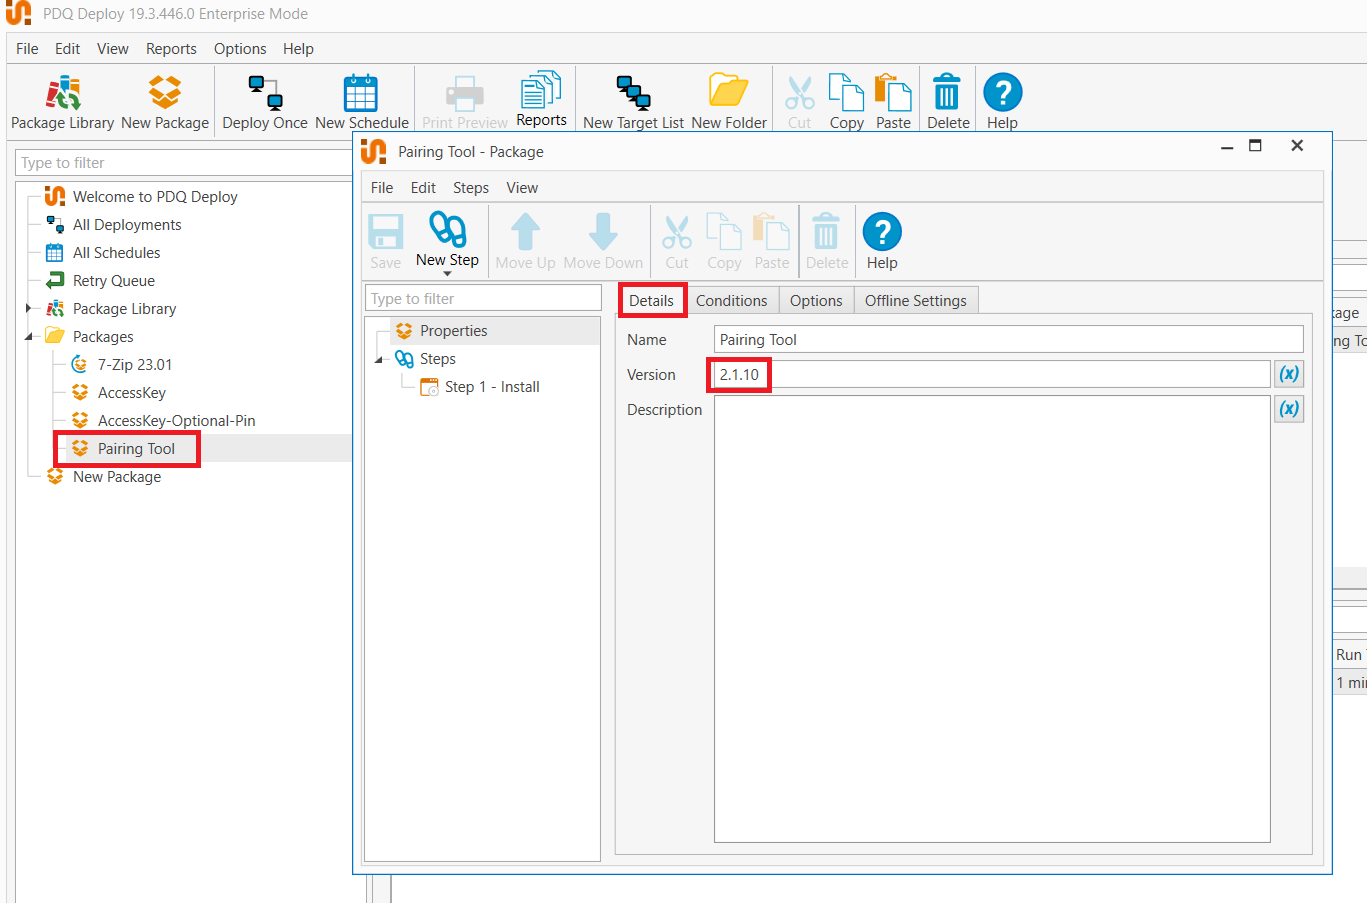
Verifying the Package:
- After importing, the name of the application (either Pairing or Access Key) should appear in the “packages” list. (Note: A screenshot was provided for reference.)
Deploying the Application:
- Single-click on the application (either Pairing or Access Key) in the list.
- From the PDQ top menu, select the “Deploy Once” option.
- In the window that appears, on the left side, enter the names of the systems where the application will be installed.
- Finally, click on the “Deploy now” button.
Completion:
- Wait for the application to be installed on all specified systems. Once done, your deployment is complete.
Updating Version
While this is optional and does not affect the functionality of products, it is a good practice to update the version of the applications from the package details on each update. See the image below for more information: