PingOne DaVinci
You can use the IDmelon connector as part of a PingOne DaVinci flow in order to improve user experience by allowing users to go passwordless and authenticate with their smartphones, ID badges, or access cards as a FIDO security key.
In this guide, we’ll walk you through the process of integrating and using the IDmelon Connector in Davinci, with a simple example to display user information after successful login.
PingOne DaVinci Configuration
In the PingOne dashboard, click on the
Flowsmenu, and then press theAdd Flowbutton.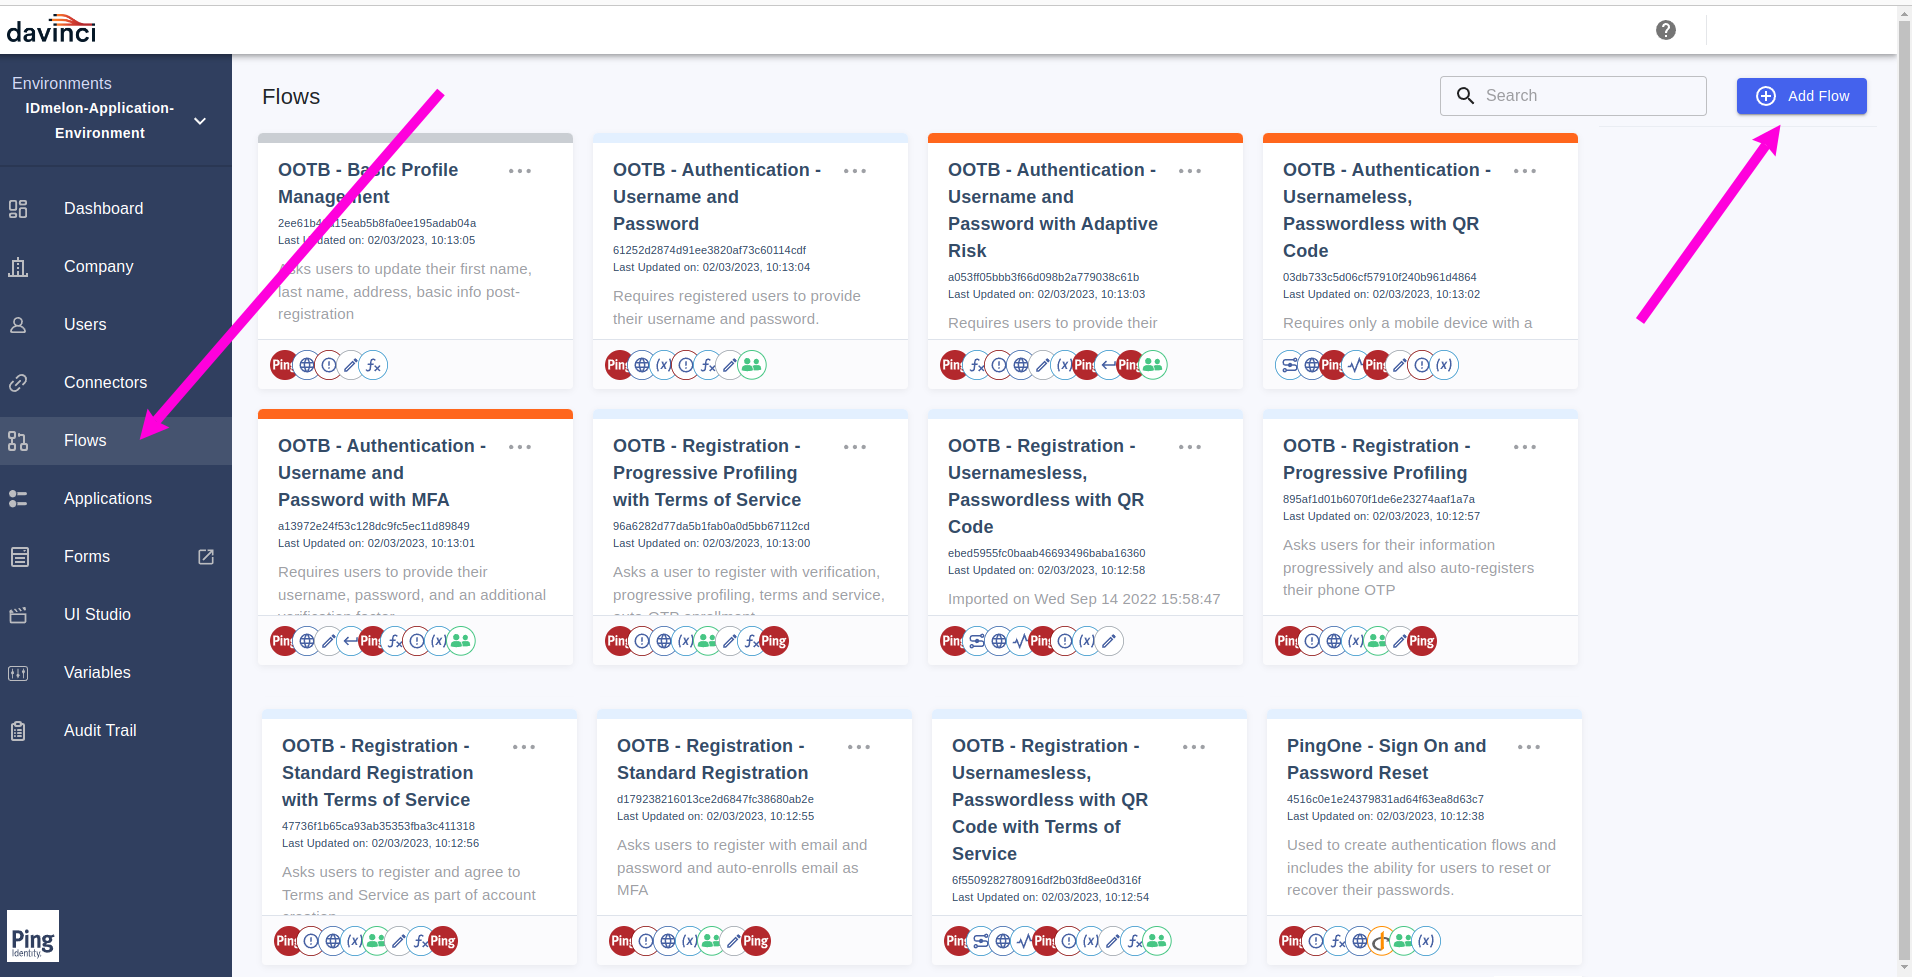
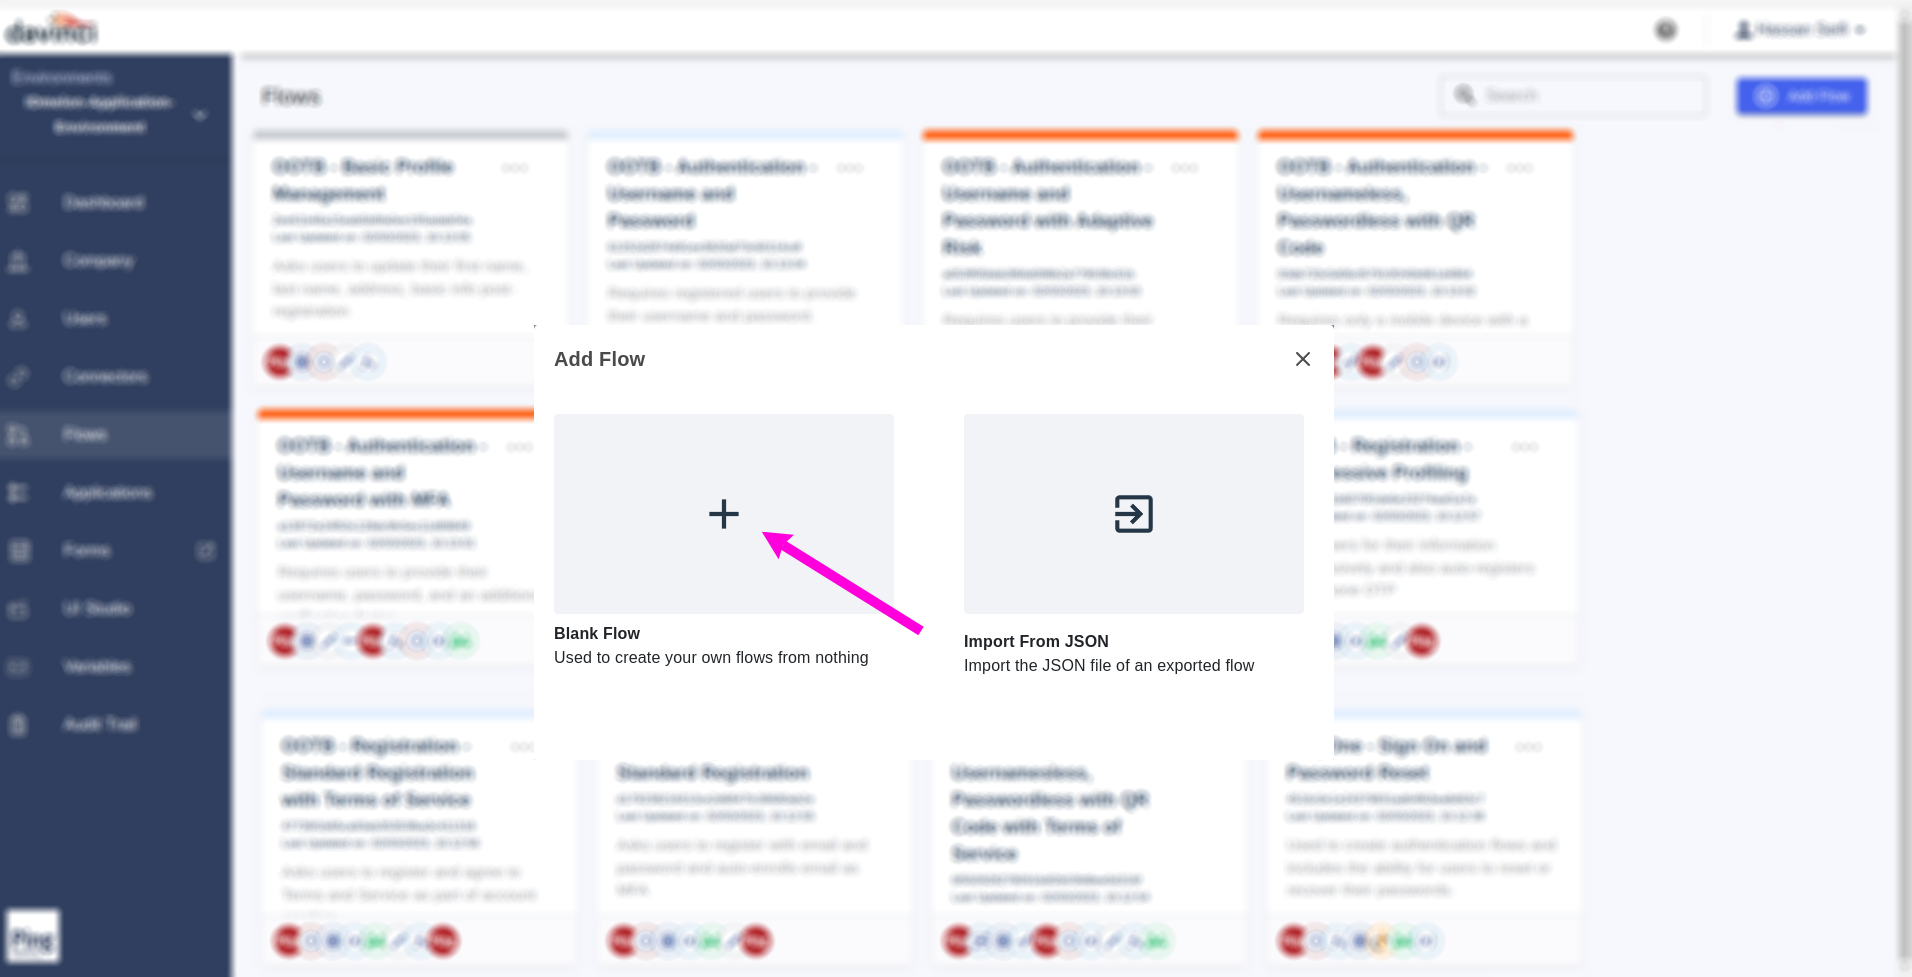
Create a Blank Flow.
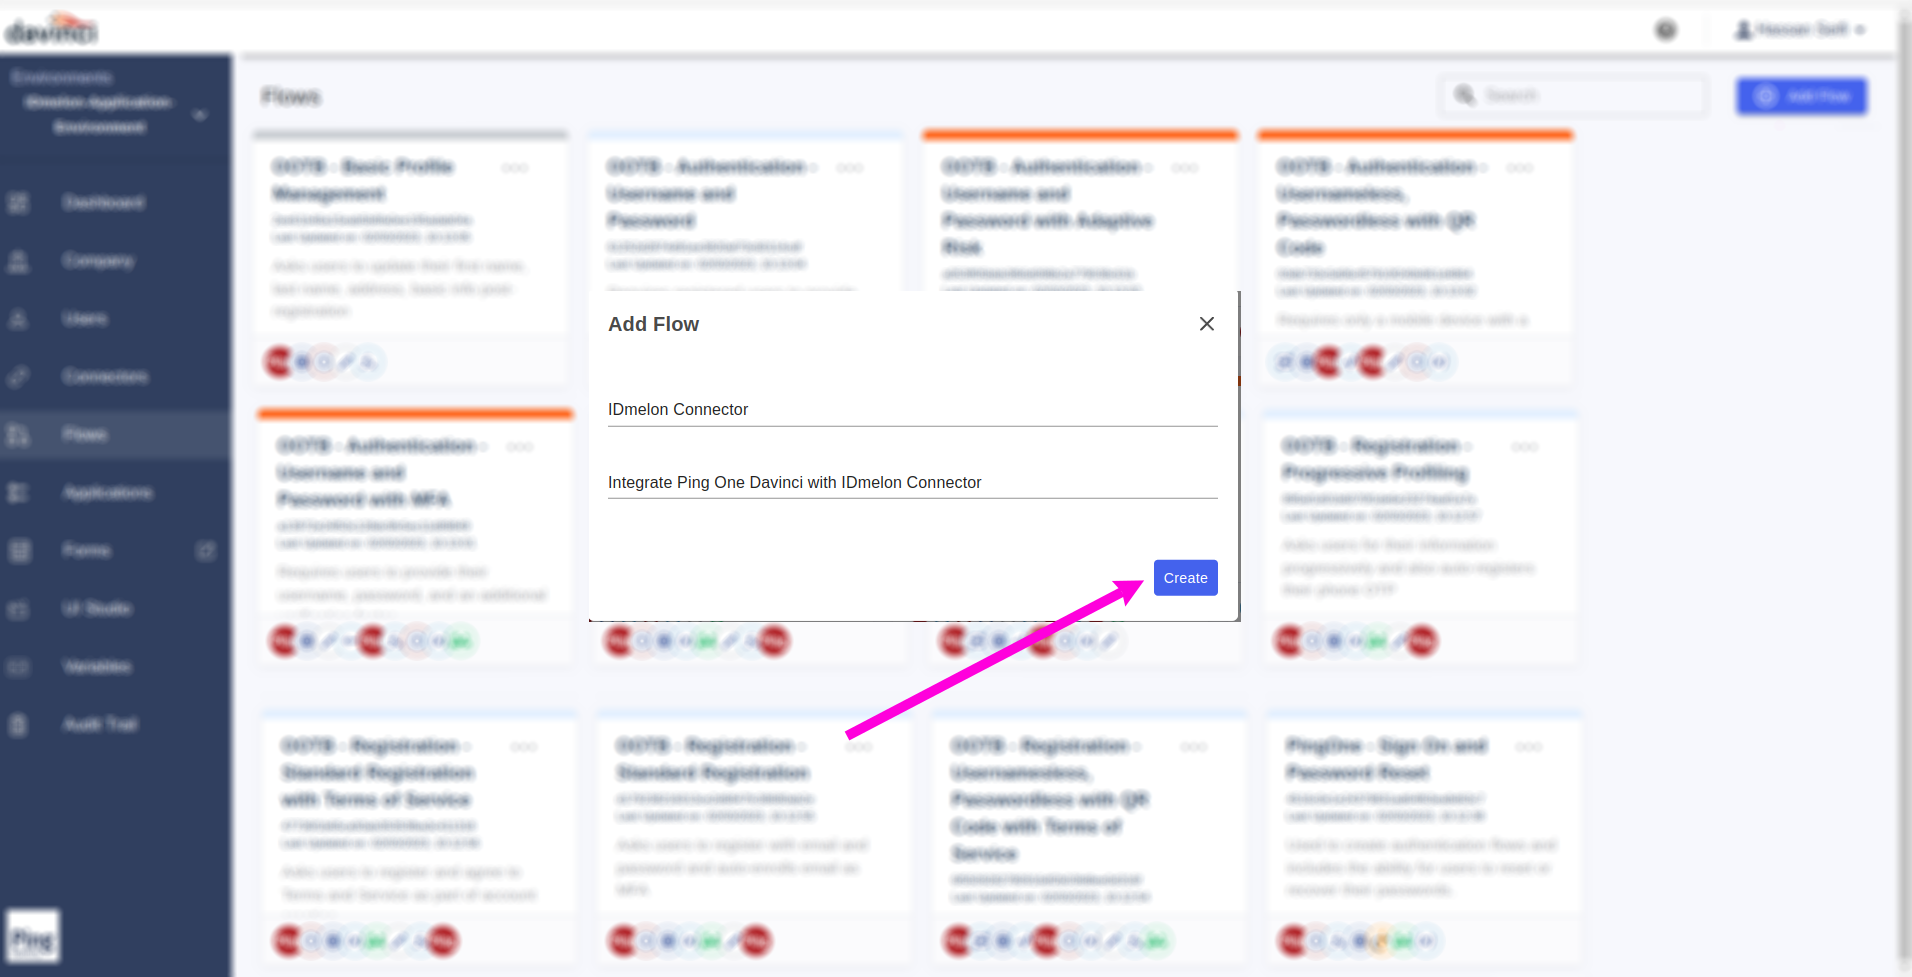
Fill the value of Flow form for
NameandDescriptionfields and then click on theCreatebutton.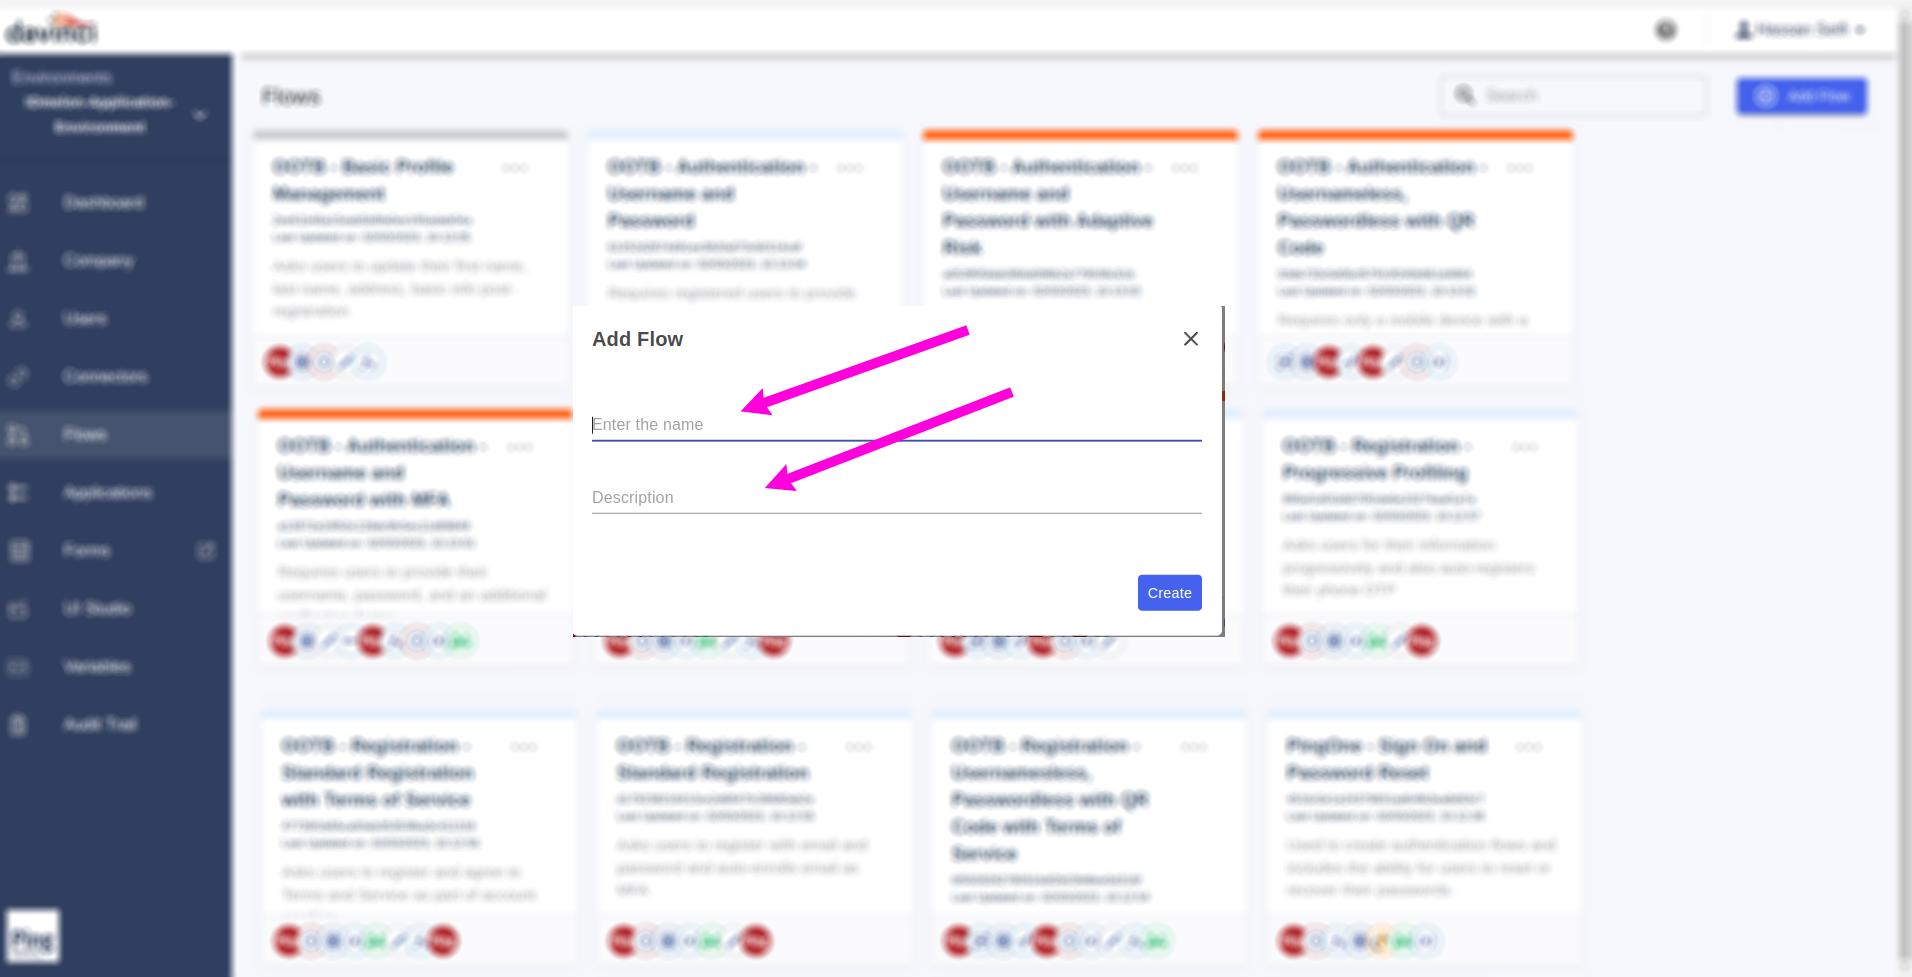
In the Blank created flow page, click on the
+button.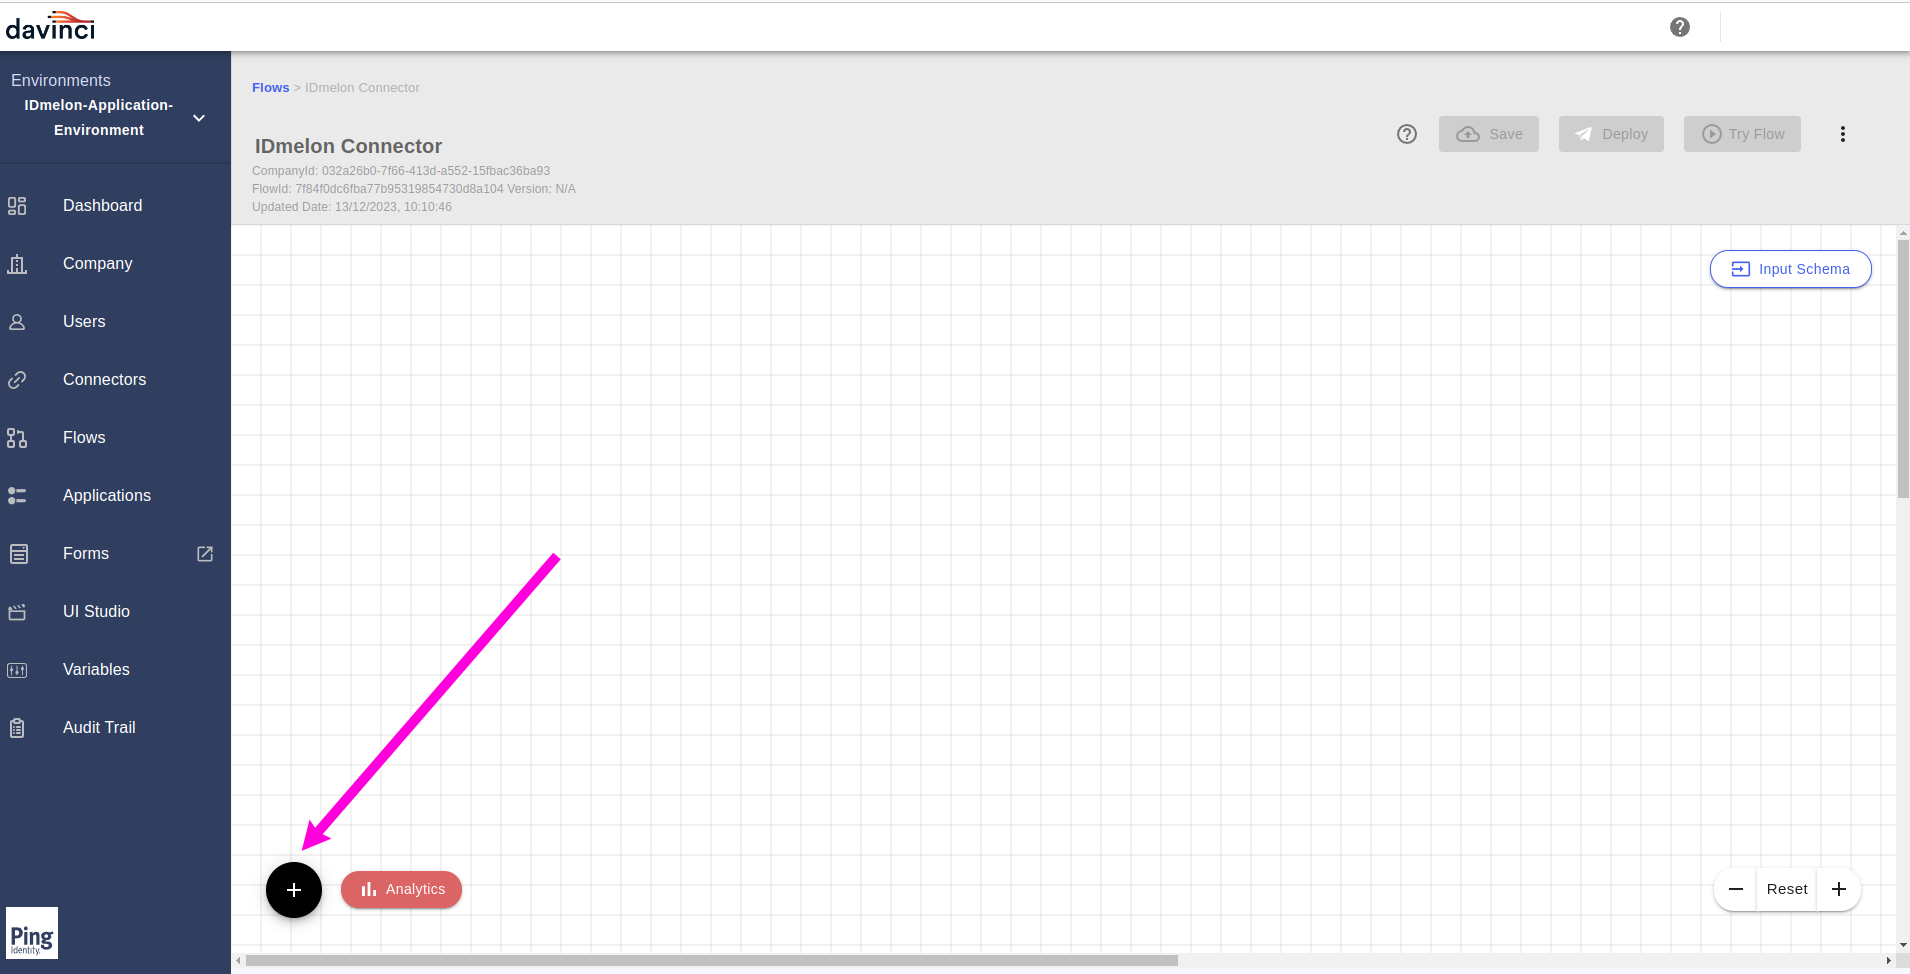
From the pop up menu, click on the
Newtab.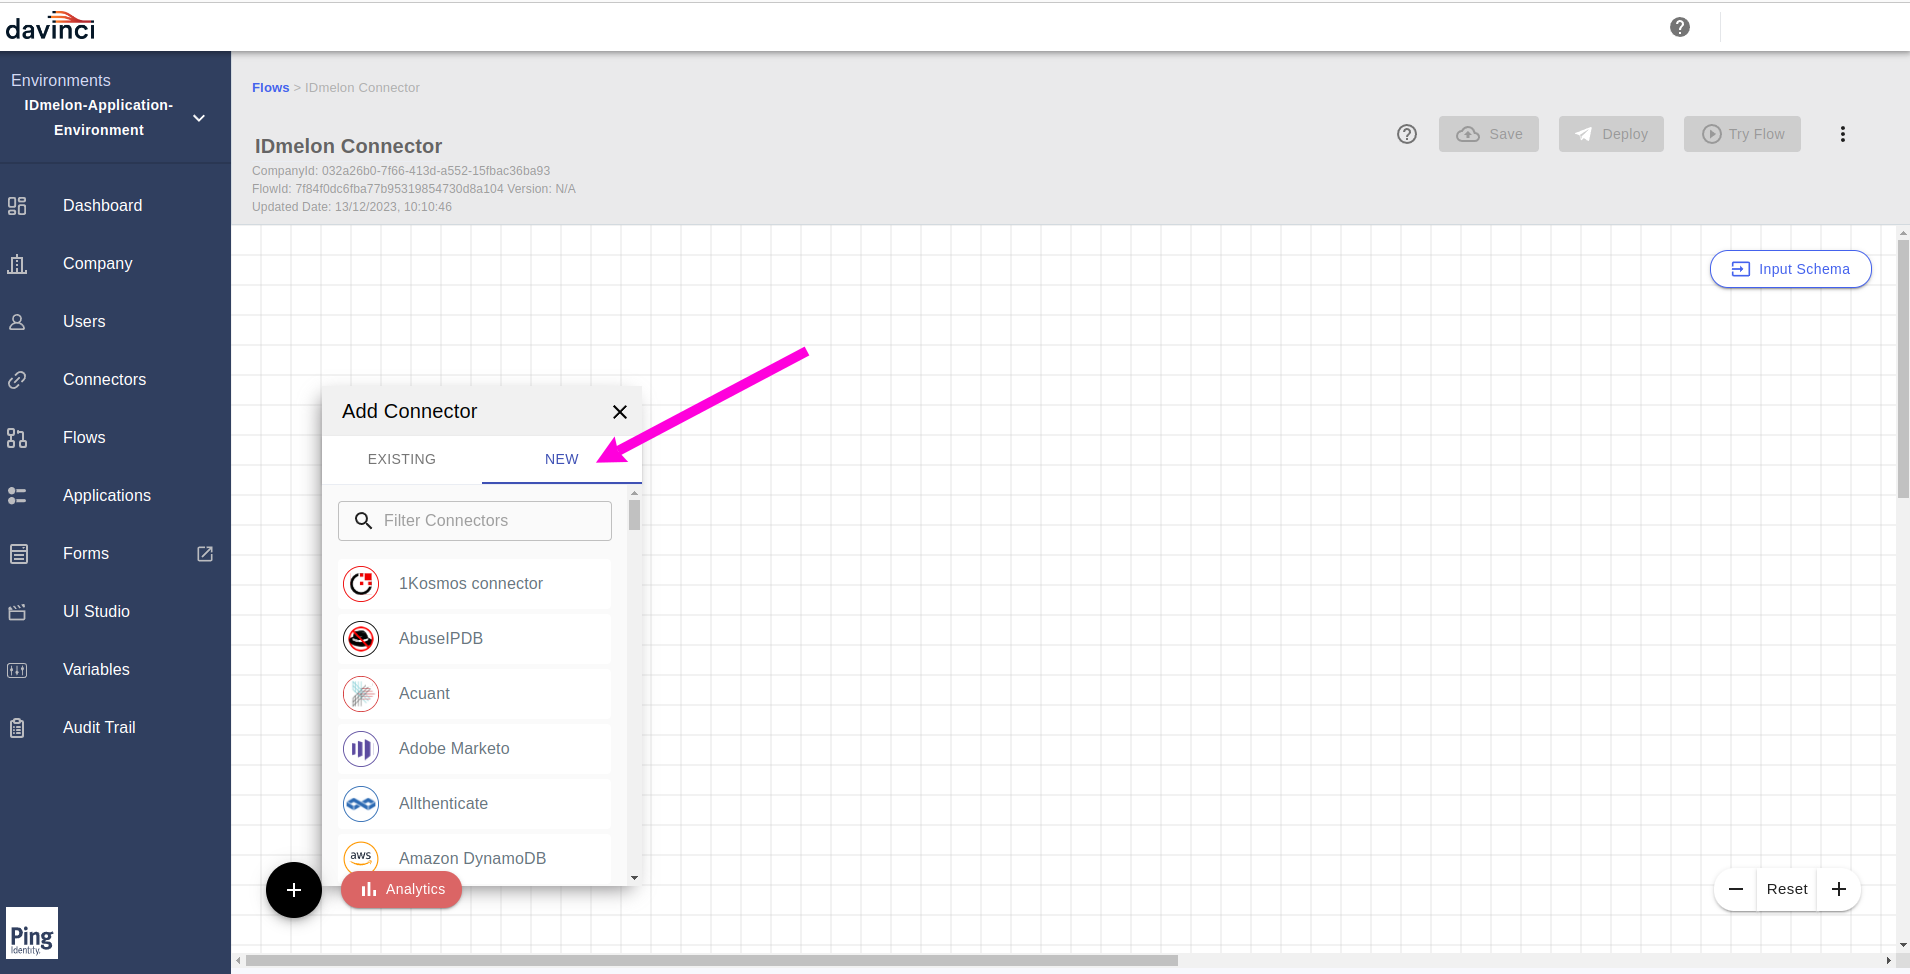
Search for
IDmelonconnector by typing and select theIDmelonfrom the displayed item.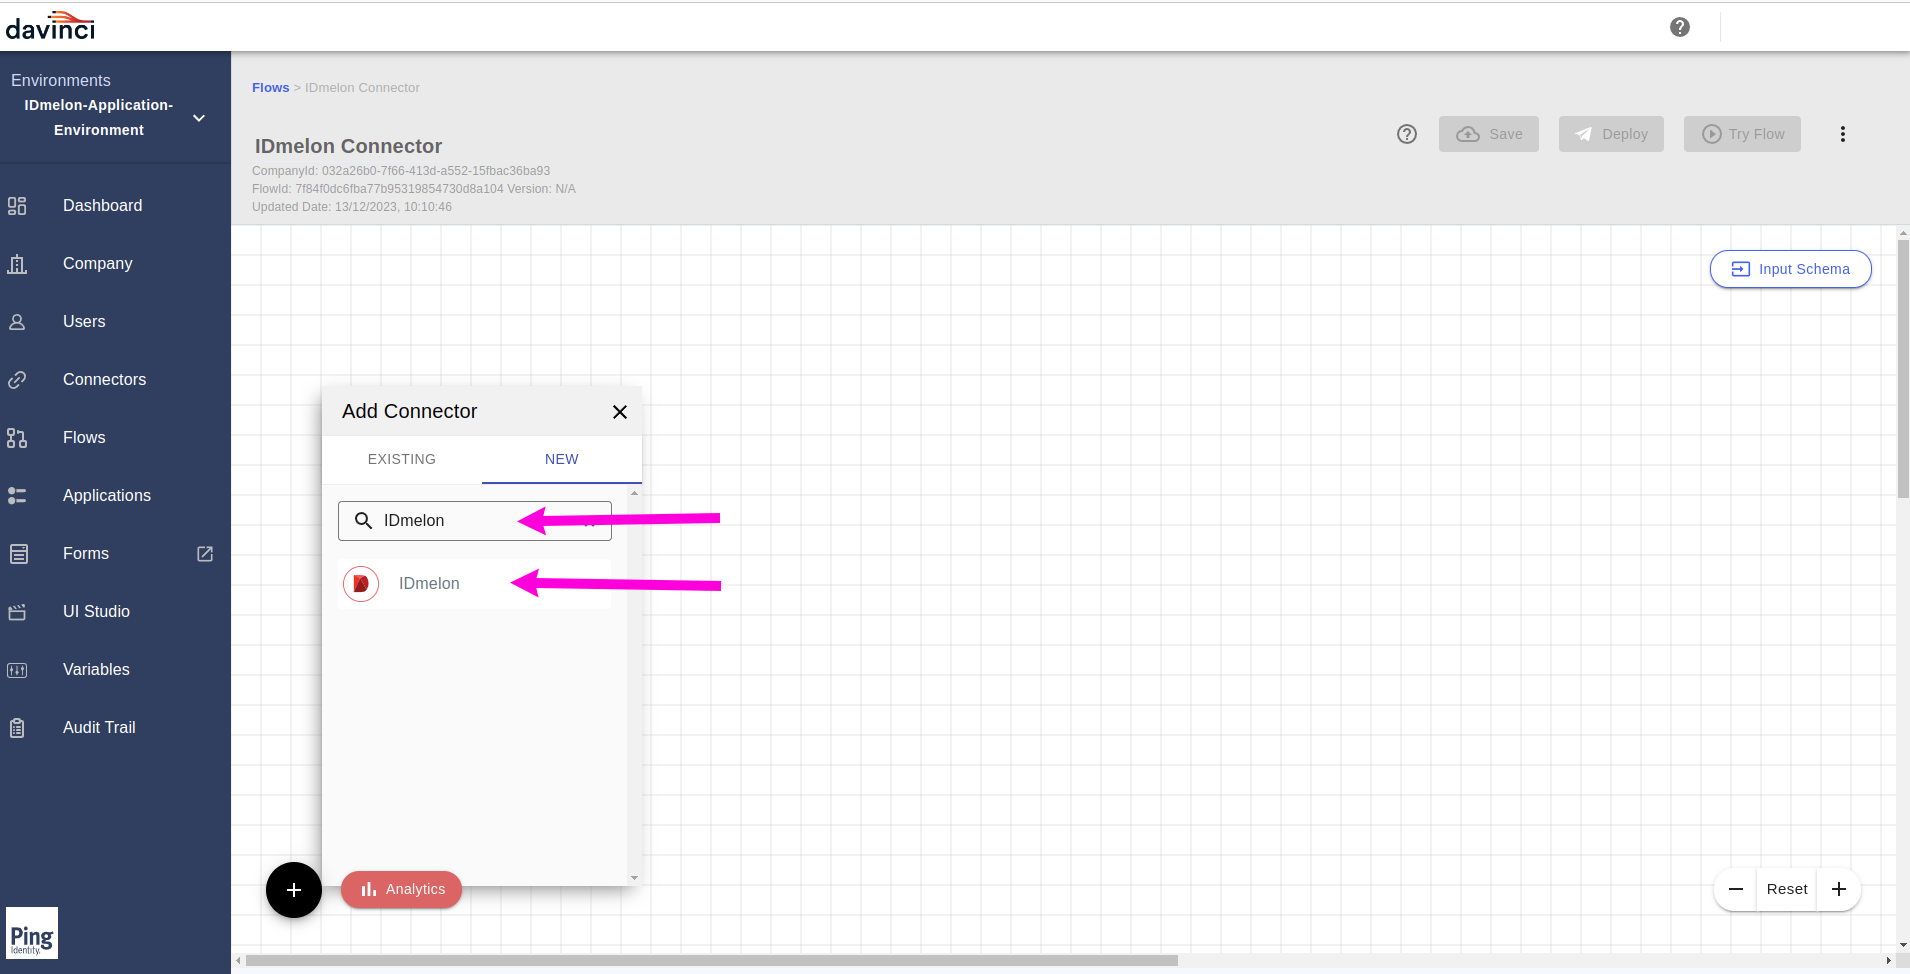
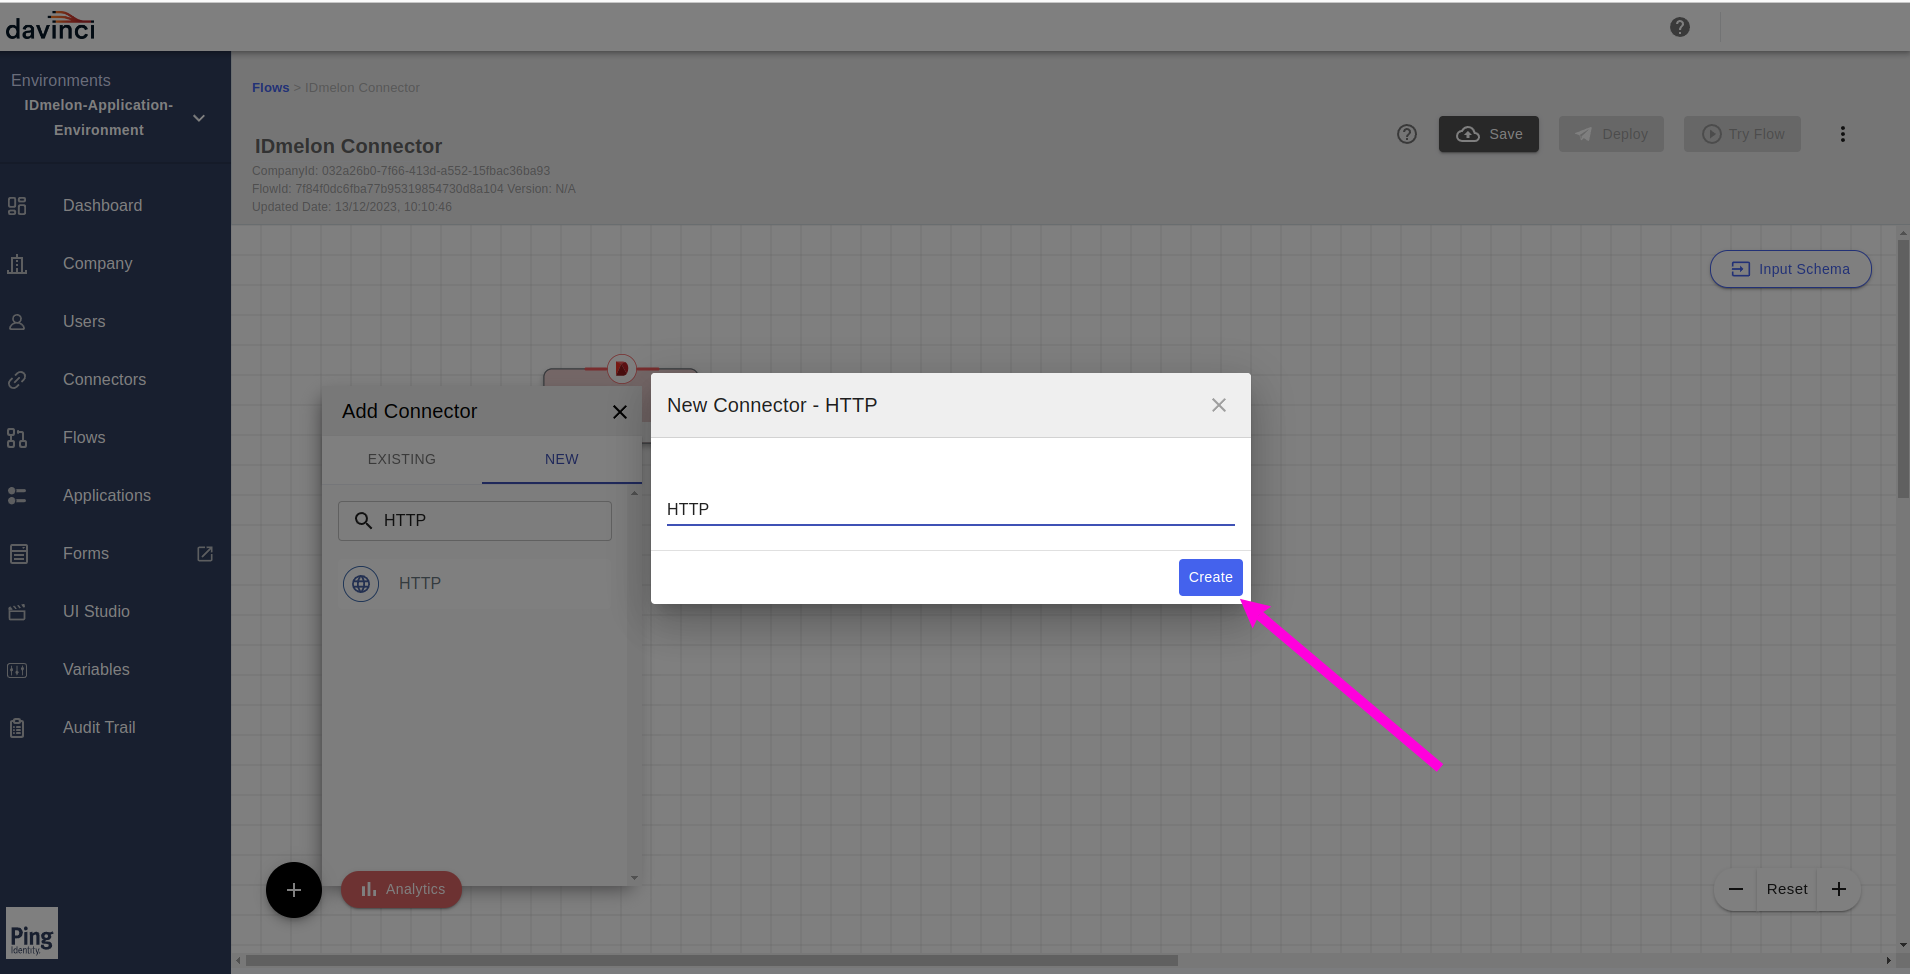
In the opened dialog form, click on the
Createbutton.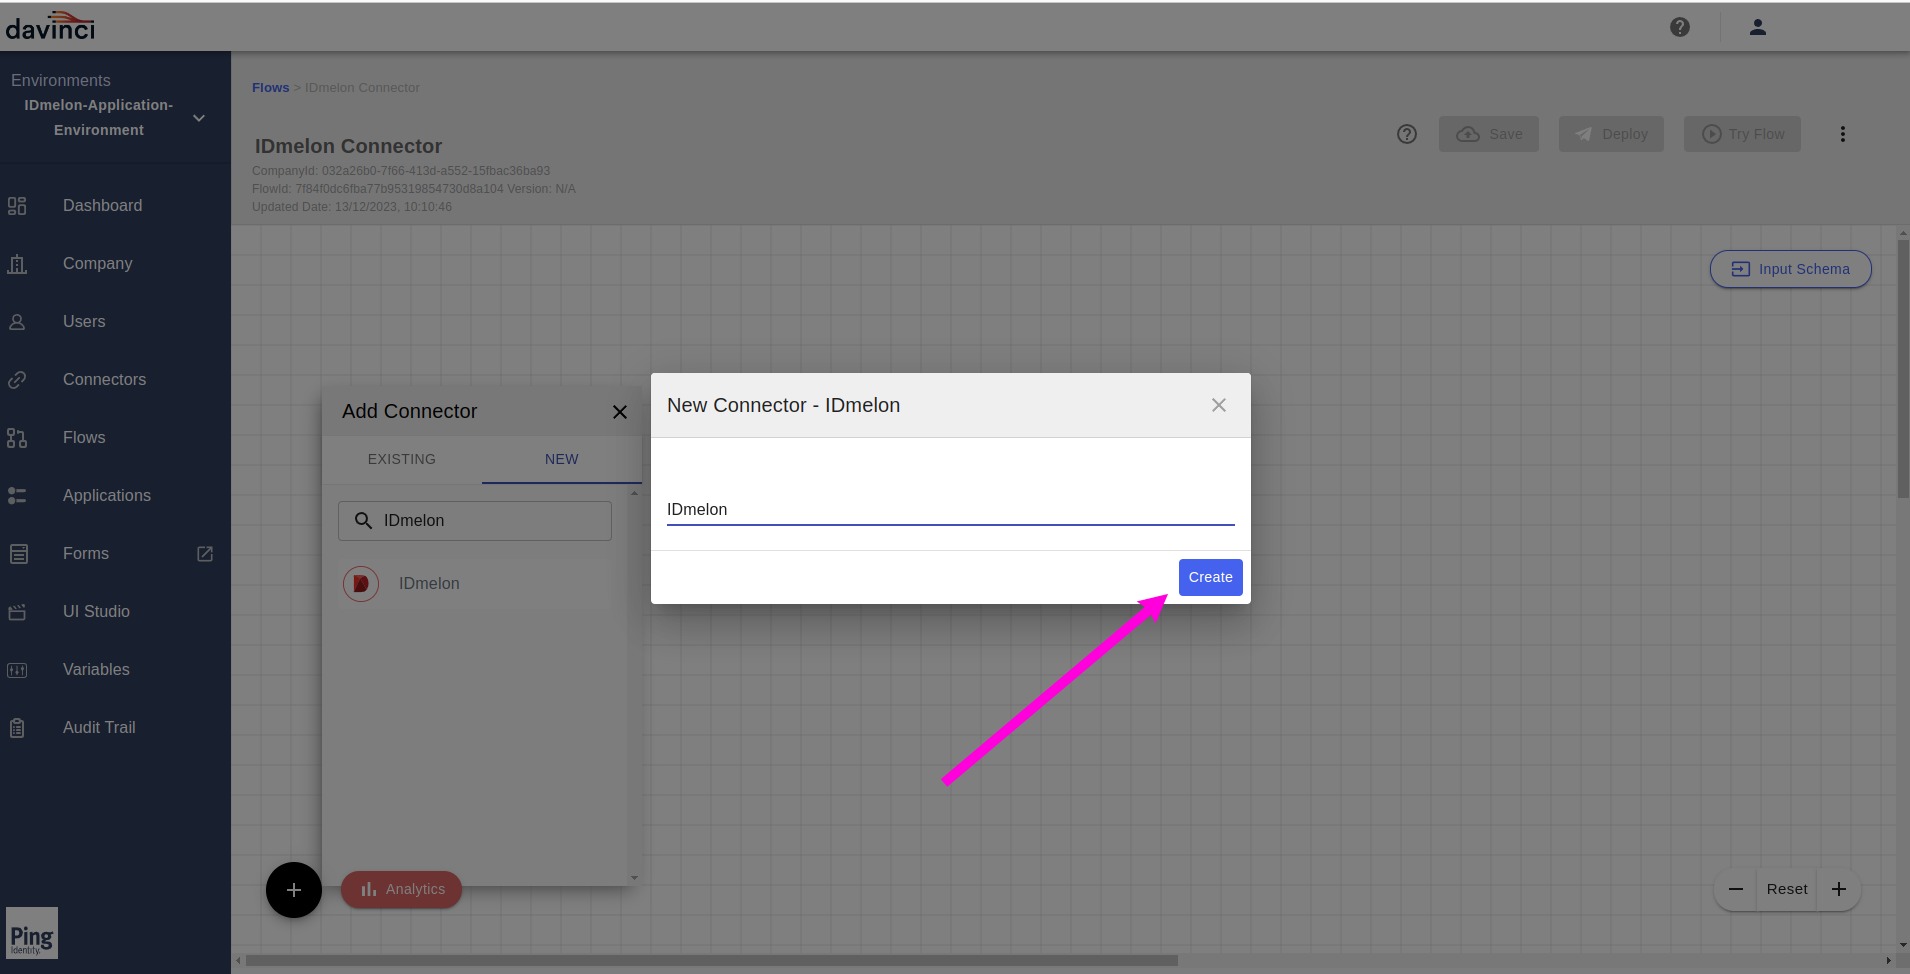
You now see the
IDmelonConnector successfully created and added to the flow page.
Click on the
IDmelonconnector in the flow page and then click theConfigurebutton from the opened right panel.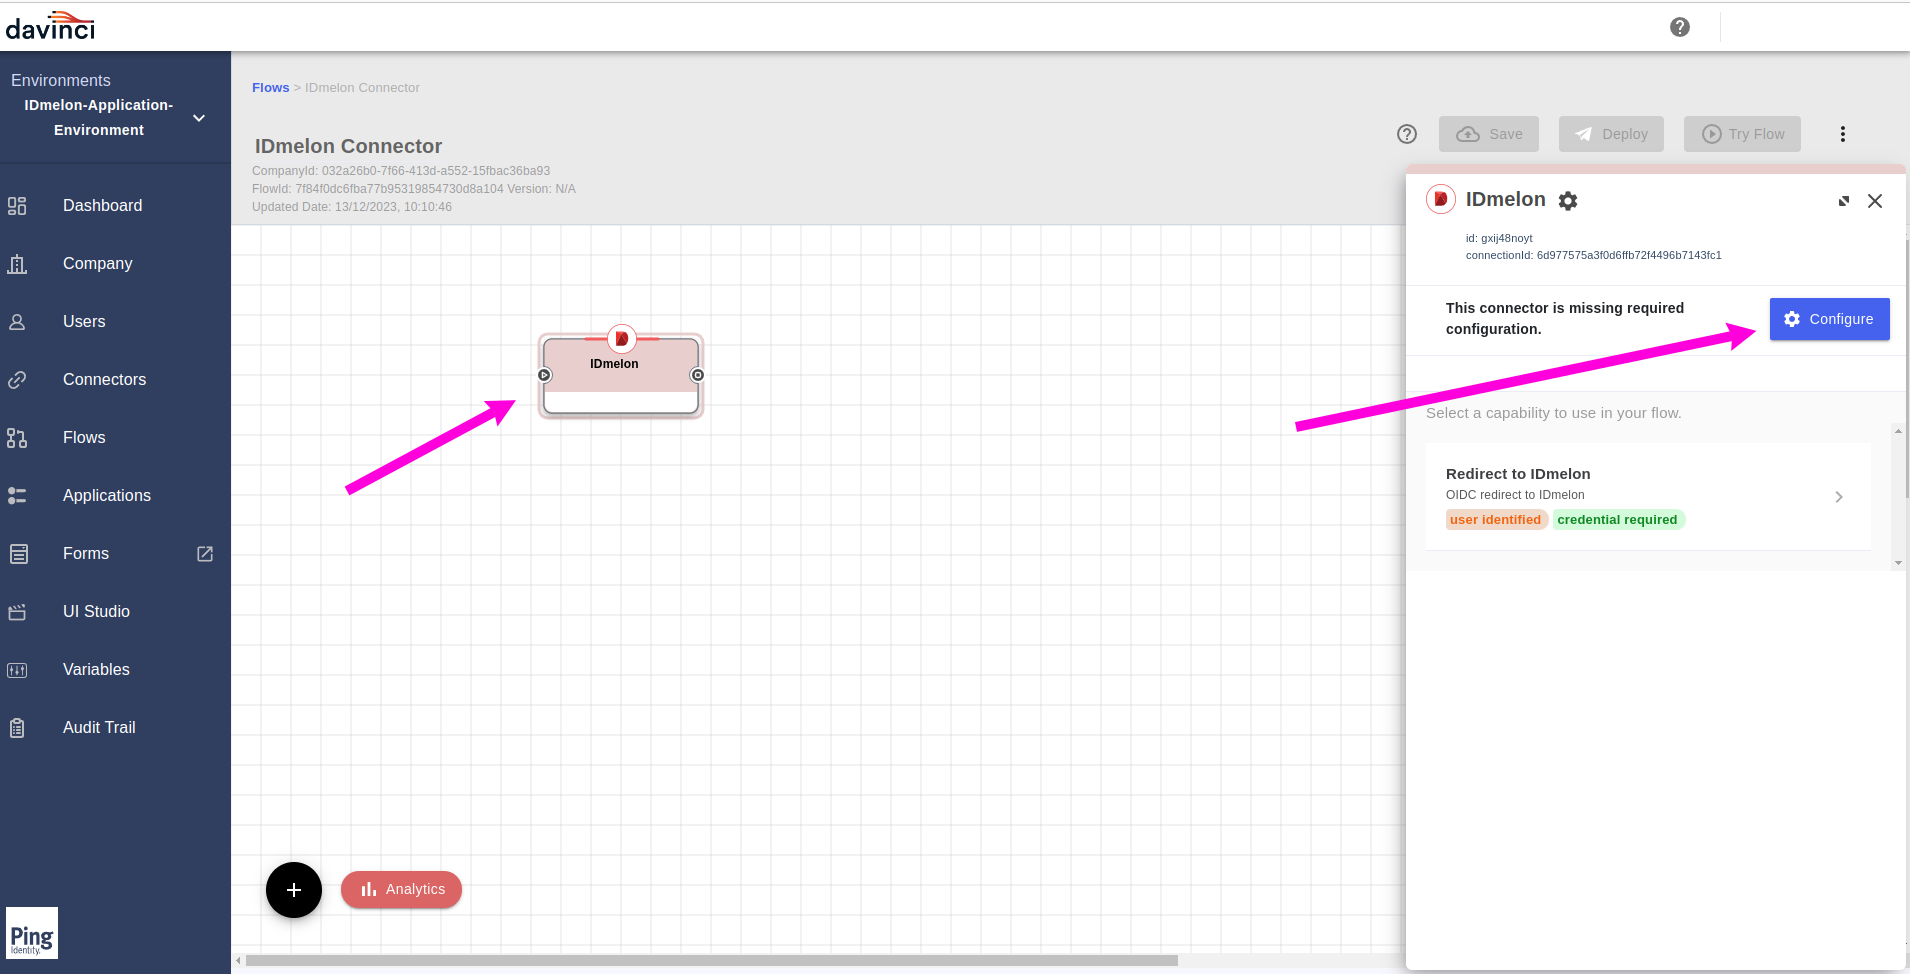
Fill the fields as describe:
Provider name: Enter a custom name for it.
Auth Type: Chose the
Oauth2.Redirect URL: Copy this value, we will use this value in the IDmelon Panel, mentioned in step
24Issuer URL: Empty this value as is.
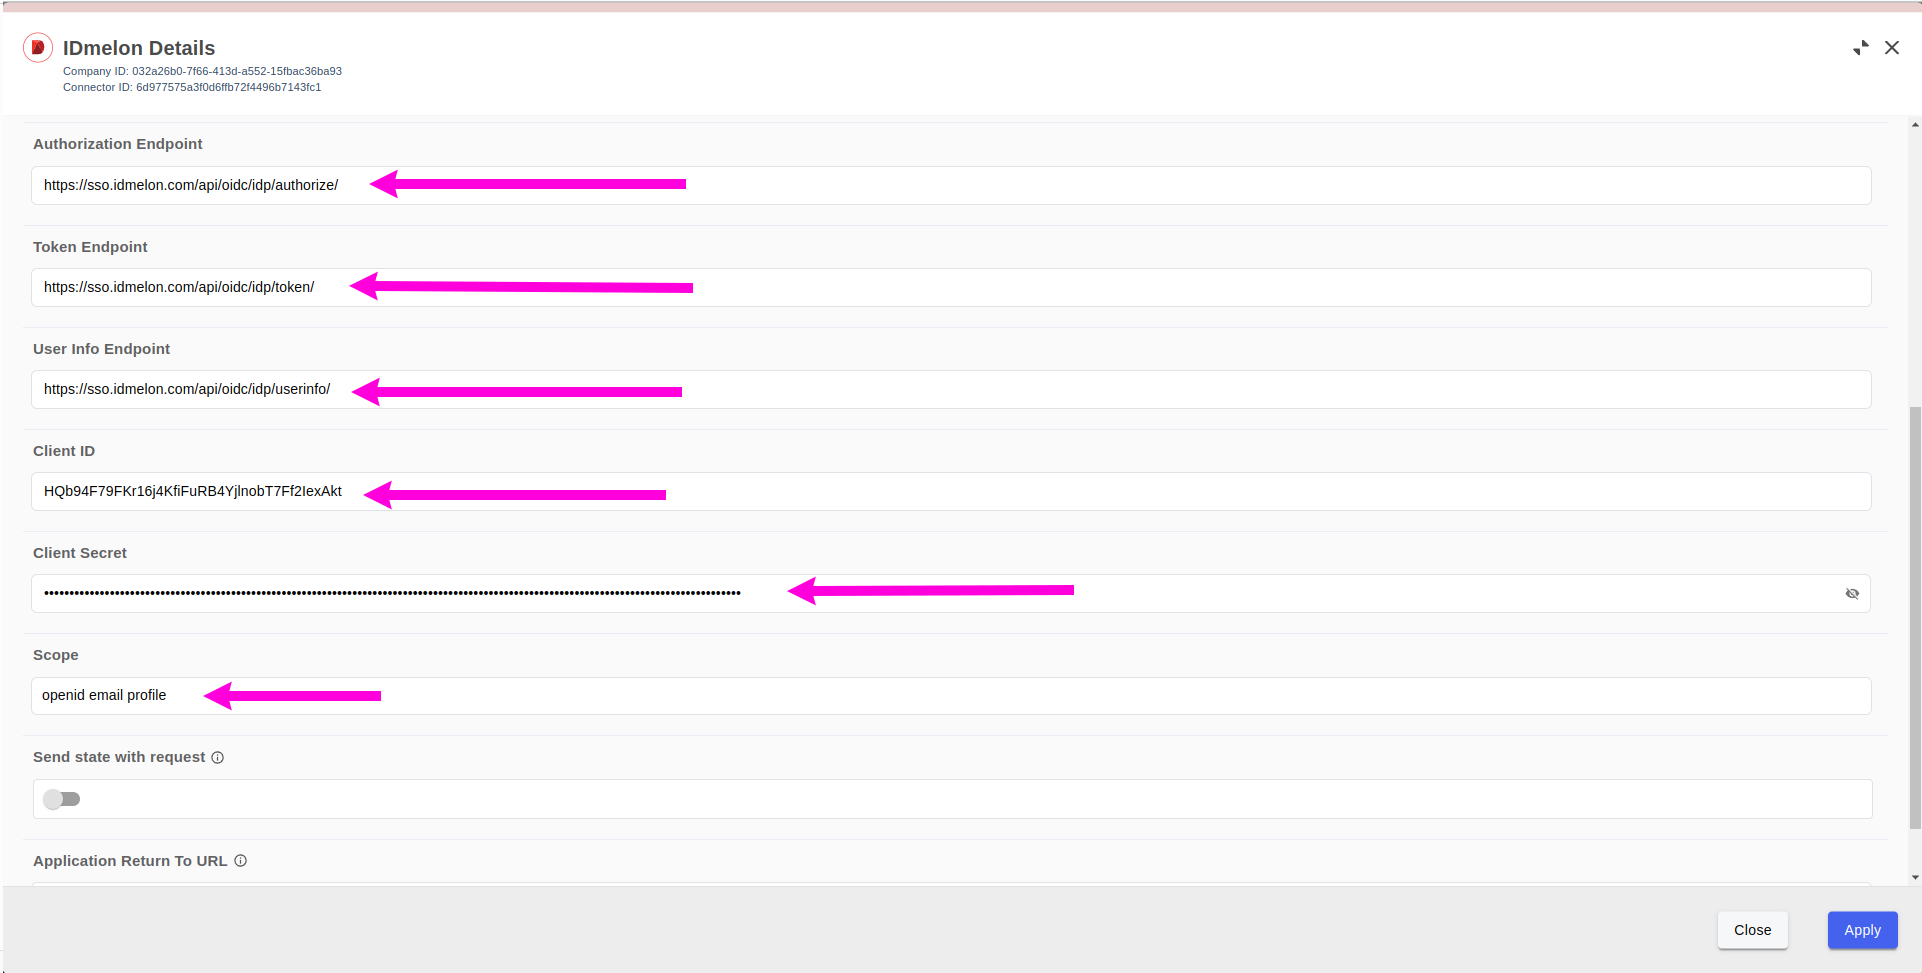
Authorization Endpoint: https://sso.idmelon.com/api/oidc/idp/authorize/
Token Endpoint: https://sso.idmelon.com/api/oidc/idp/token/
User Info Endpoint: https://sso.idmelon.com/api/oidc/idp/userinfo/
Client ID: Get this value from the IDmelon Panel, mentioned in step
24Client Secret: Get this value from the IDmelon Panel, mentioned in step
24Scope:
openid email profileNote: Minimum valid value for
Scopeisopenid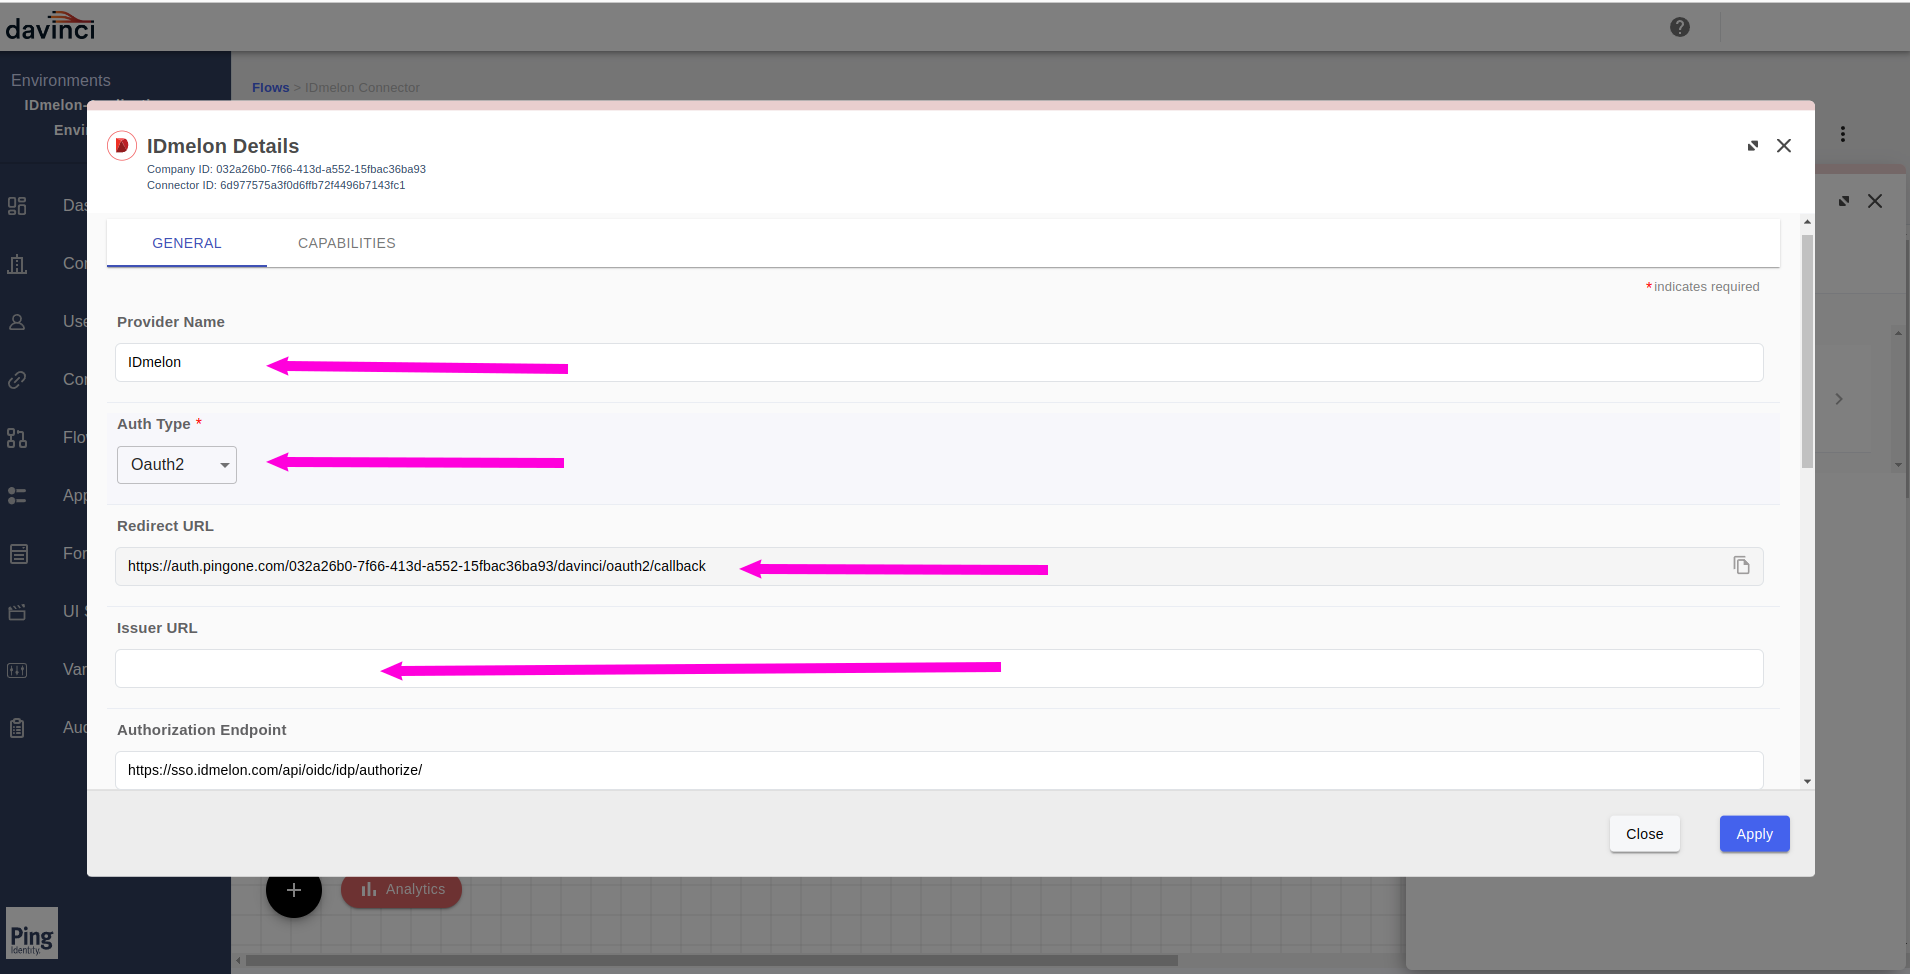
After completing the form fields as described, click on the
Applybutton.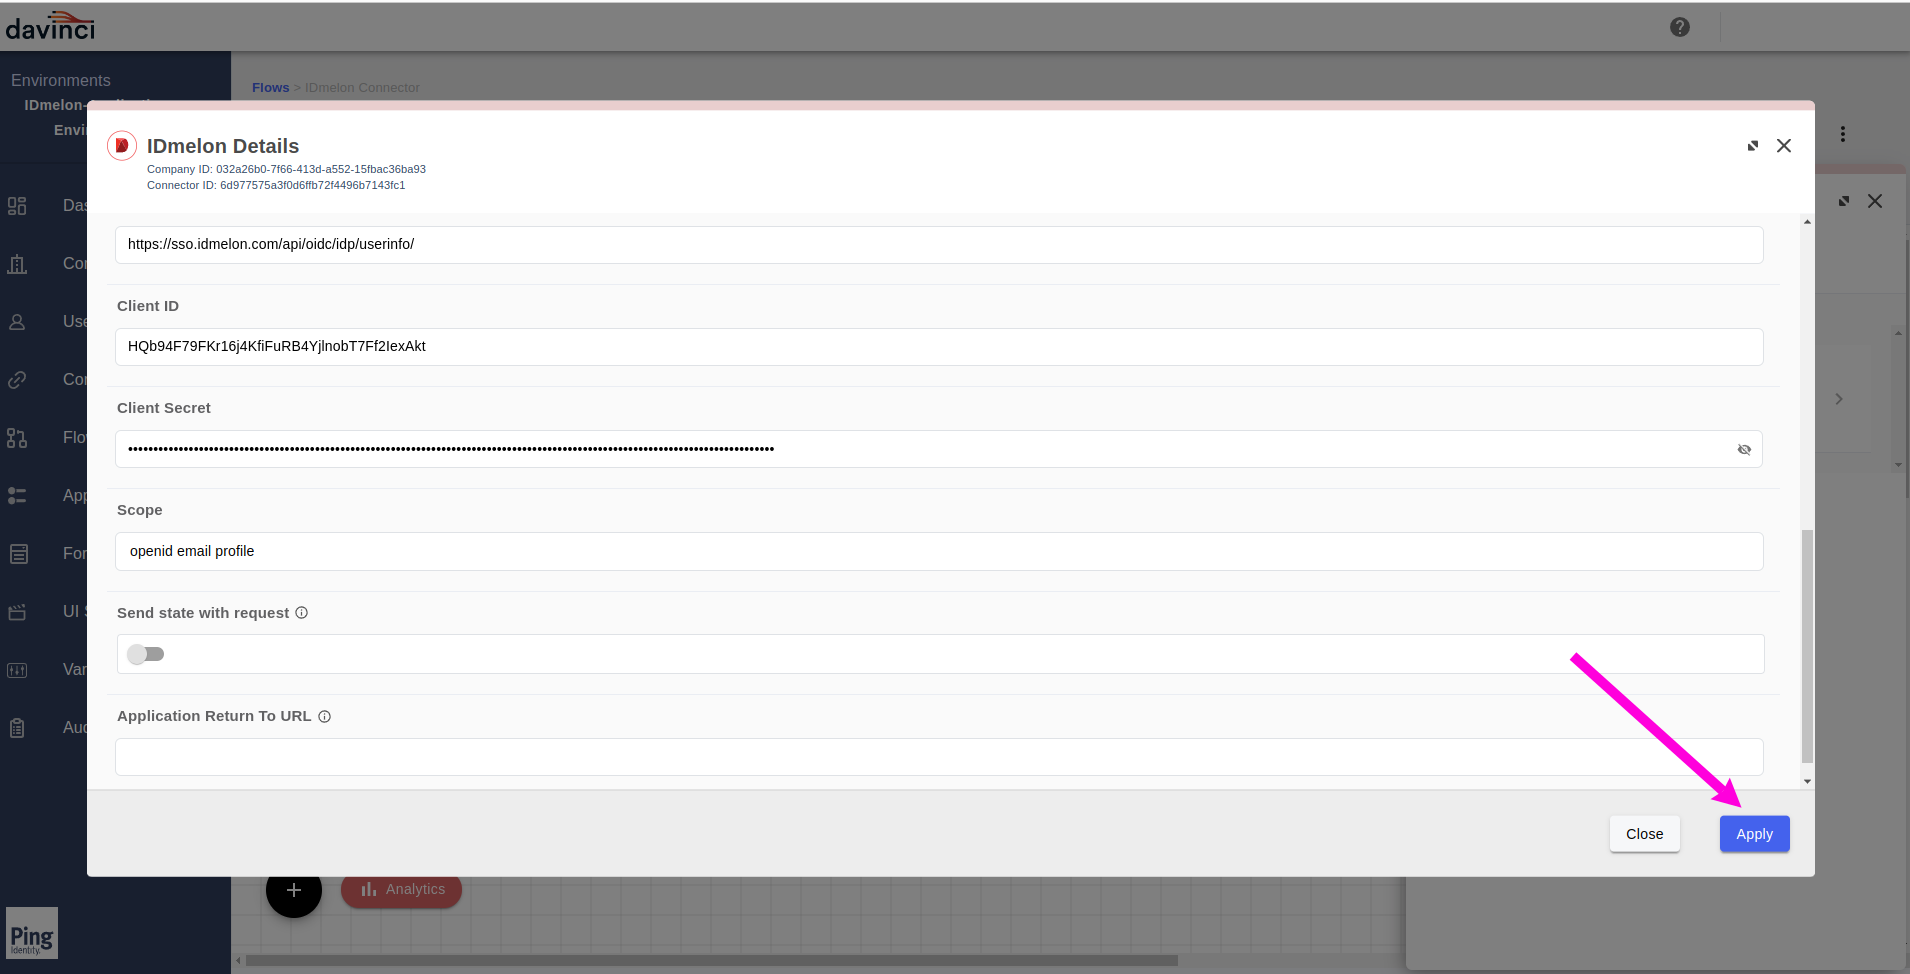
In the flow page, click on
+icon and addHTTPconnector.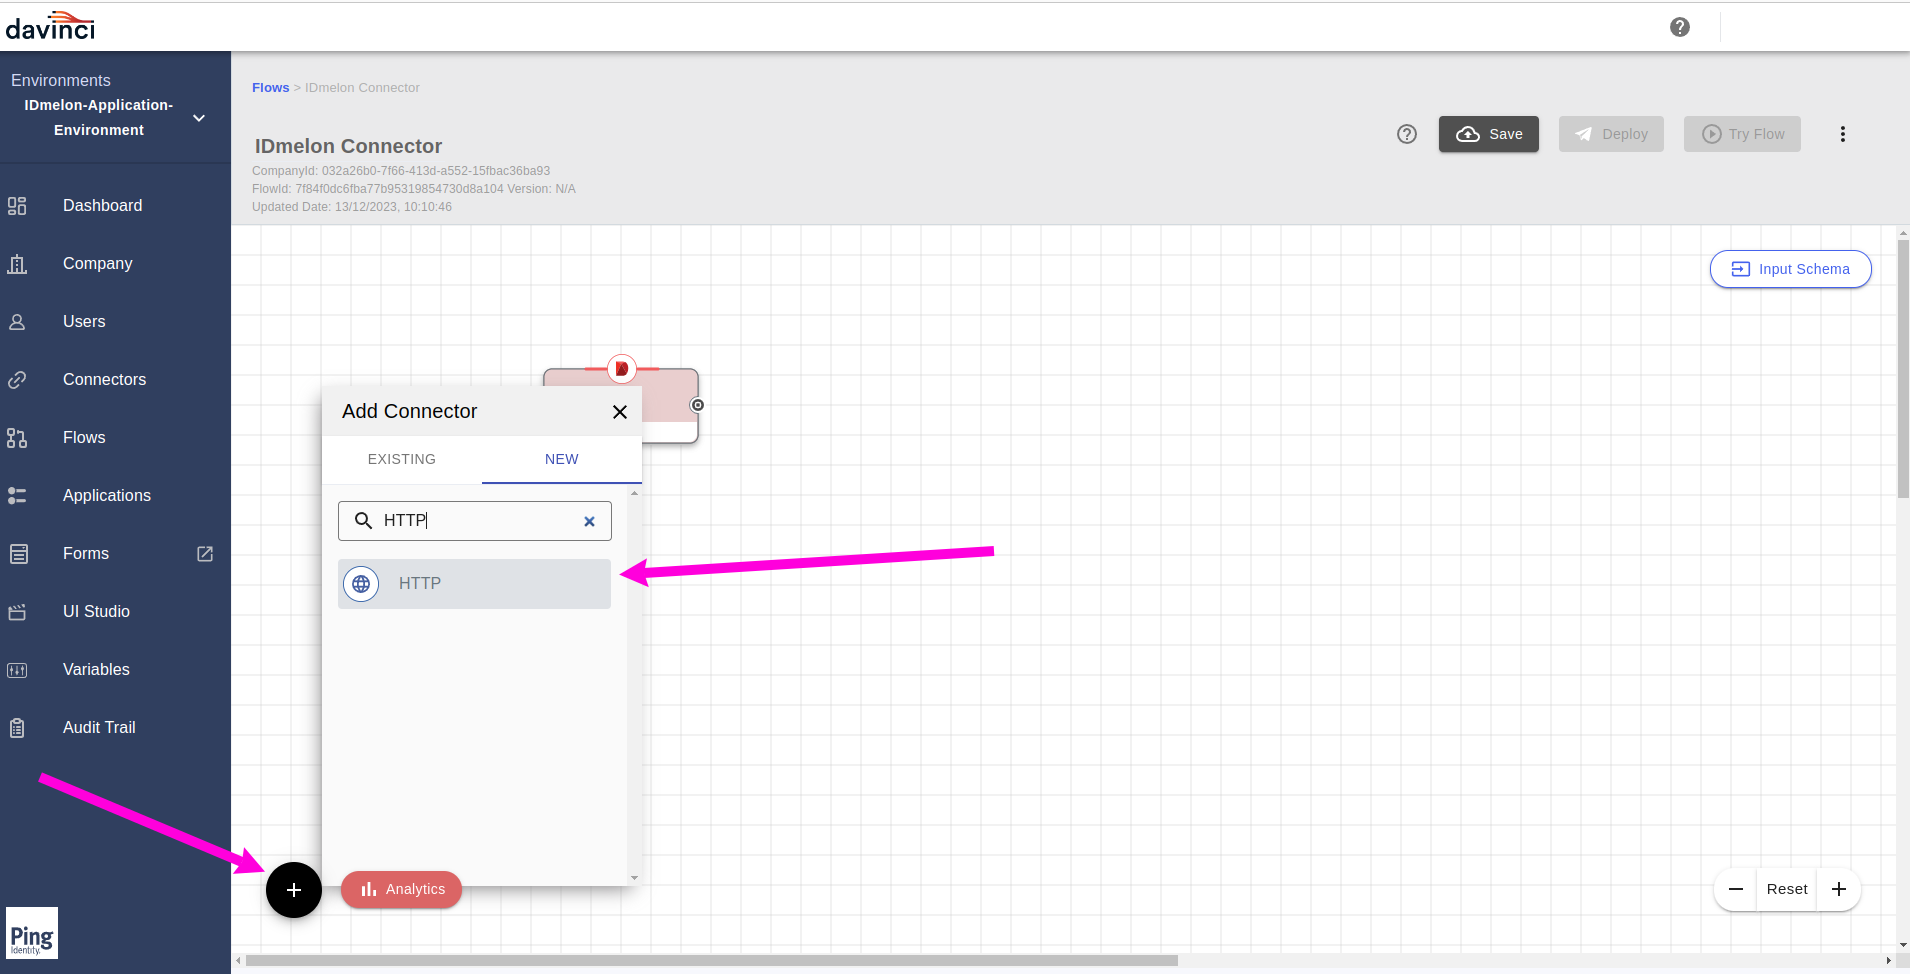
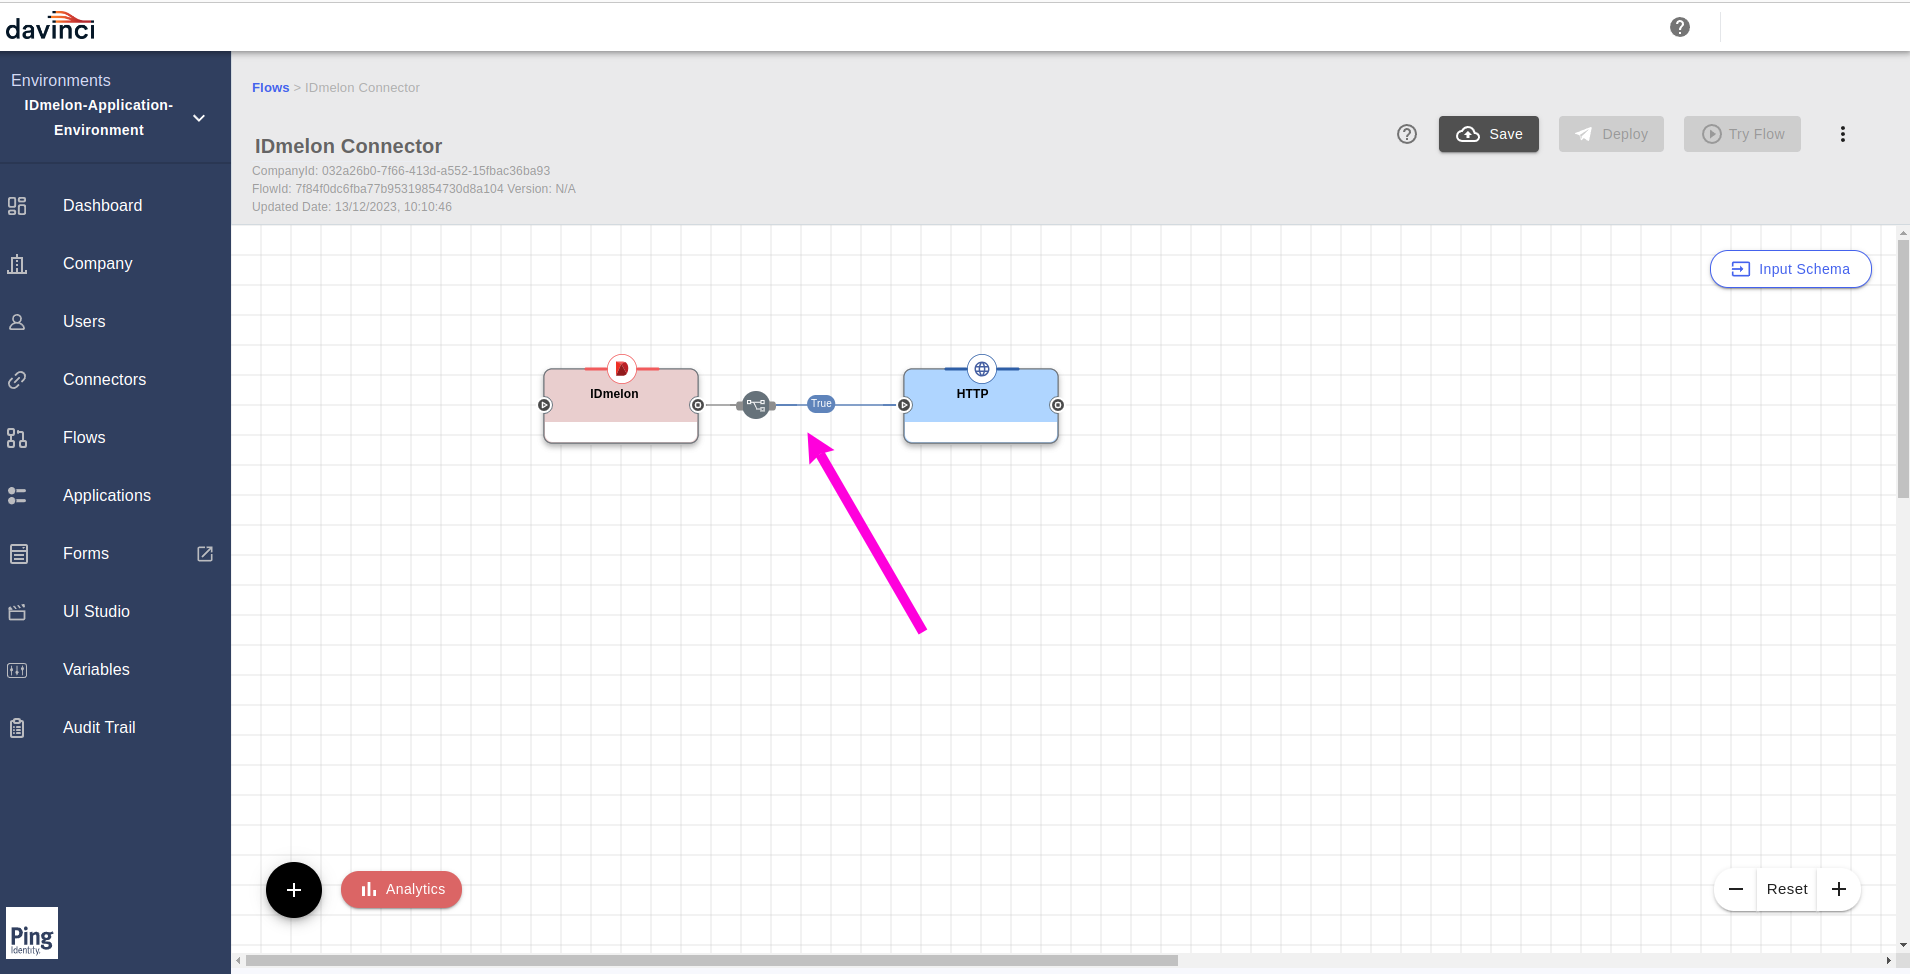
Now in the flow page, Connect
IDmelonConnector to theHTTPConnector.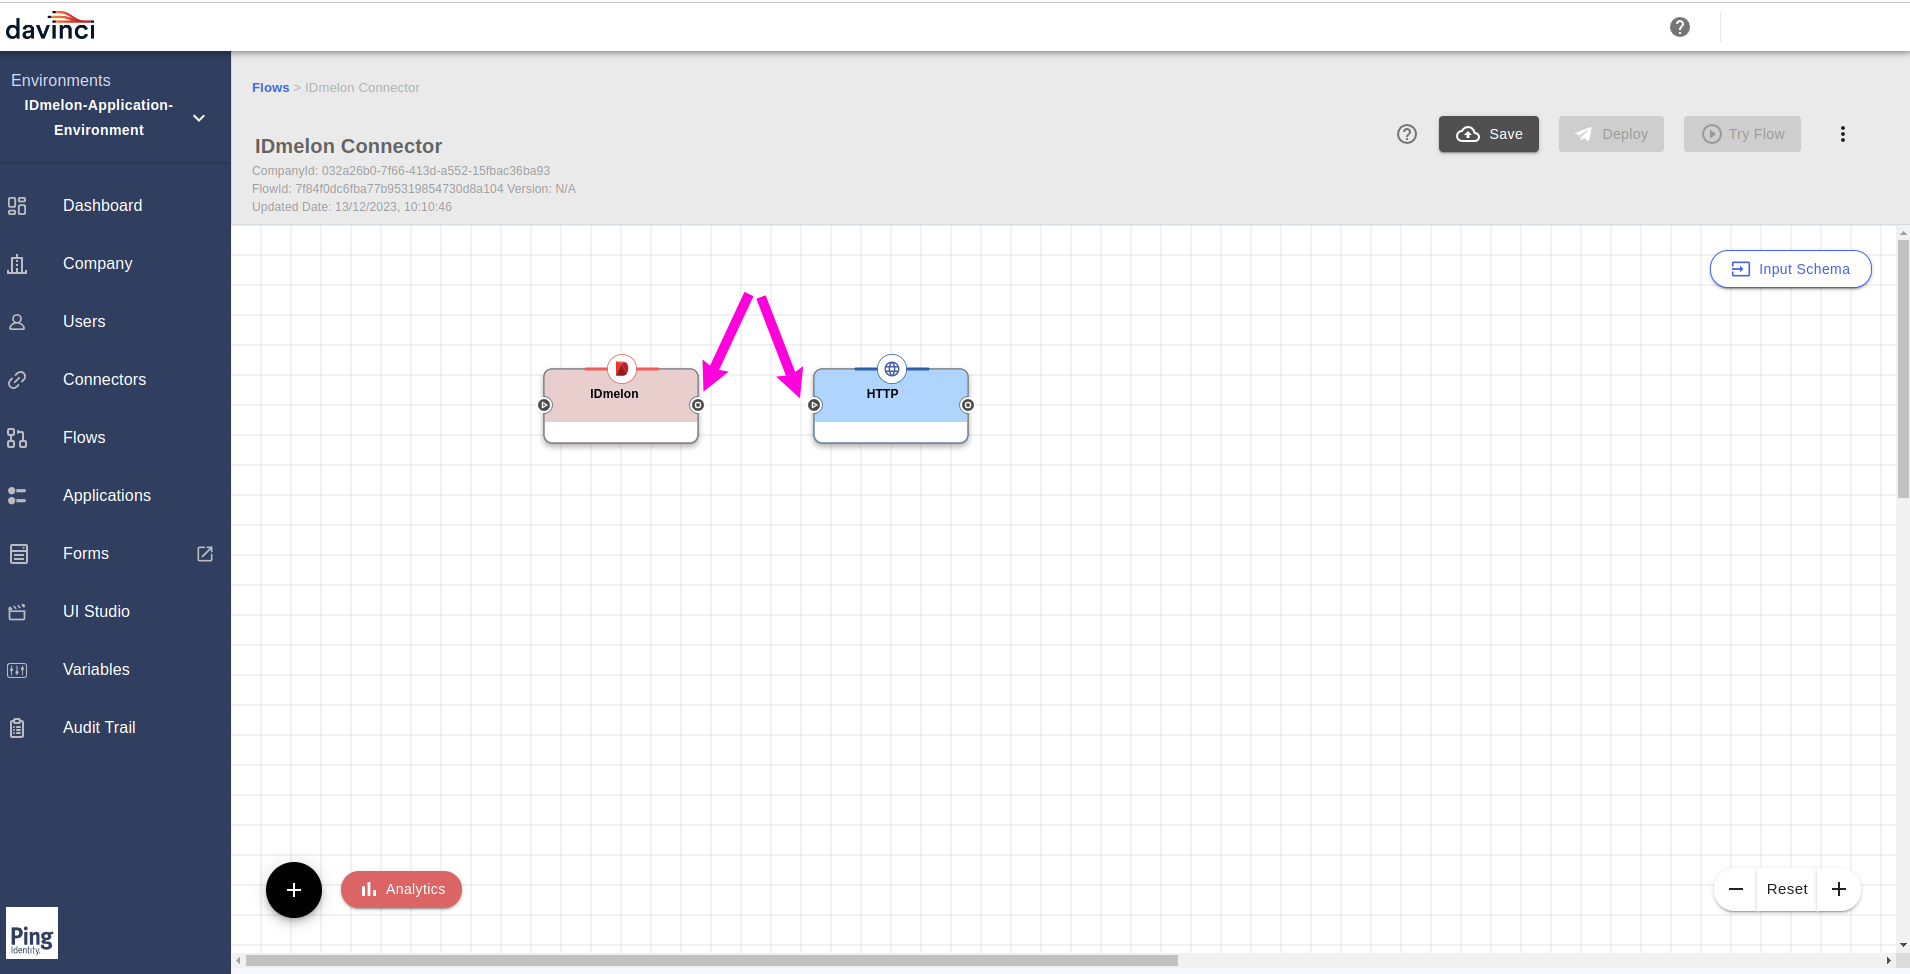
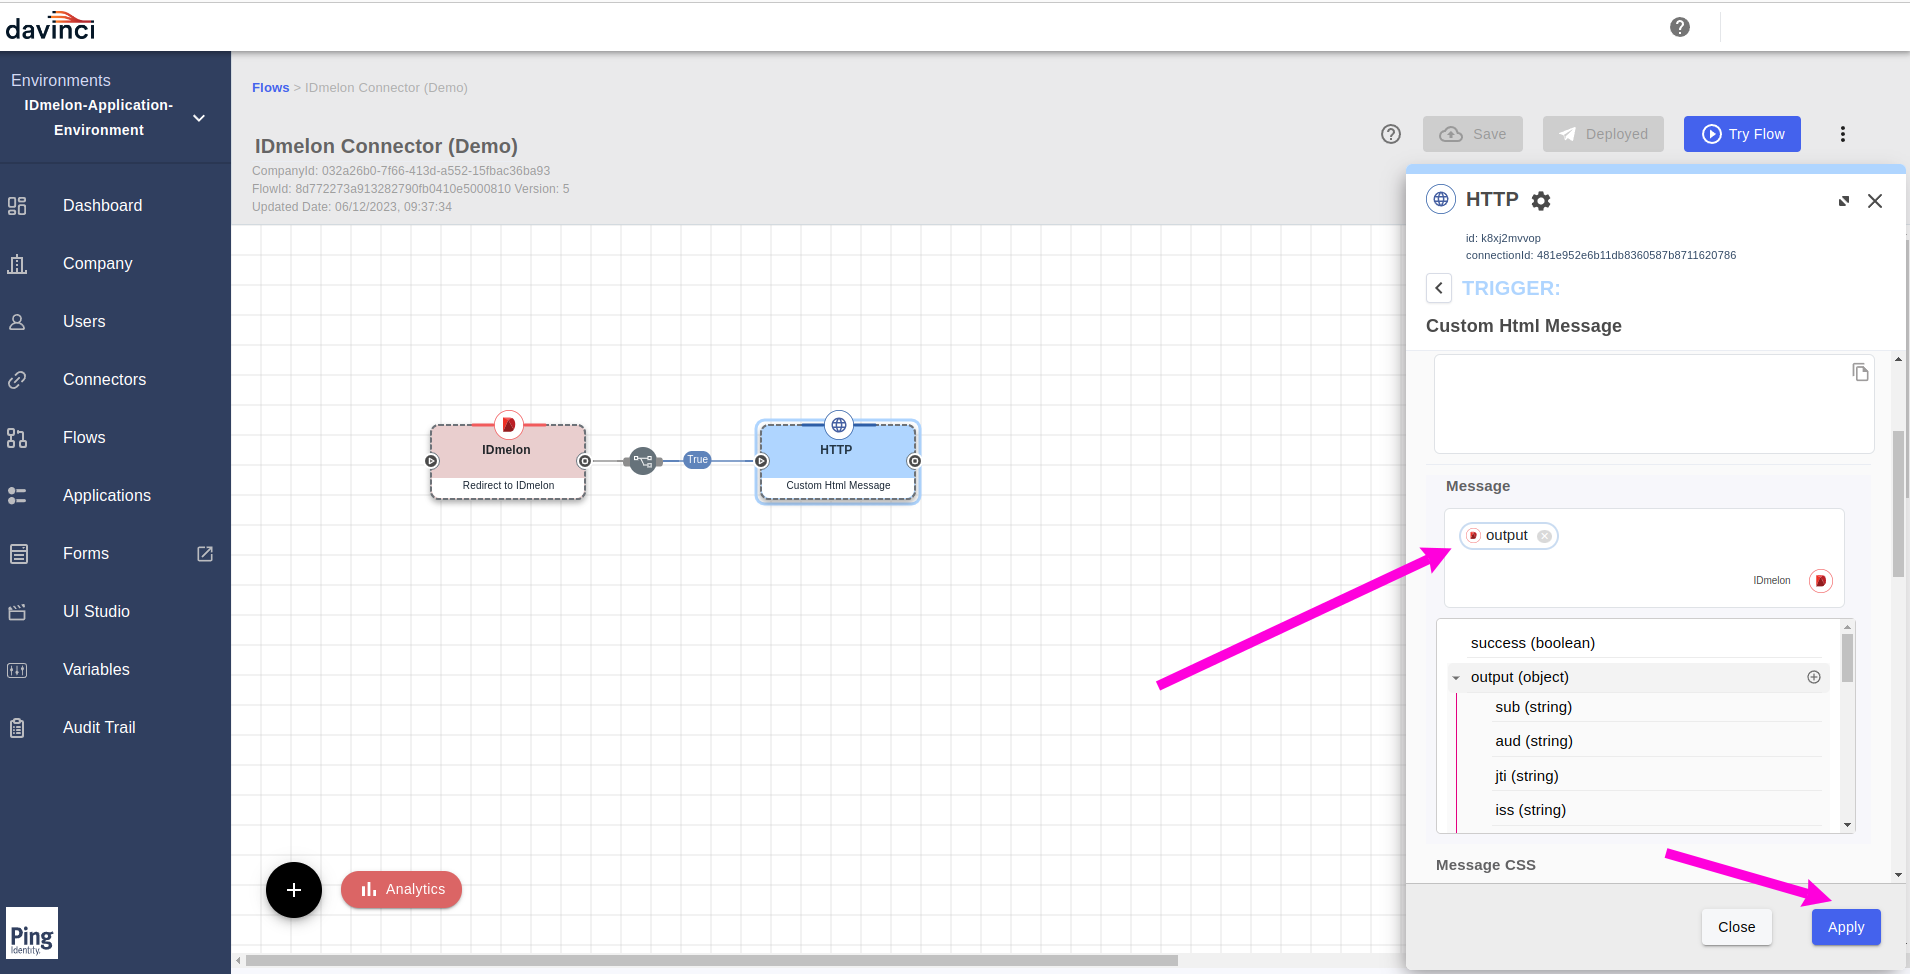
Click on the
HTTPconnector and from the right side opened panel, select theCustom Html Message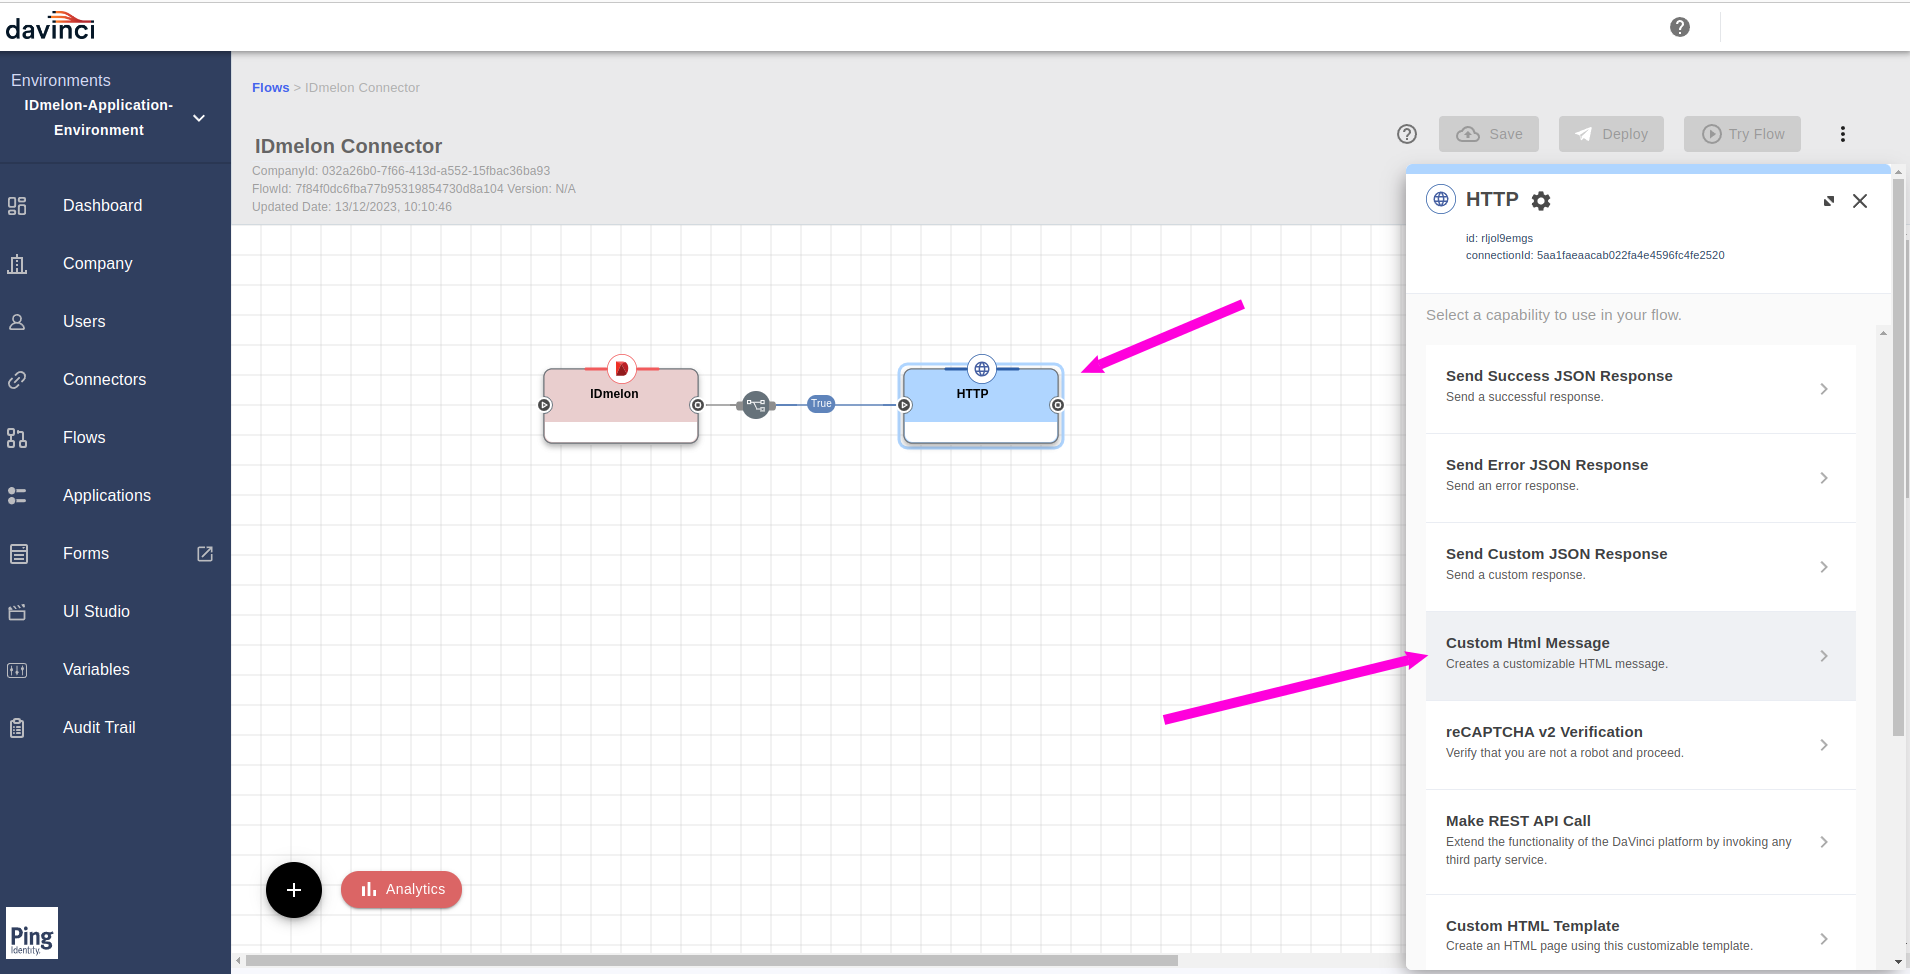
From the
Generaltab, from theMessagefield, click on the{}icon.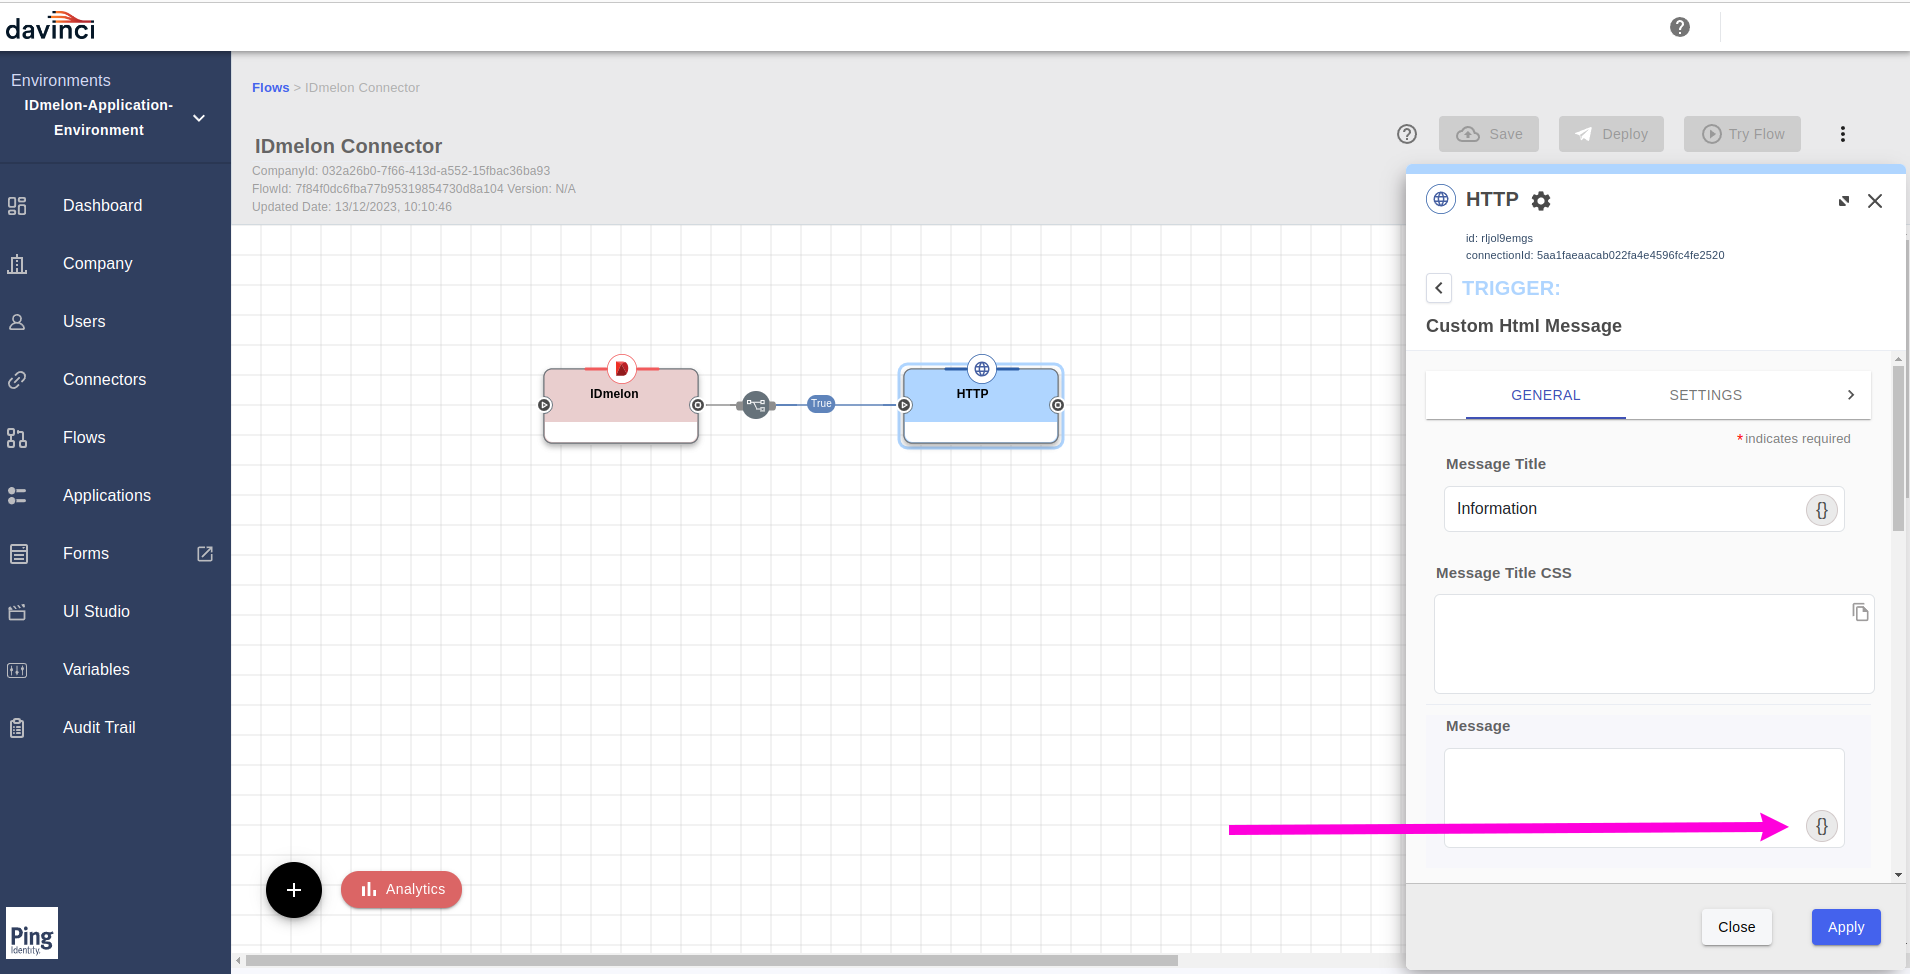
Chose the
IDmelonfrom the opened list.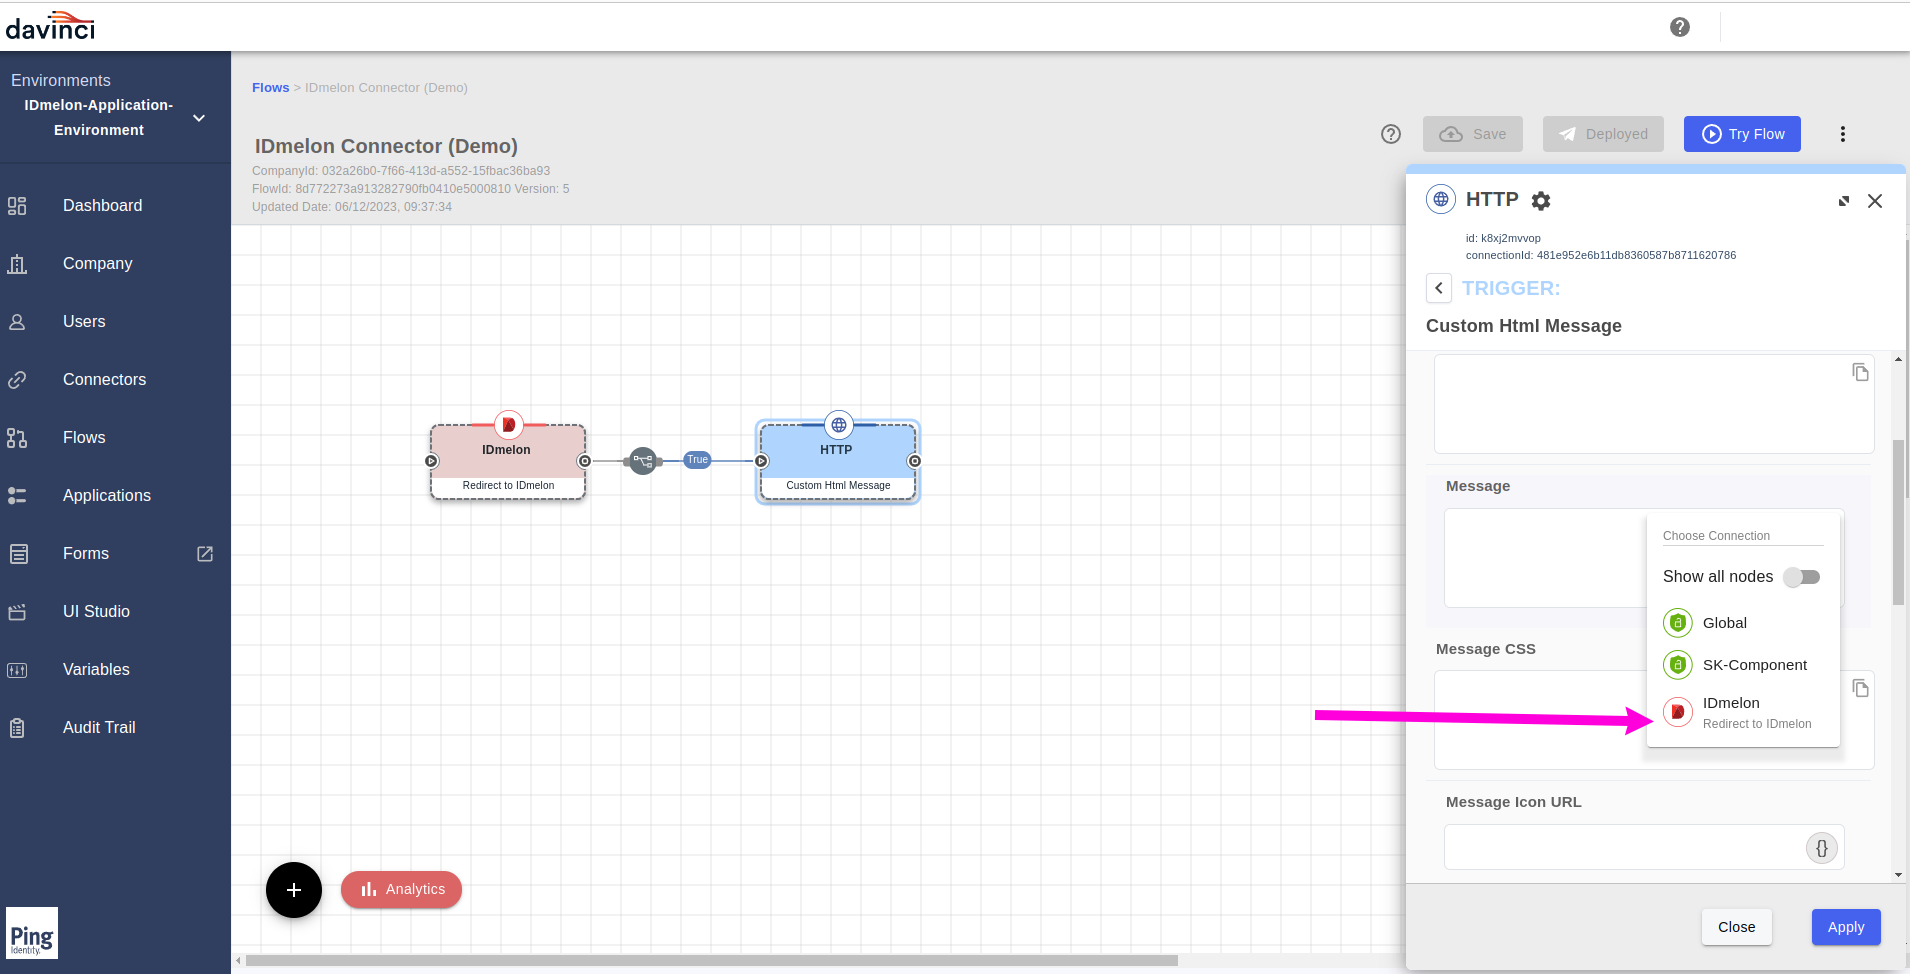
Select the output data with clicking on the
+button.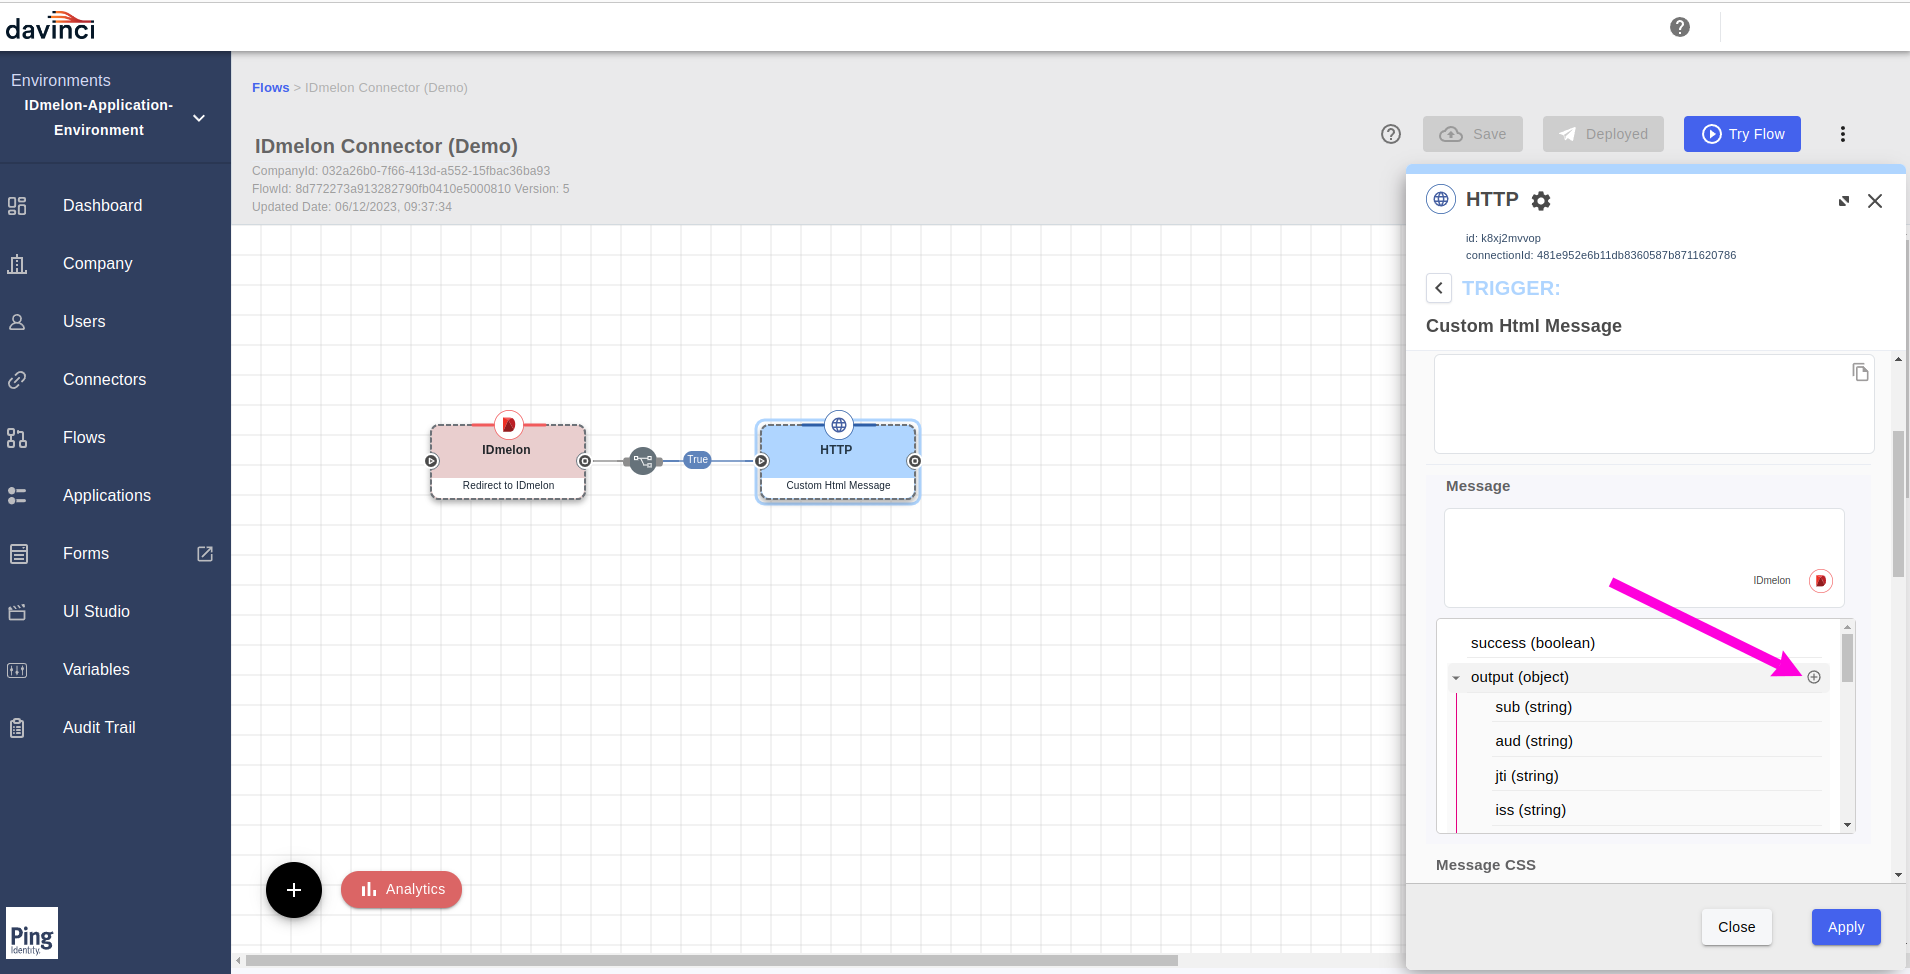
From the flow panel, Save your flows by clicking on the
Savebutton from the top right buttons.Deploy your flow, with Clicking the
Deploybutton.To test the flow, click the
Try Flowbutton.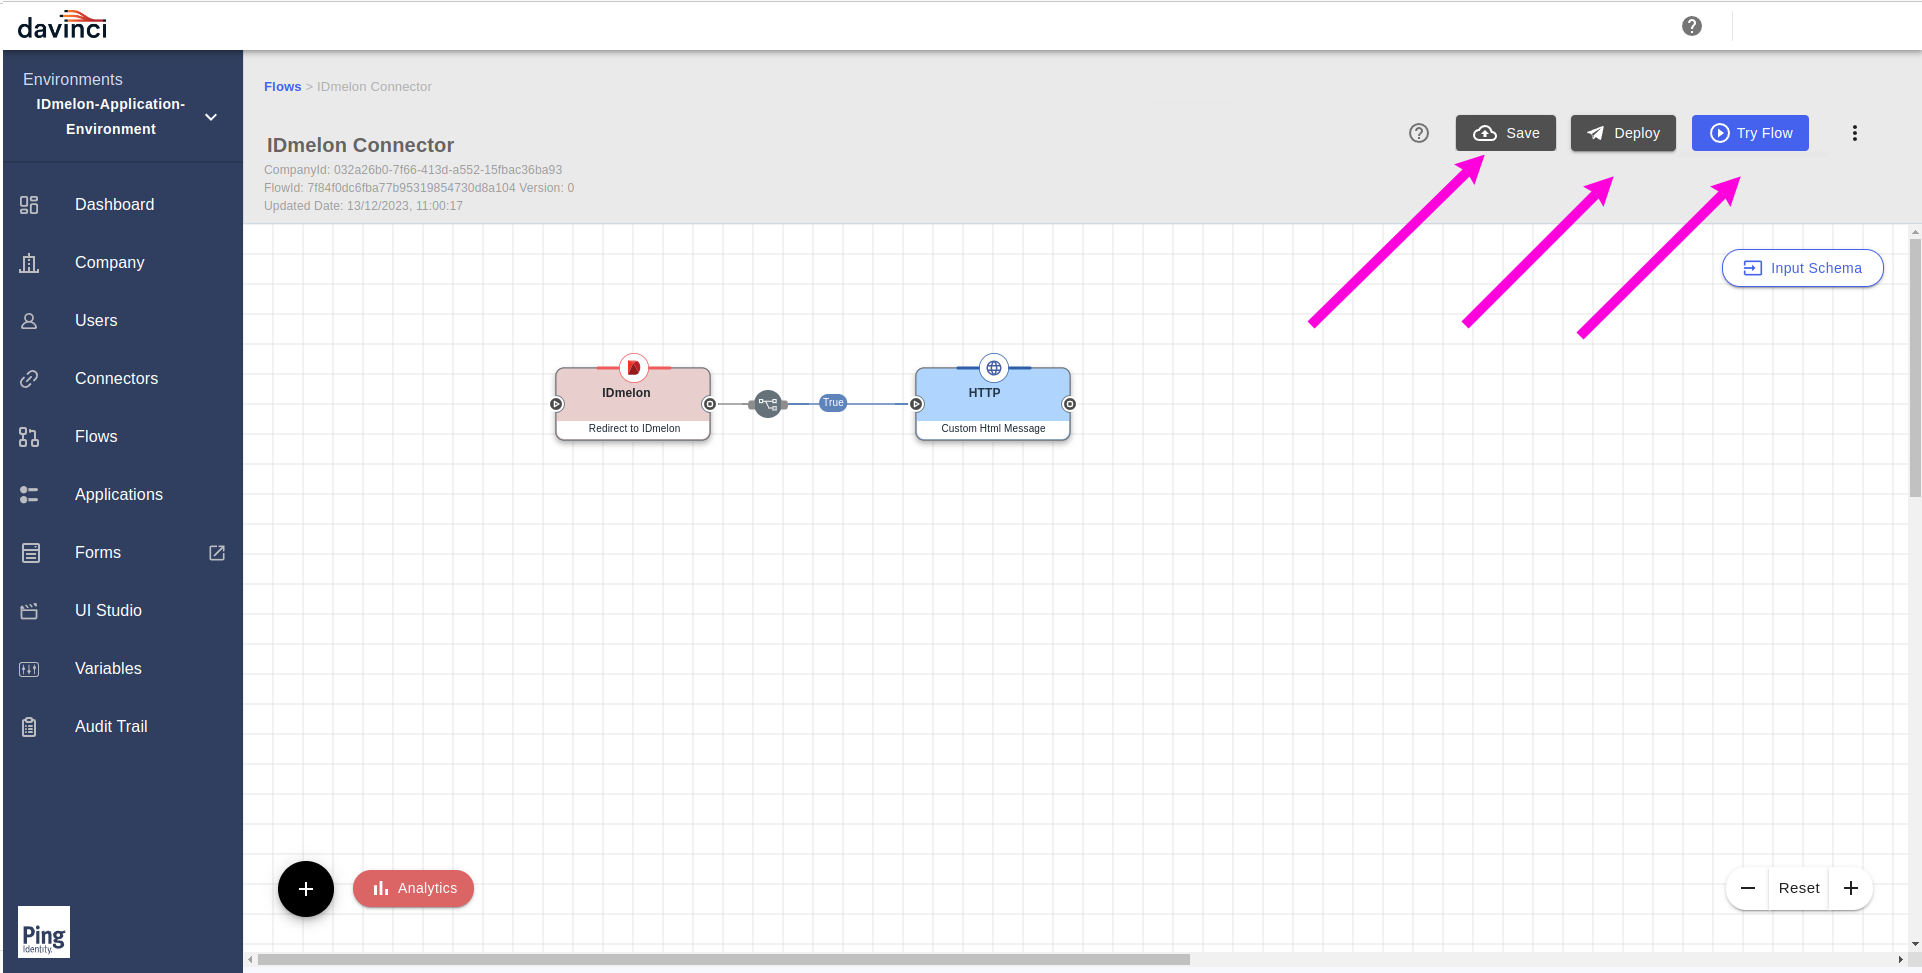
Now based on the created flow, you will redirect to
IDmelonto login with your passkey, your security key or other options.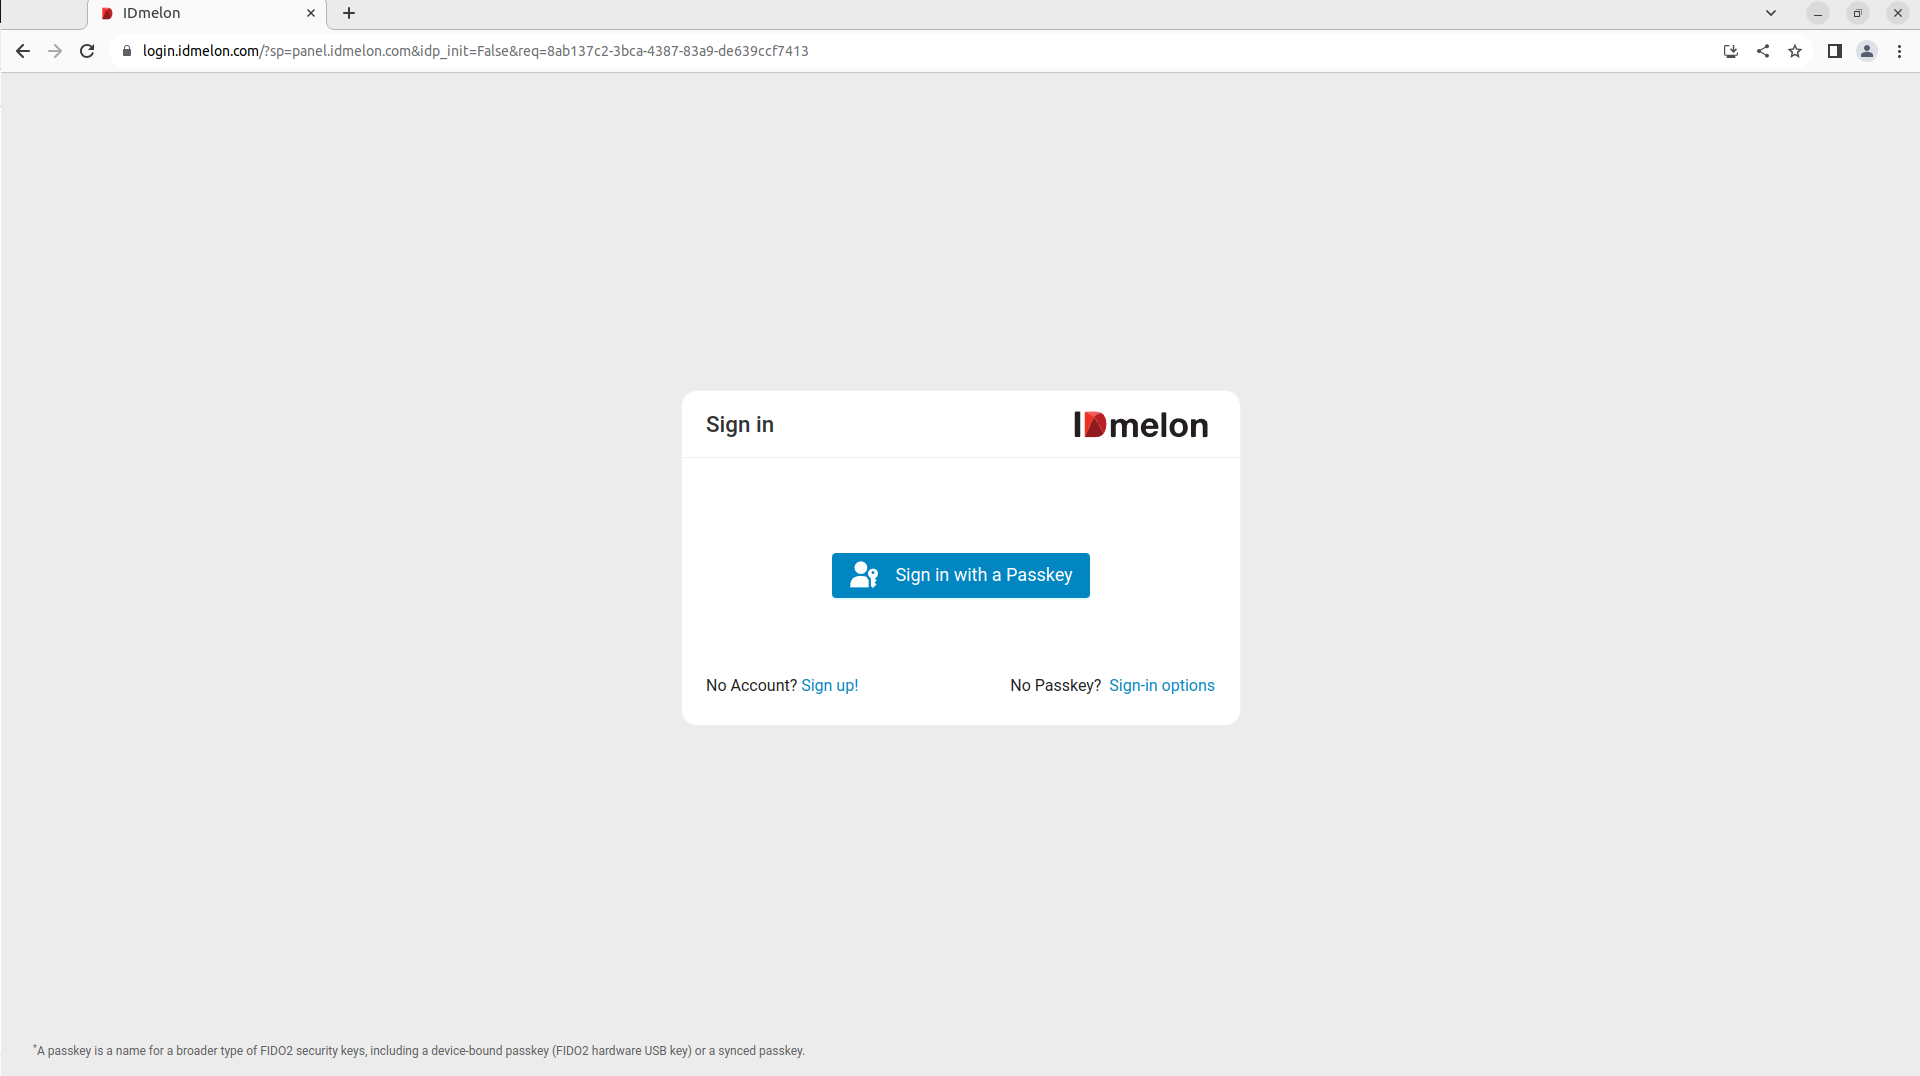
After successfully logging into IDmelon, the requested data is provided to the next flow mentioned in the flow page as
HTTPand will be displayed.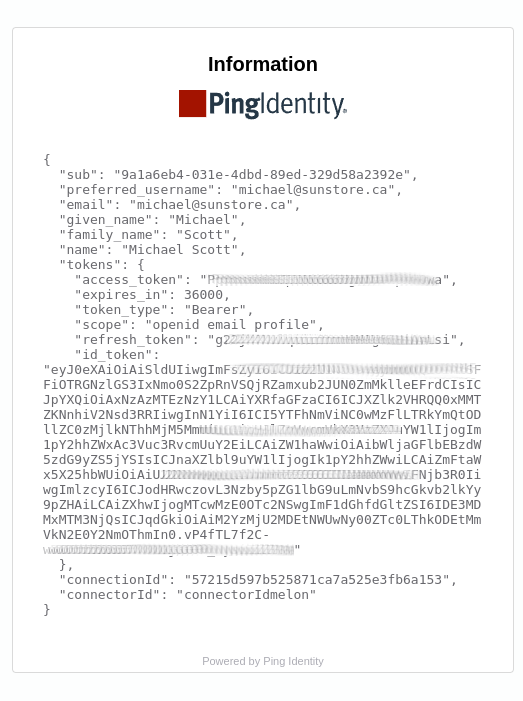
IDmelon Panel configuration
You need to create an OIDC Application, to do it, go to this address:
https://sso.idmelon.com/api/oidc/idp/applications/
And then click on the
Click here.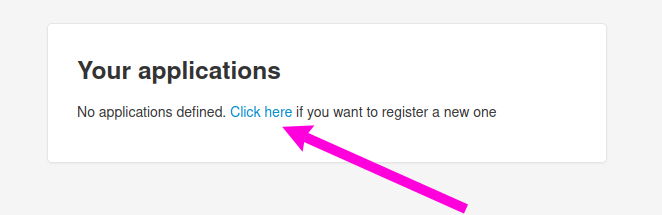
For new displayed application form, consider as below:
Name: Enter your desired name.
Client id: You need to copy this value, and use this value in the step
10asClient IDClient secret: You need to copy this value, and use this value in the step
10asClient SecretRemember this value show only once, and then the value will be show as encrypted, and is not usable, so make sure that you copy it.Authorization grant type: Authorization code
Redirect uris: You need to paste the value of
Redirect URLfield that you copied in step10into this field.Algorithm: HMAC with SHA-2 256
And finally click on the
Savebutton.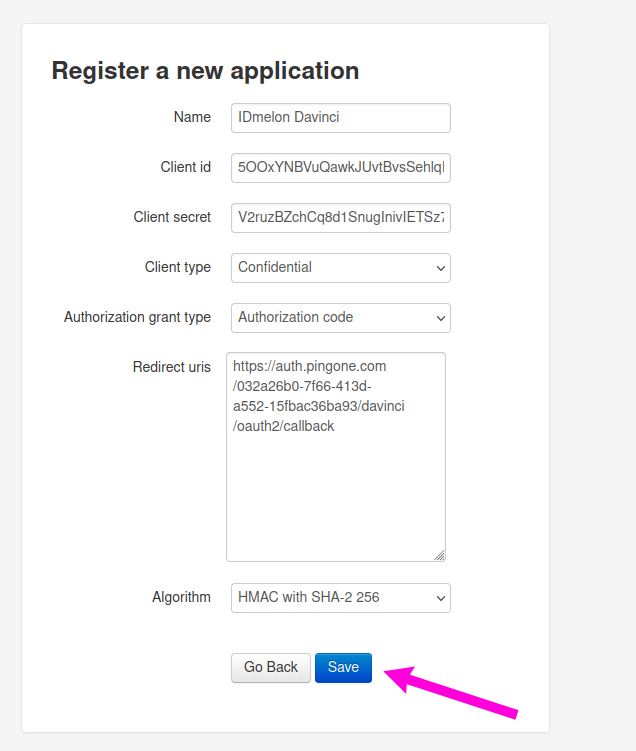
Tips
OpenID Connect Well-Known Configuration:
https://sso.idmelon.com/api/oidc/idp/.well-known/openid-configuration/