Okta
In this document you are going to set up IDmelon as an external IdP to the Okta.
Initialize IDmelon Configuration as IDP
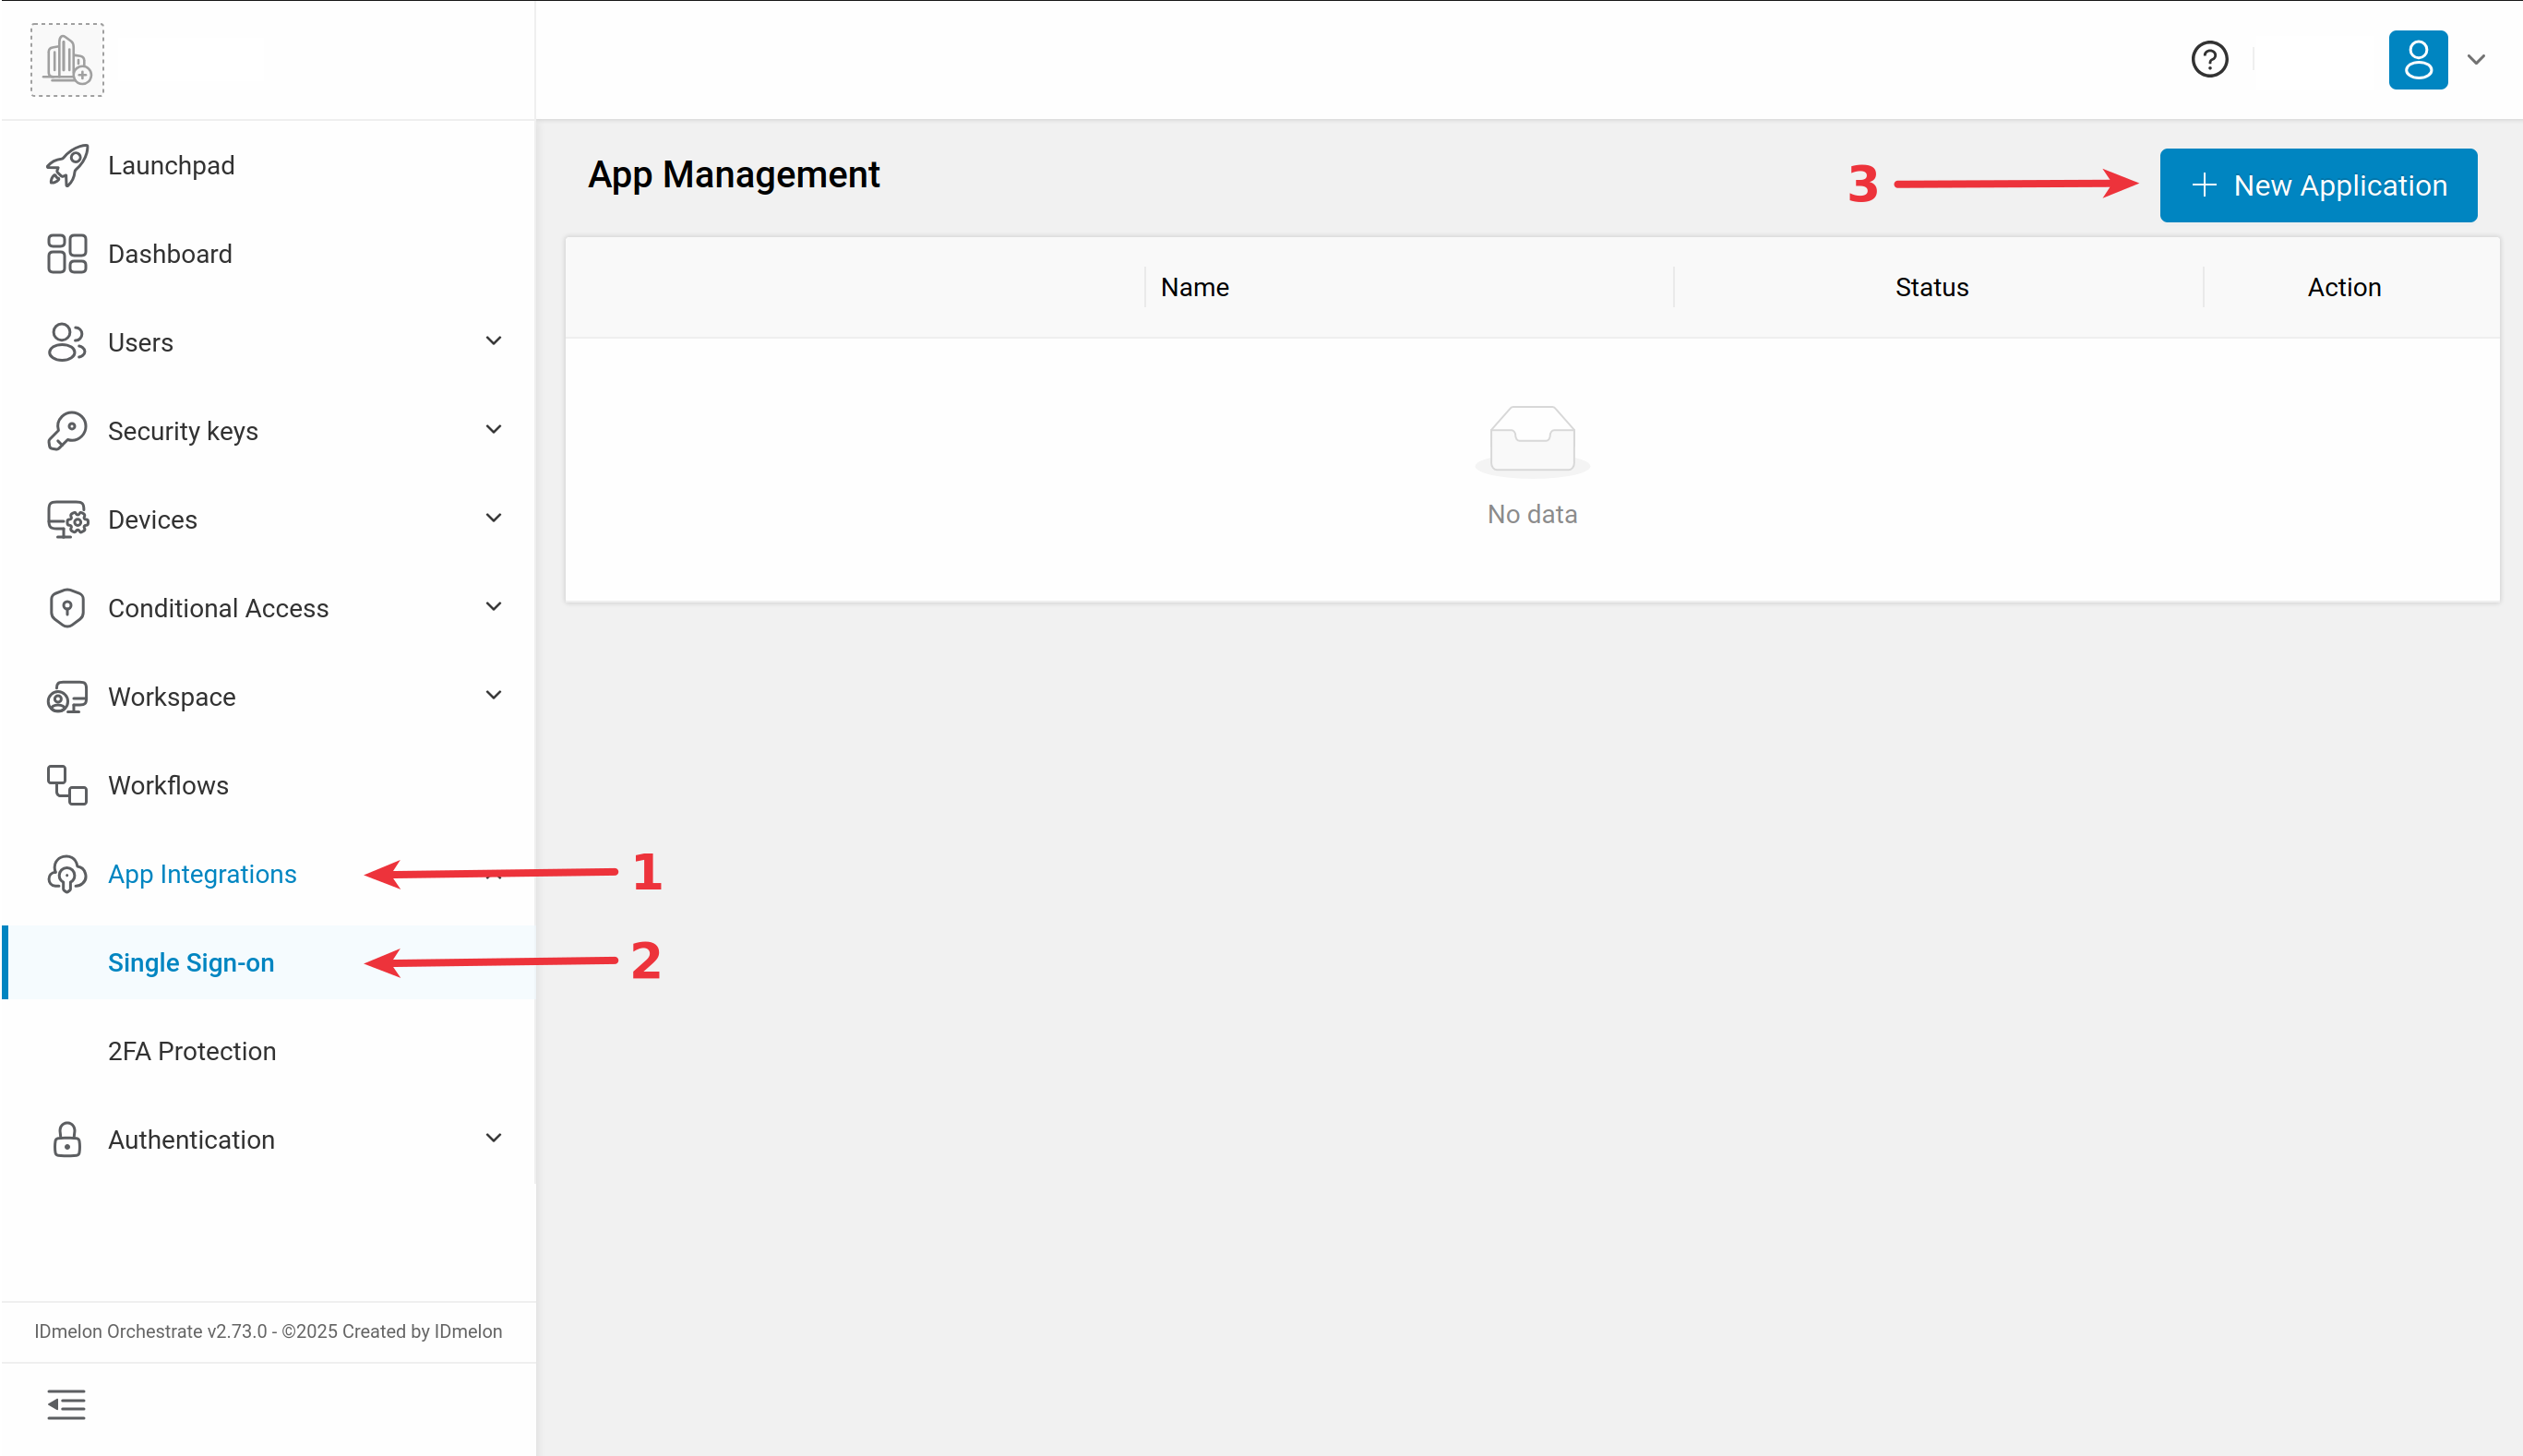
Log in to the IDmelon panel, navigate to the App Integration > Single Sign-On section, and click New Application:
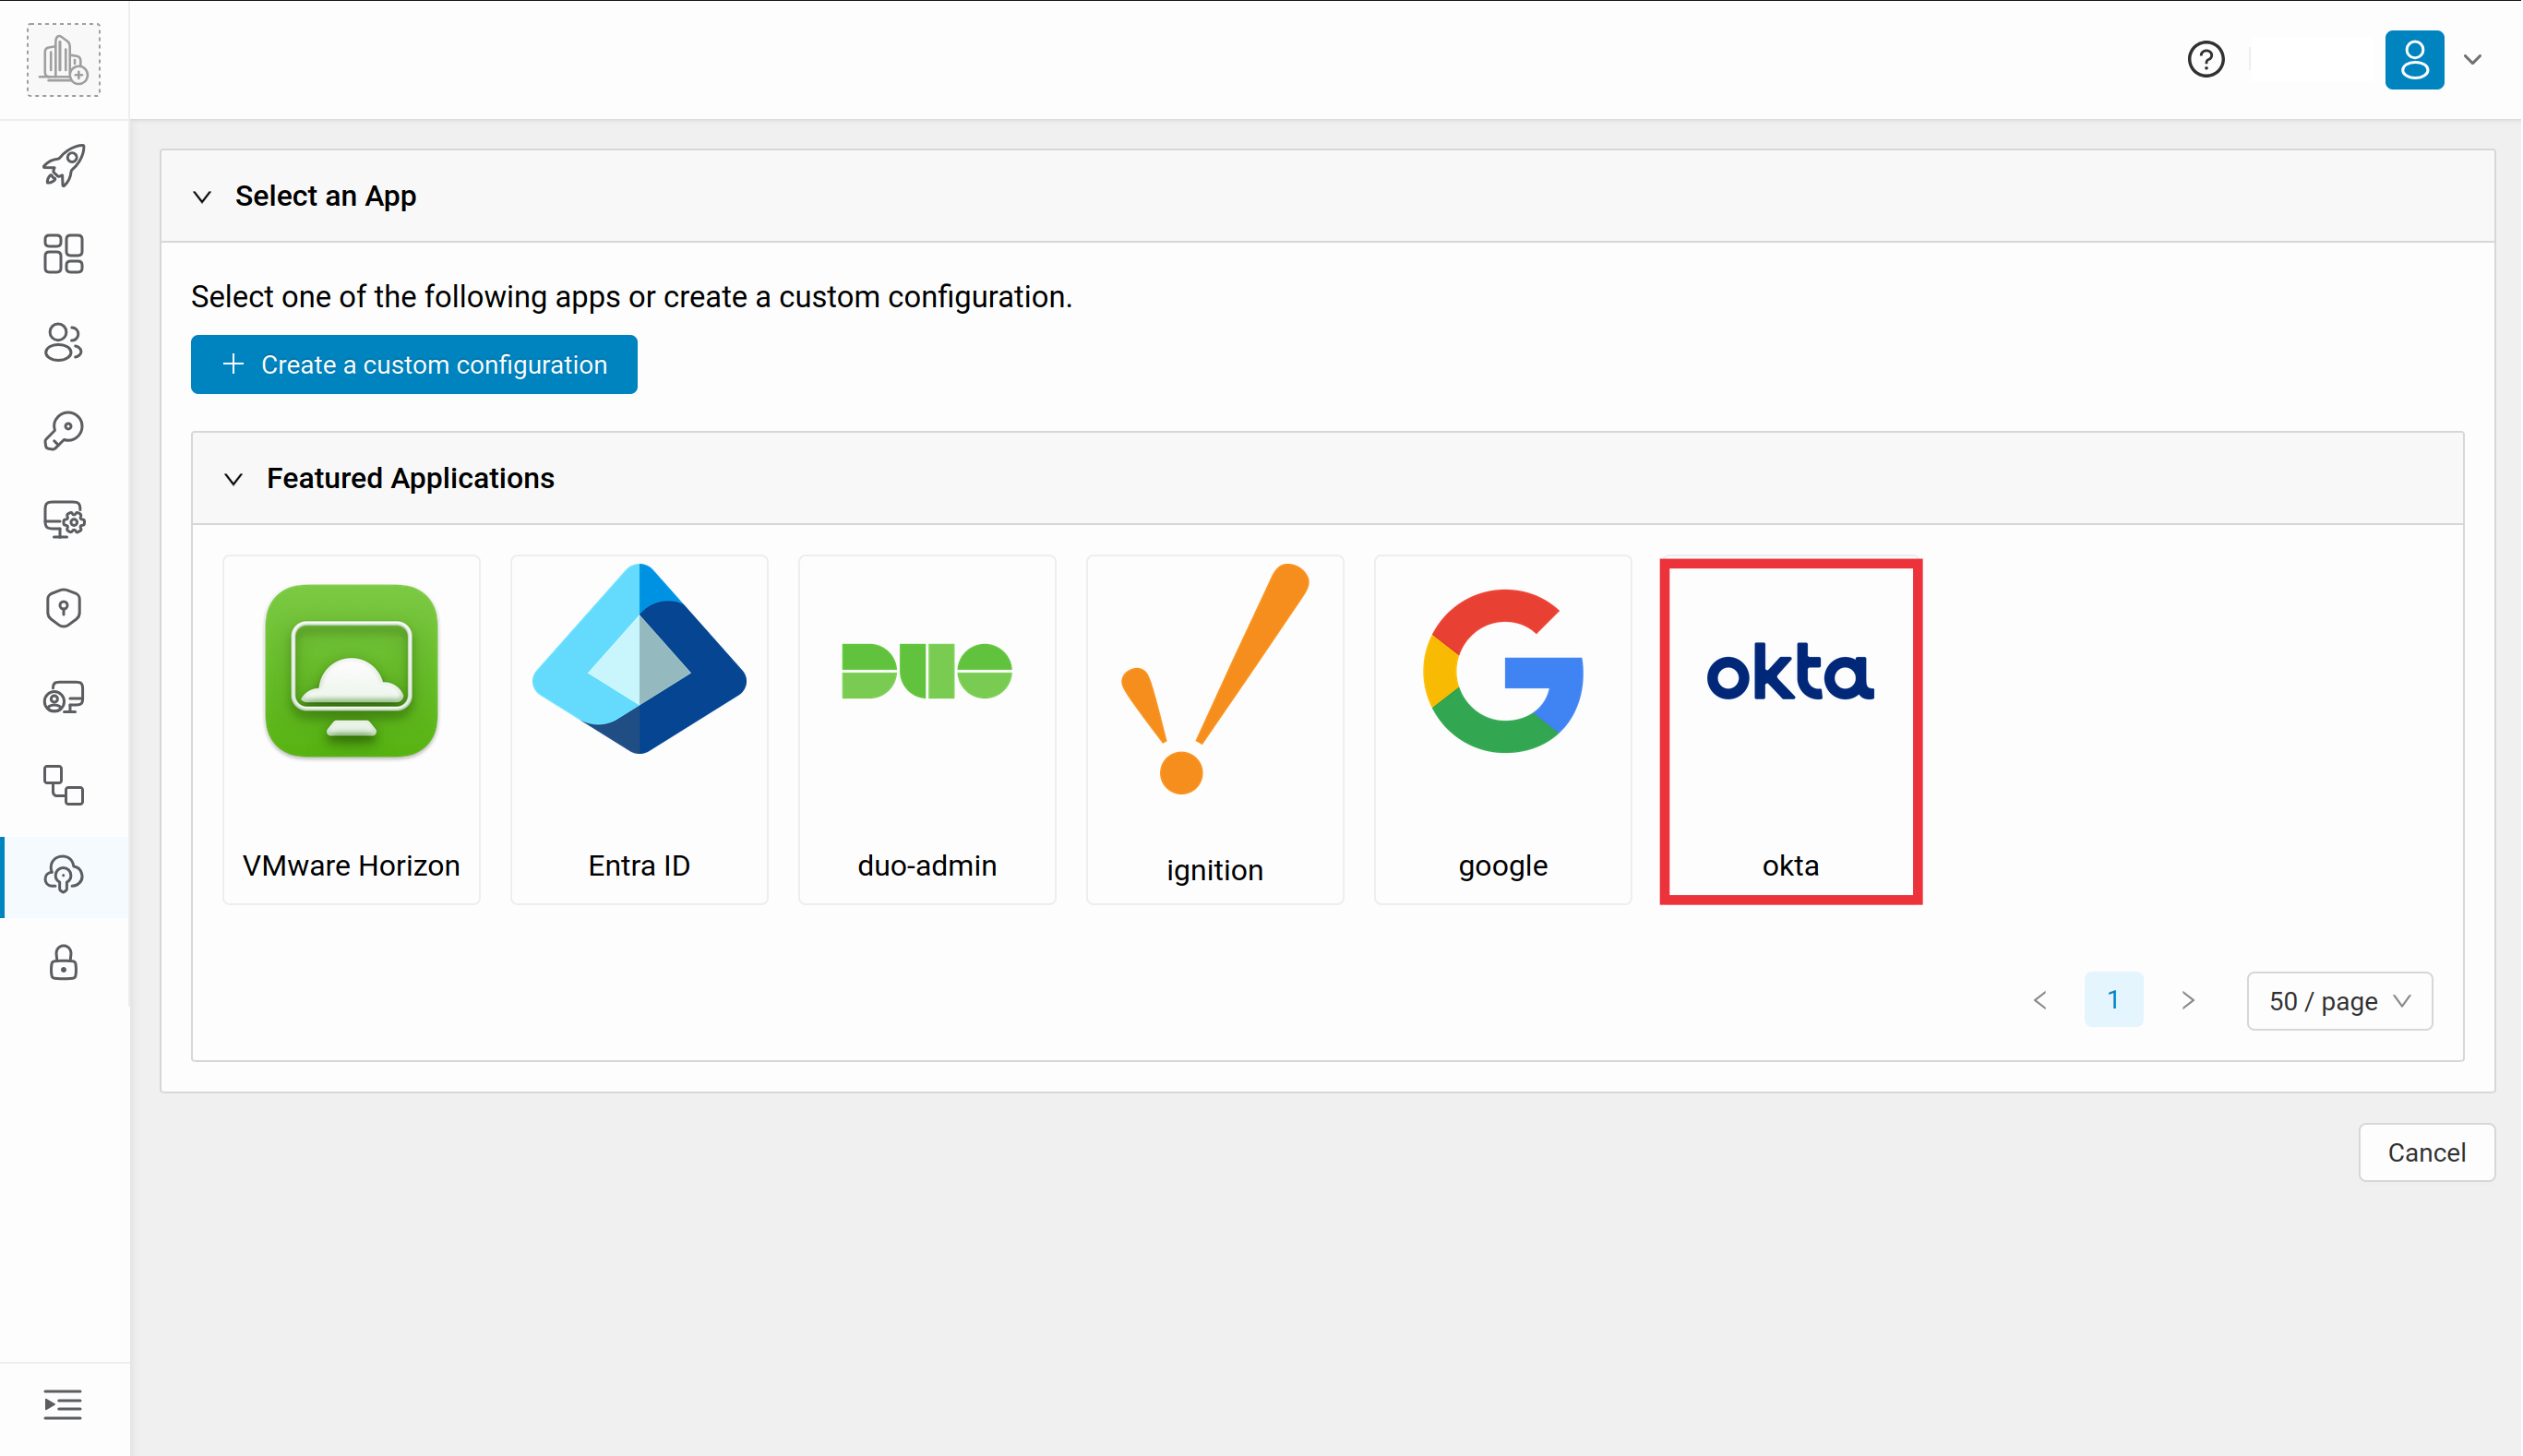
Then select Okta as service provider:
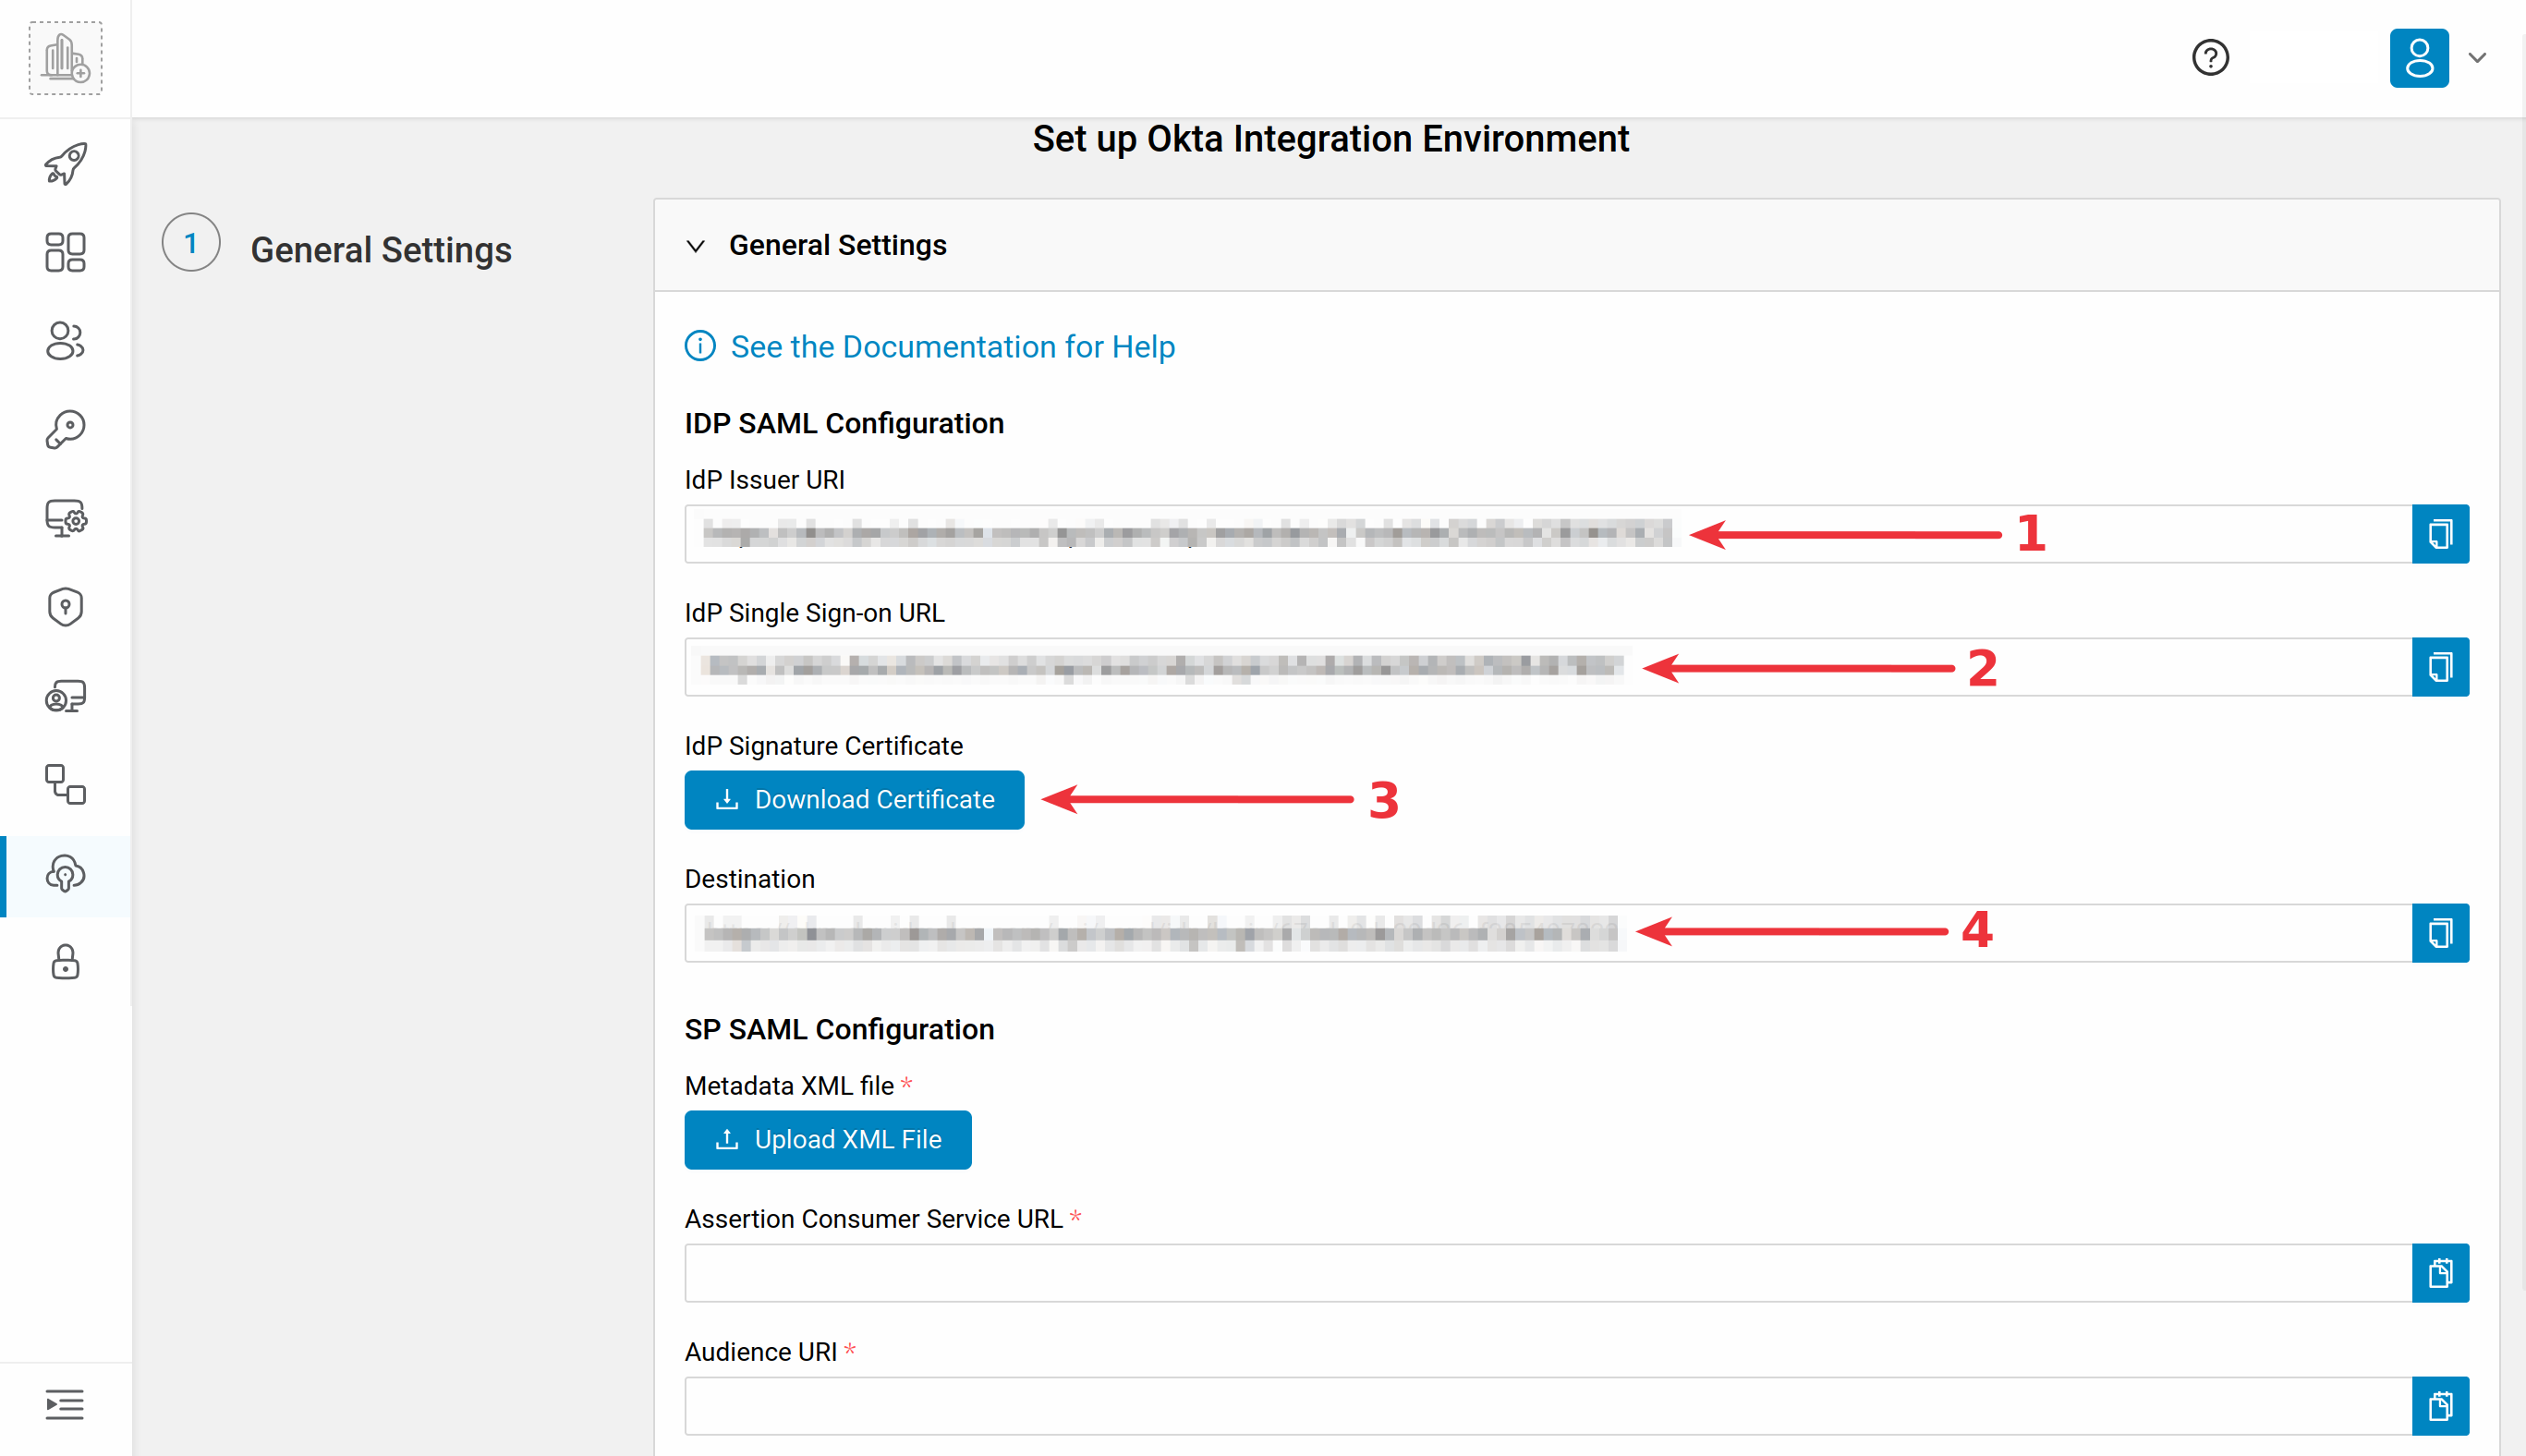
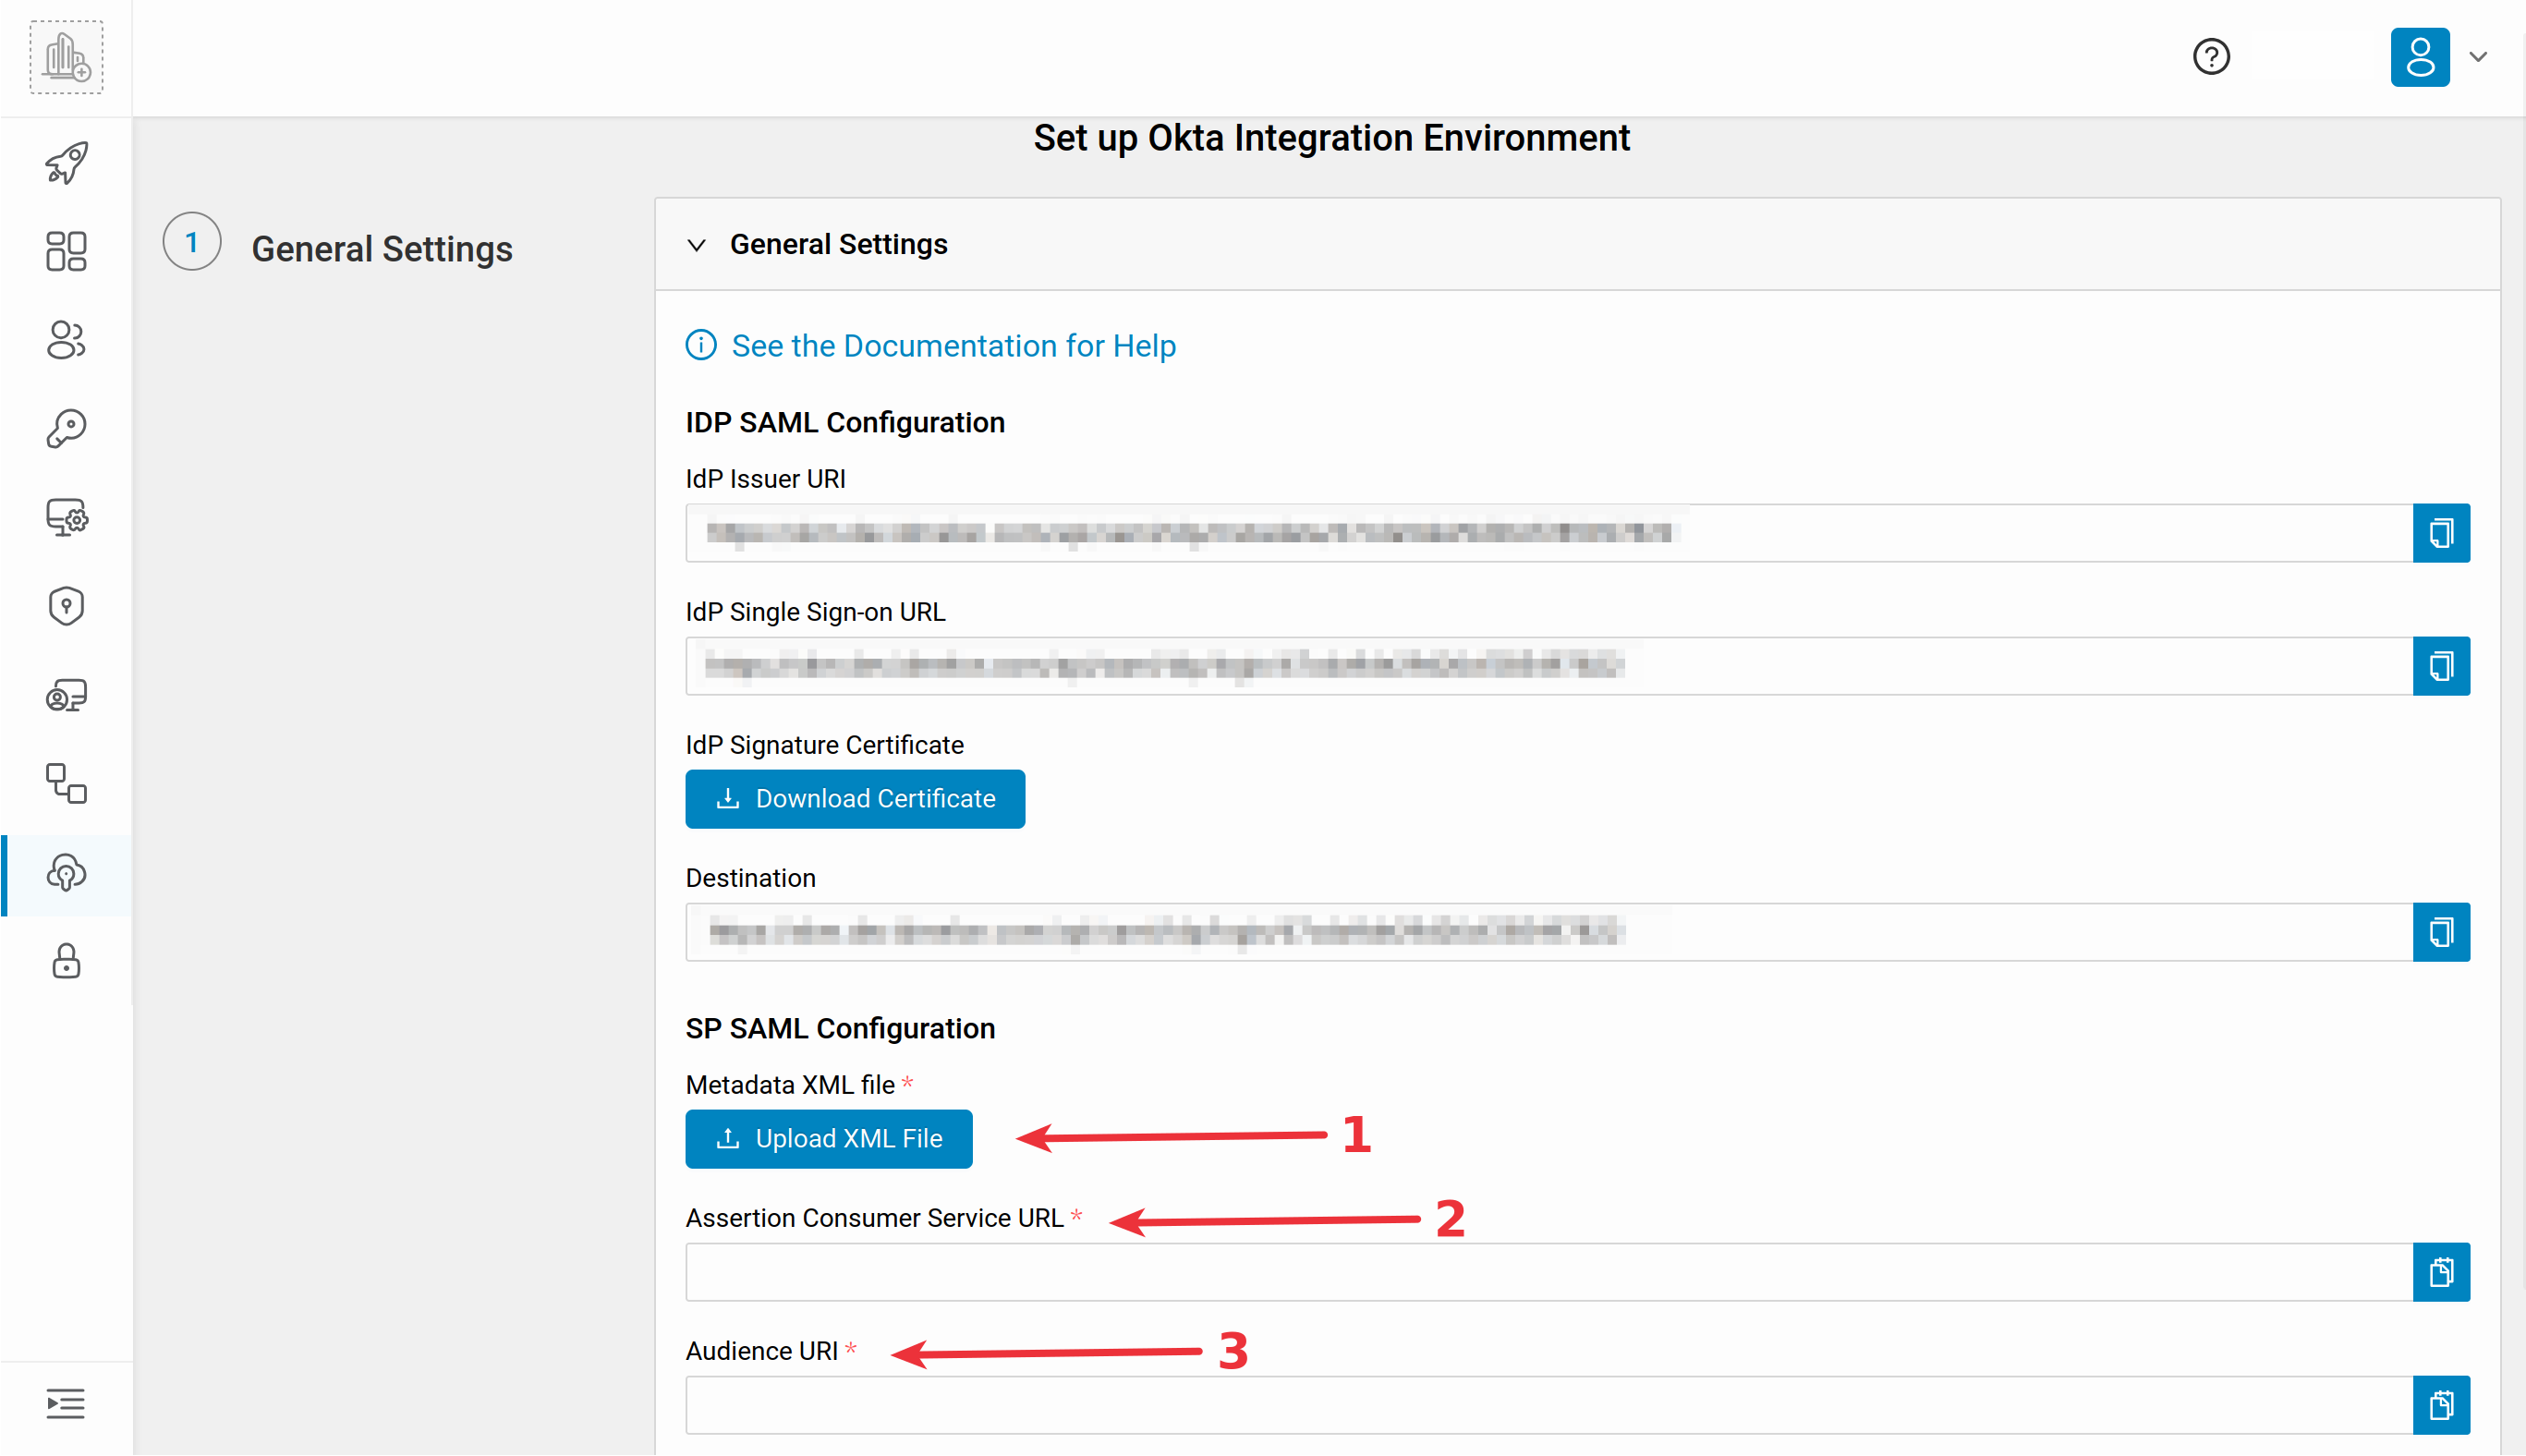
You will need the values provided in the newly opened window to set up Okta as SP:
Configuring Okta as SP
In order to set up the connection, you will need to log into your Okta administration panel.
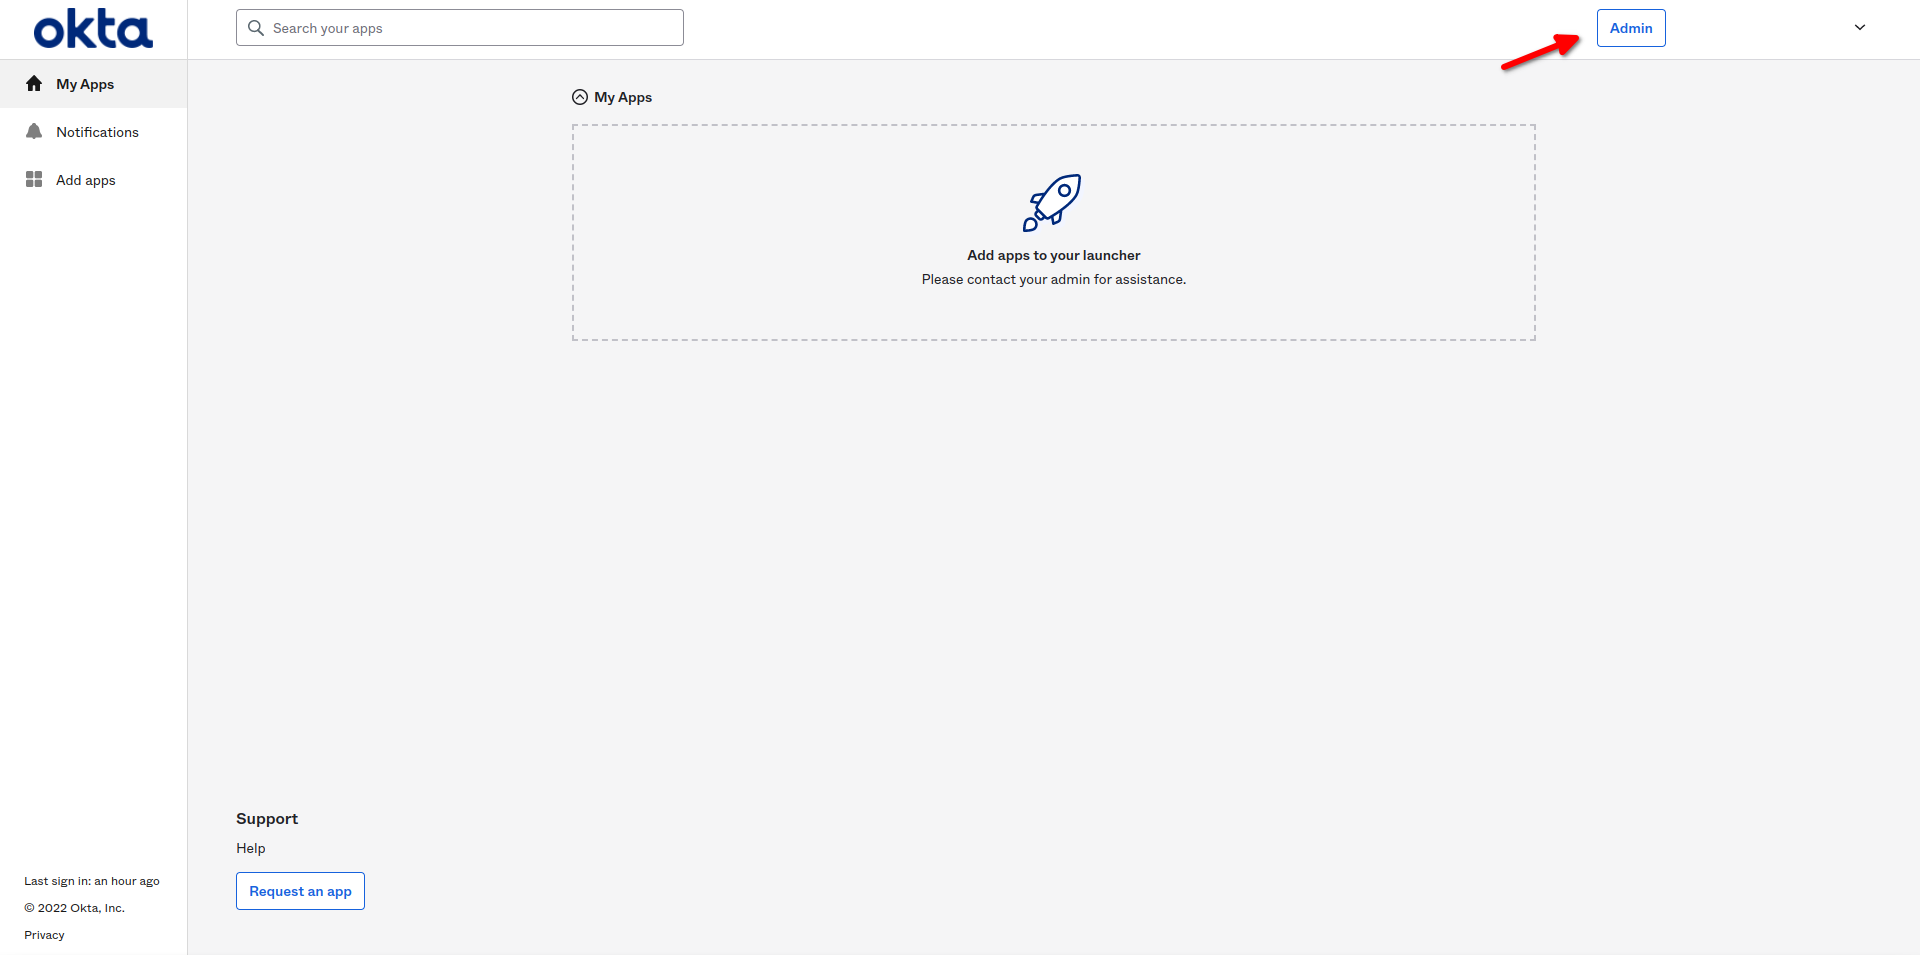
To login to the Okta administration panel, click the Admin button on the top right corner of Okta user panel page.
Add Identity Provider
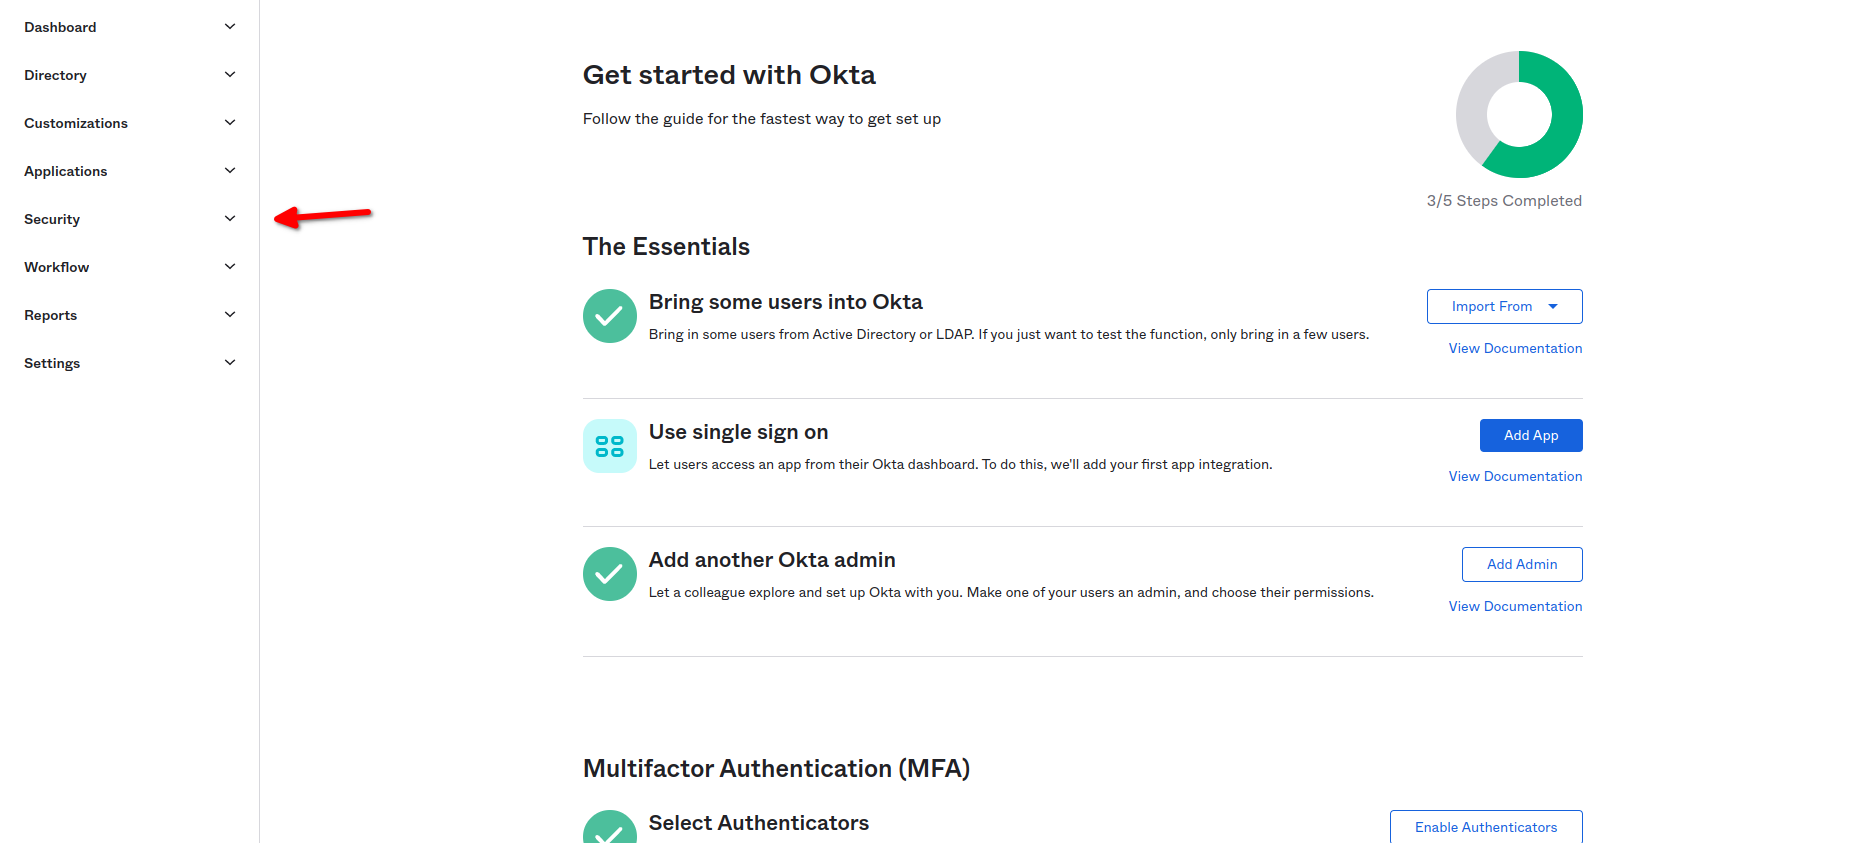
In the Okta administration panel, from the side menu, navigate to the Security menu.
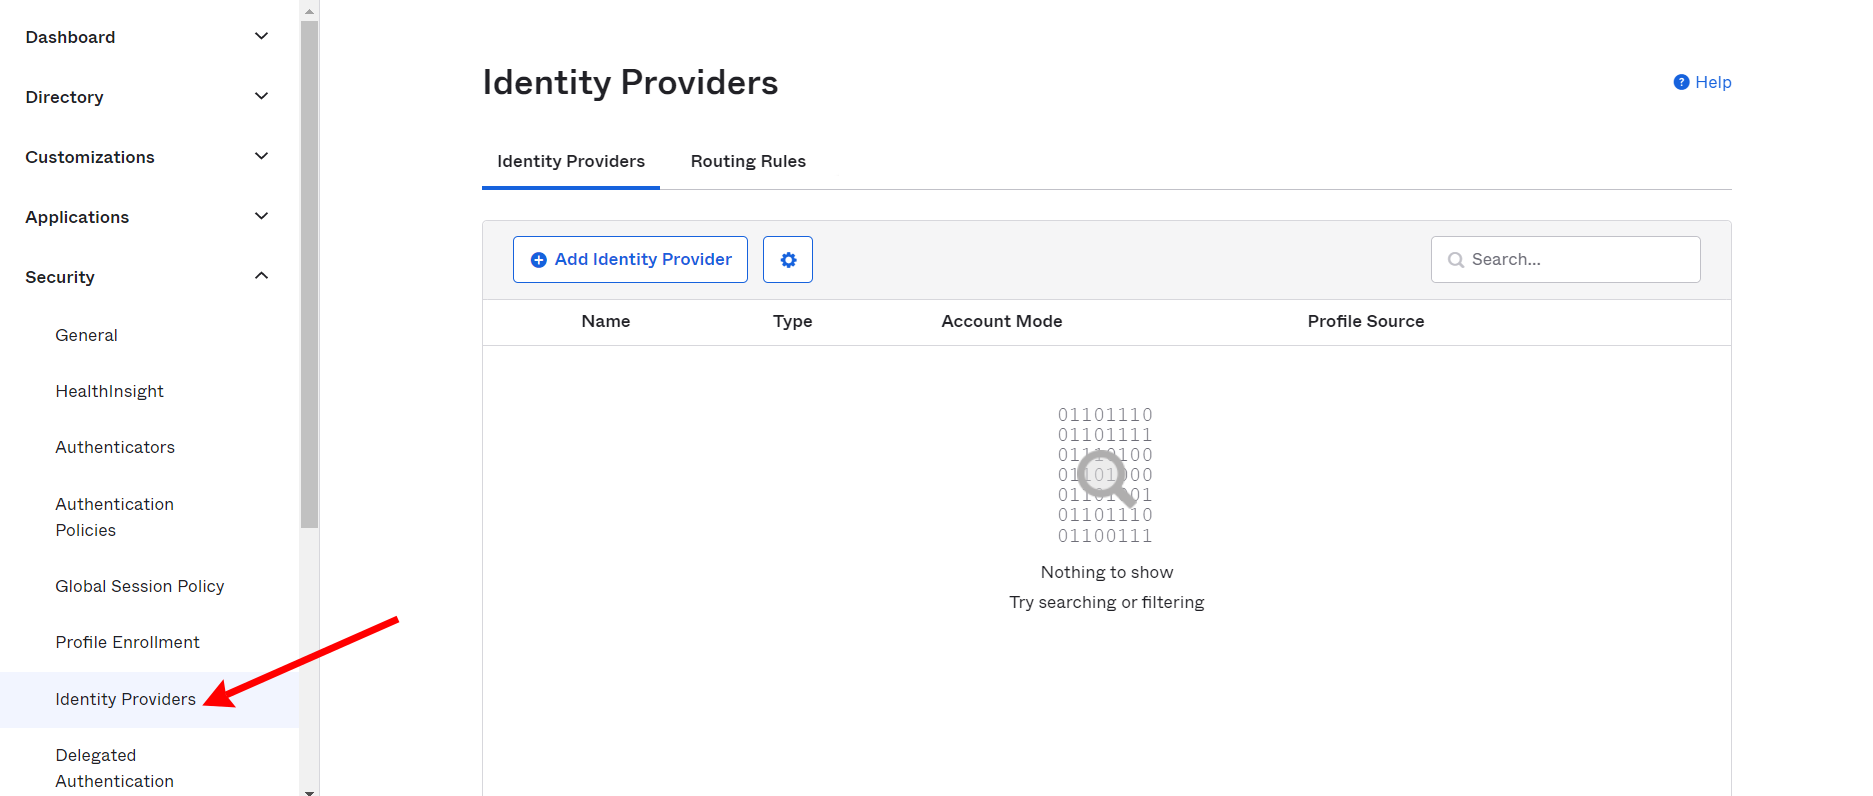
Then from the Security menu, select the Identity Providers sub-menu.
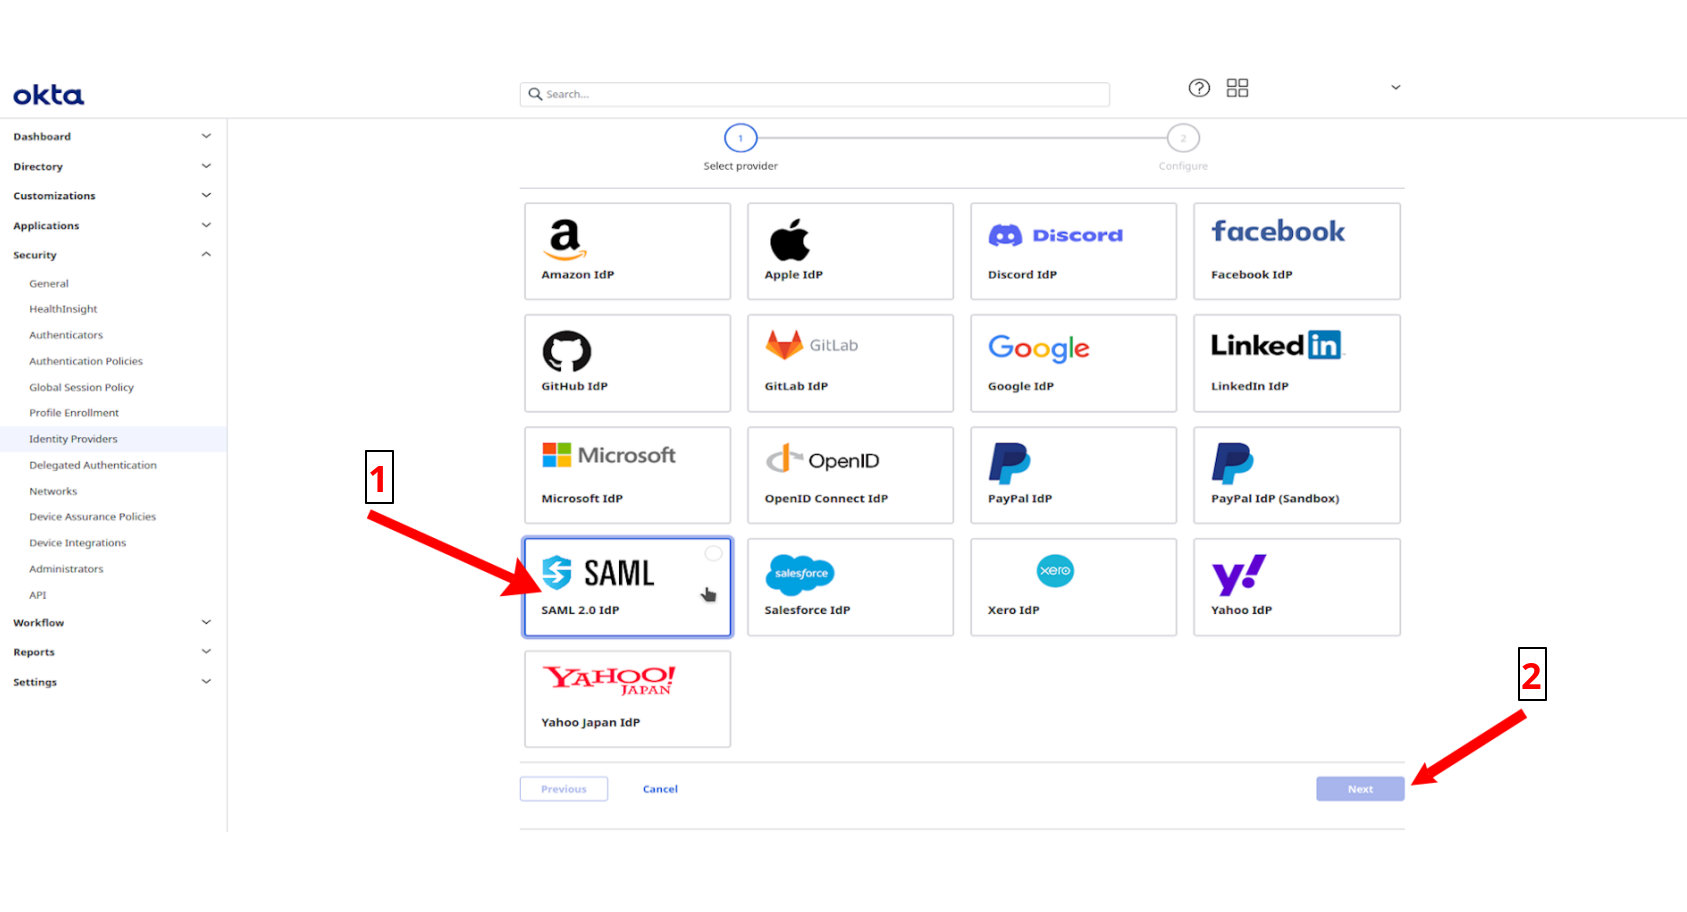
Then press Add Identity Provider button from the main panel.
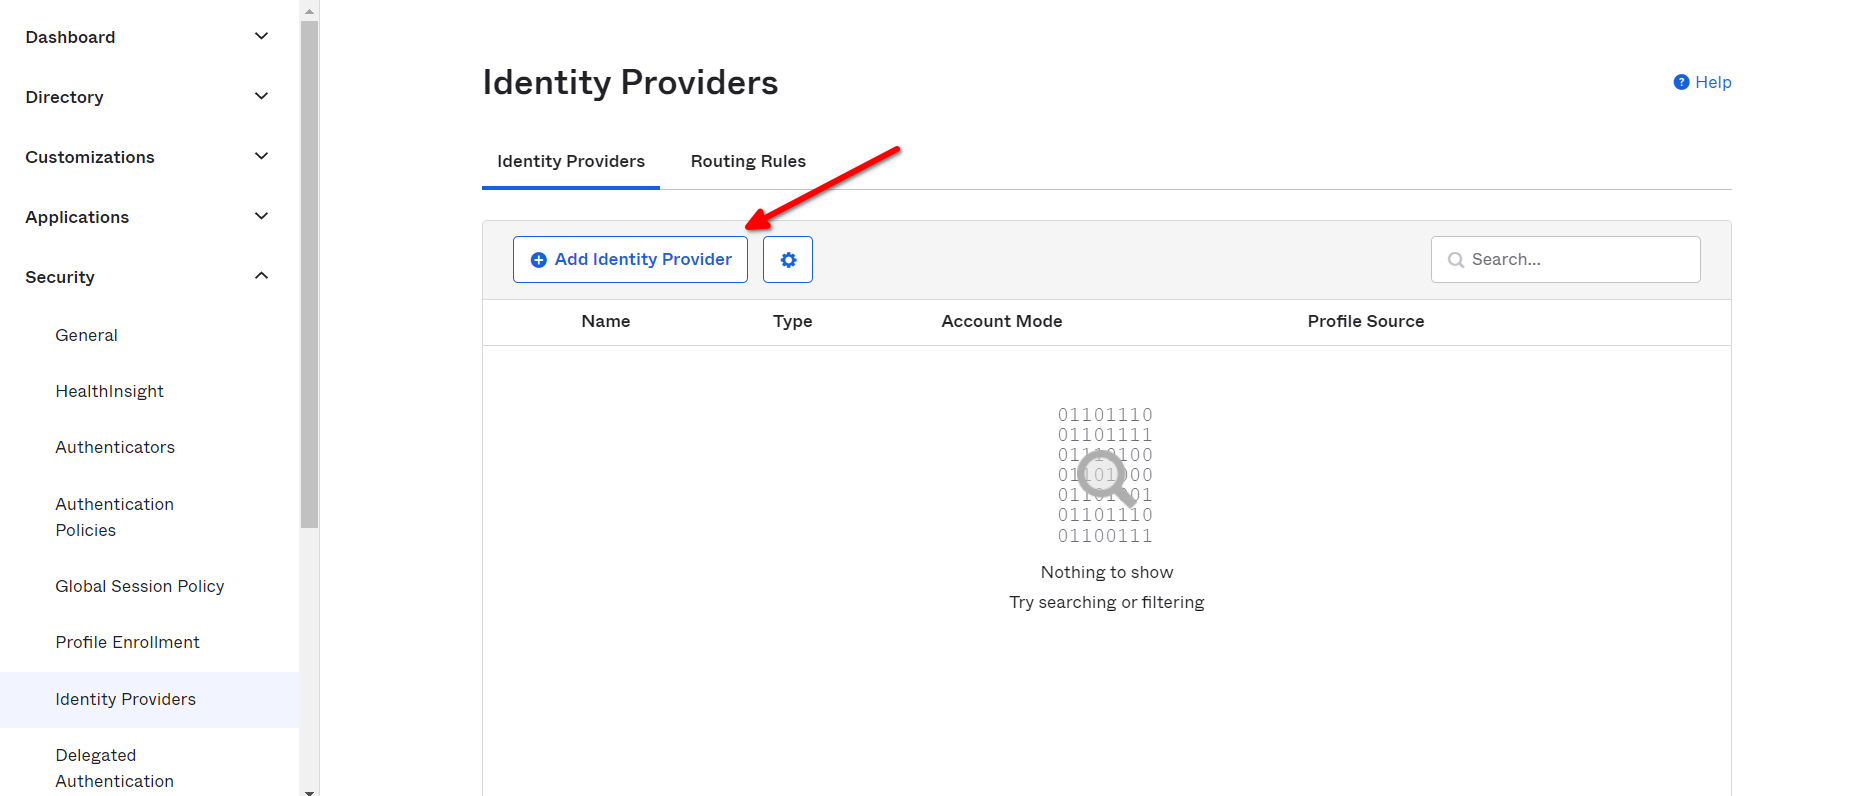
Then select the SAML 2.0 IdP from available options, and then press Next button.
Configure SAML 2.0 IdP
To configure SAML 2.0 IdP, fill the values of settings as below.
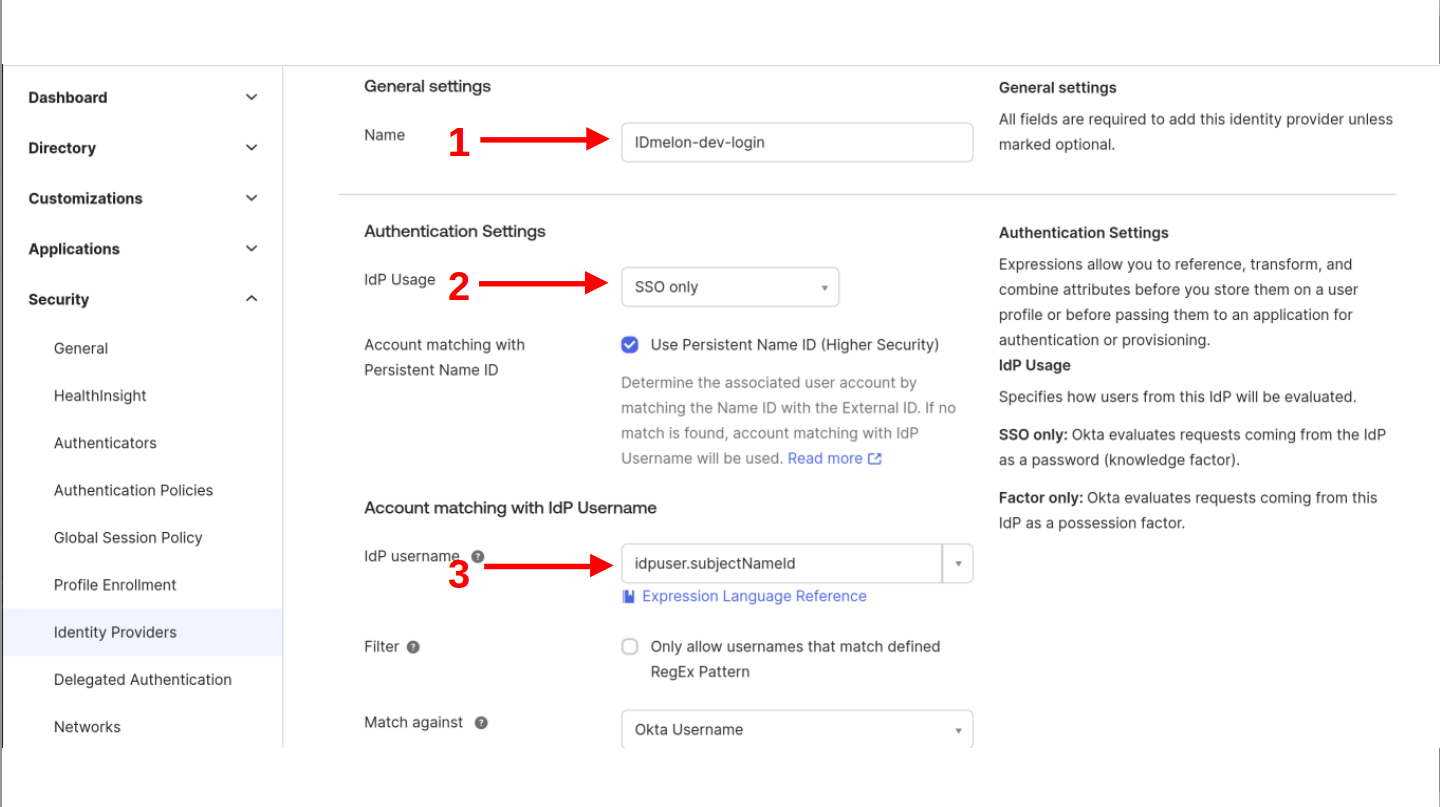
In the General settings section:
- Name: Your custom name.
In the Authentication Settings section:
- IdP Usage: SSO Only.
- IdP username: idpuser.subjectNameId.
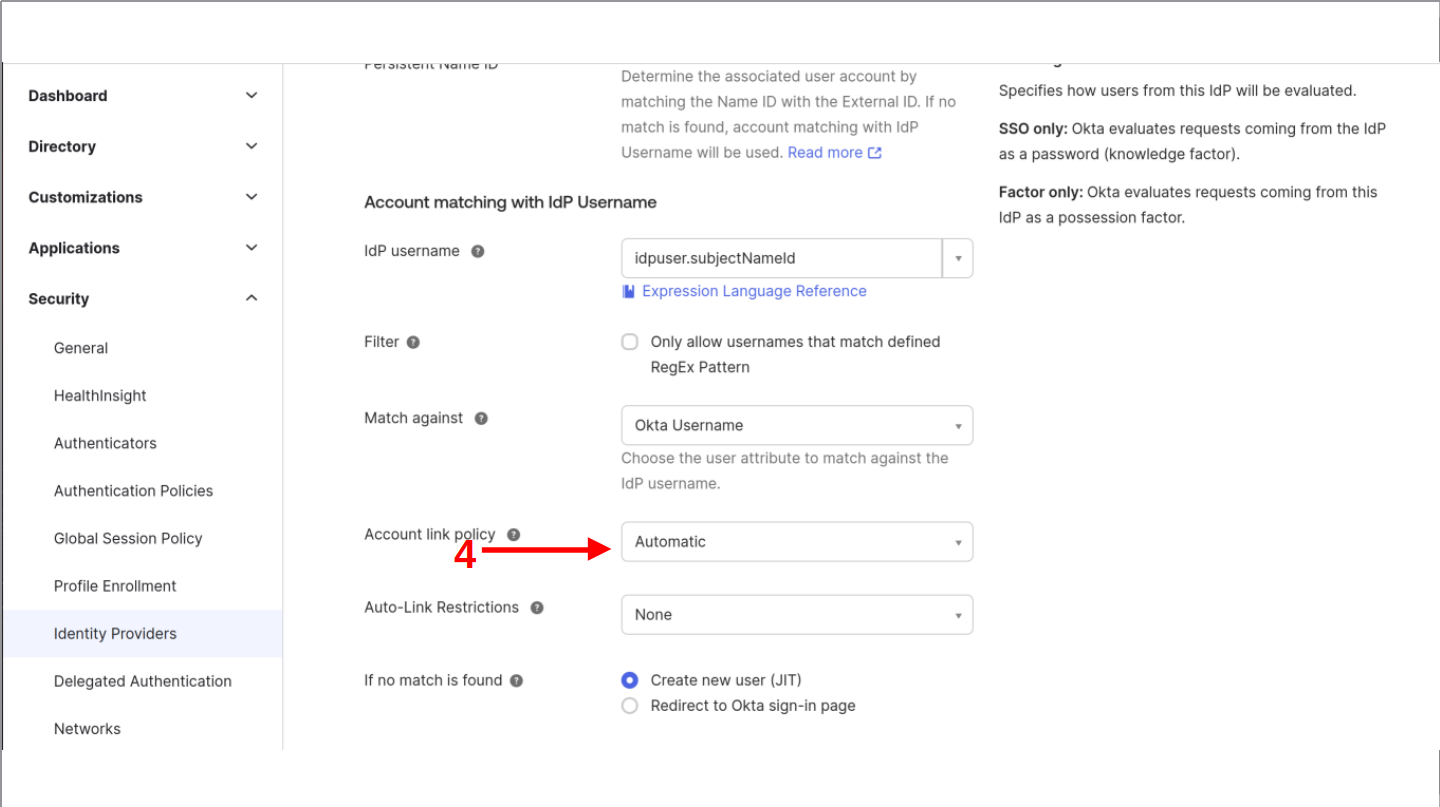
In the Account matching with Idp Username section:
- Account link policy: Authomatic.
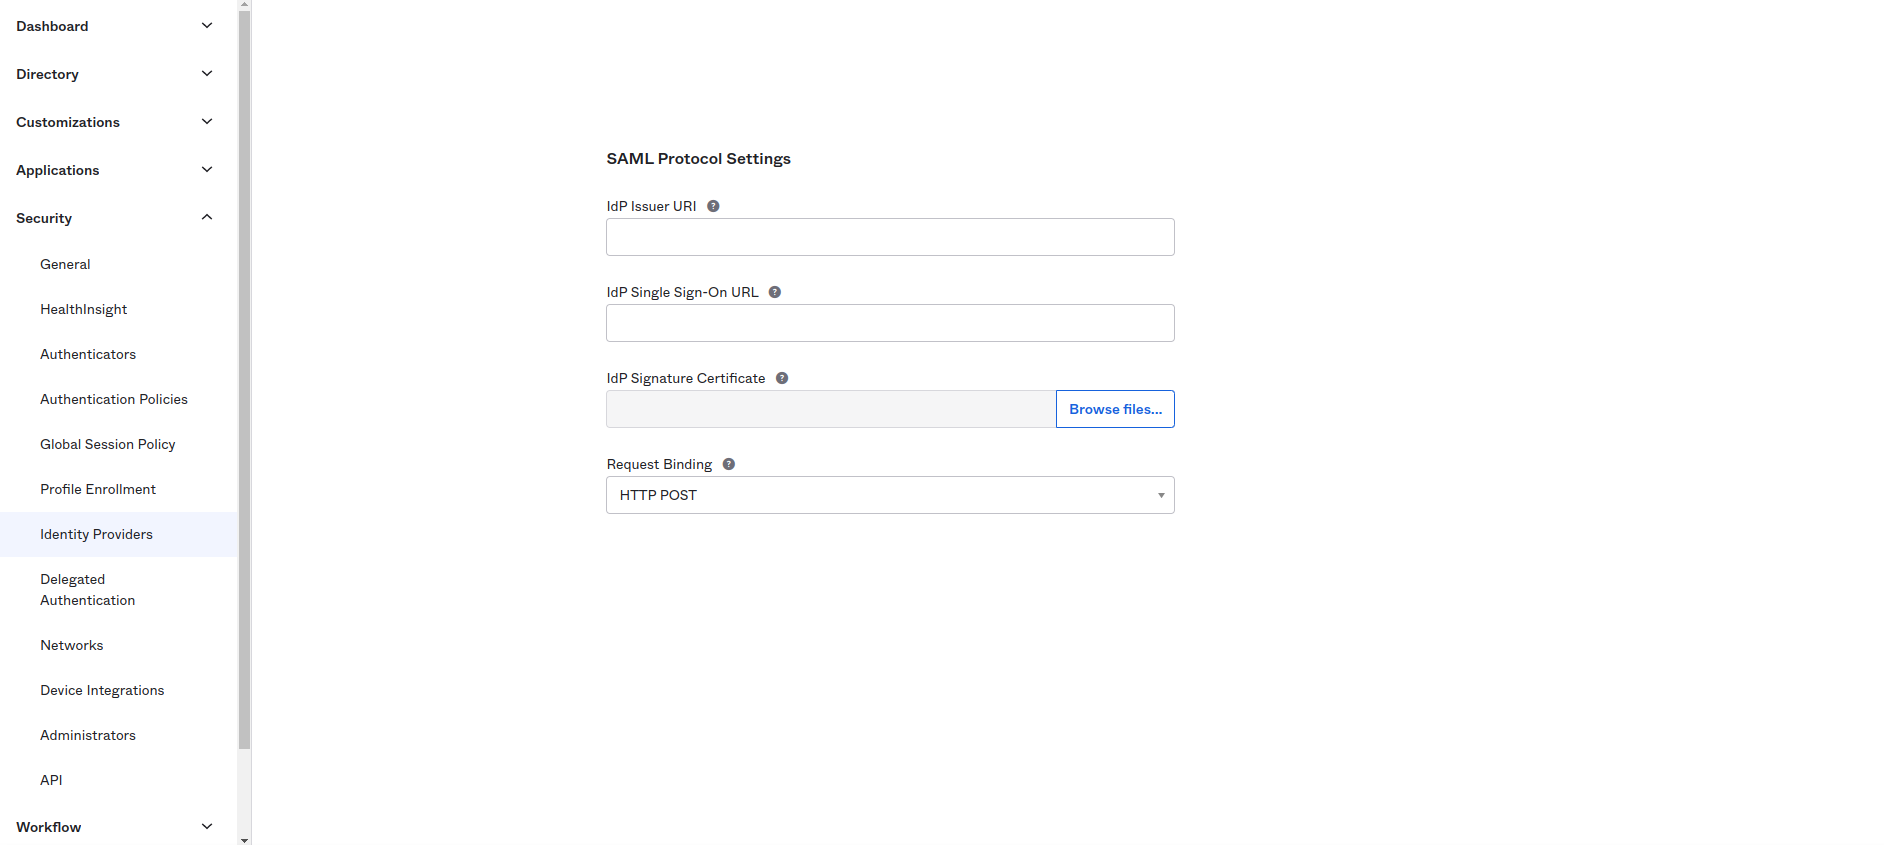
In the SAML Protocol Settings section:
Get all values for {..} from your IDmelon panel. If you are currently login here, you will see the replaced values instead.
- IdP Issuer URI: idp_issuer_uri
- IdP Single Sign-On URL: idp_single_sign_on_url
- IdP Signature Certificate: idp_certificate_download_url
- Request Binding: HTTP POST
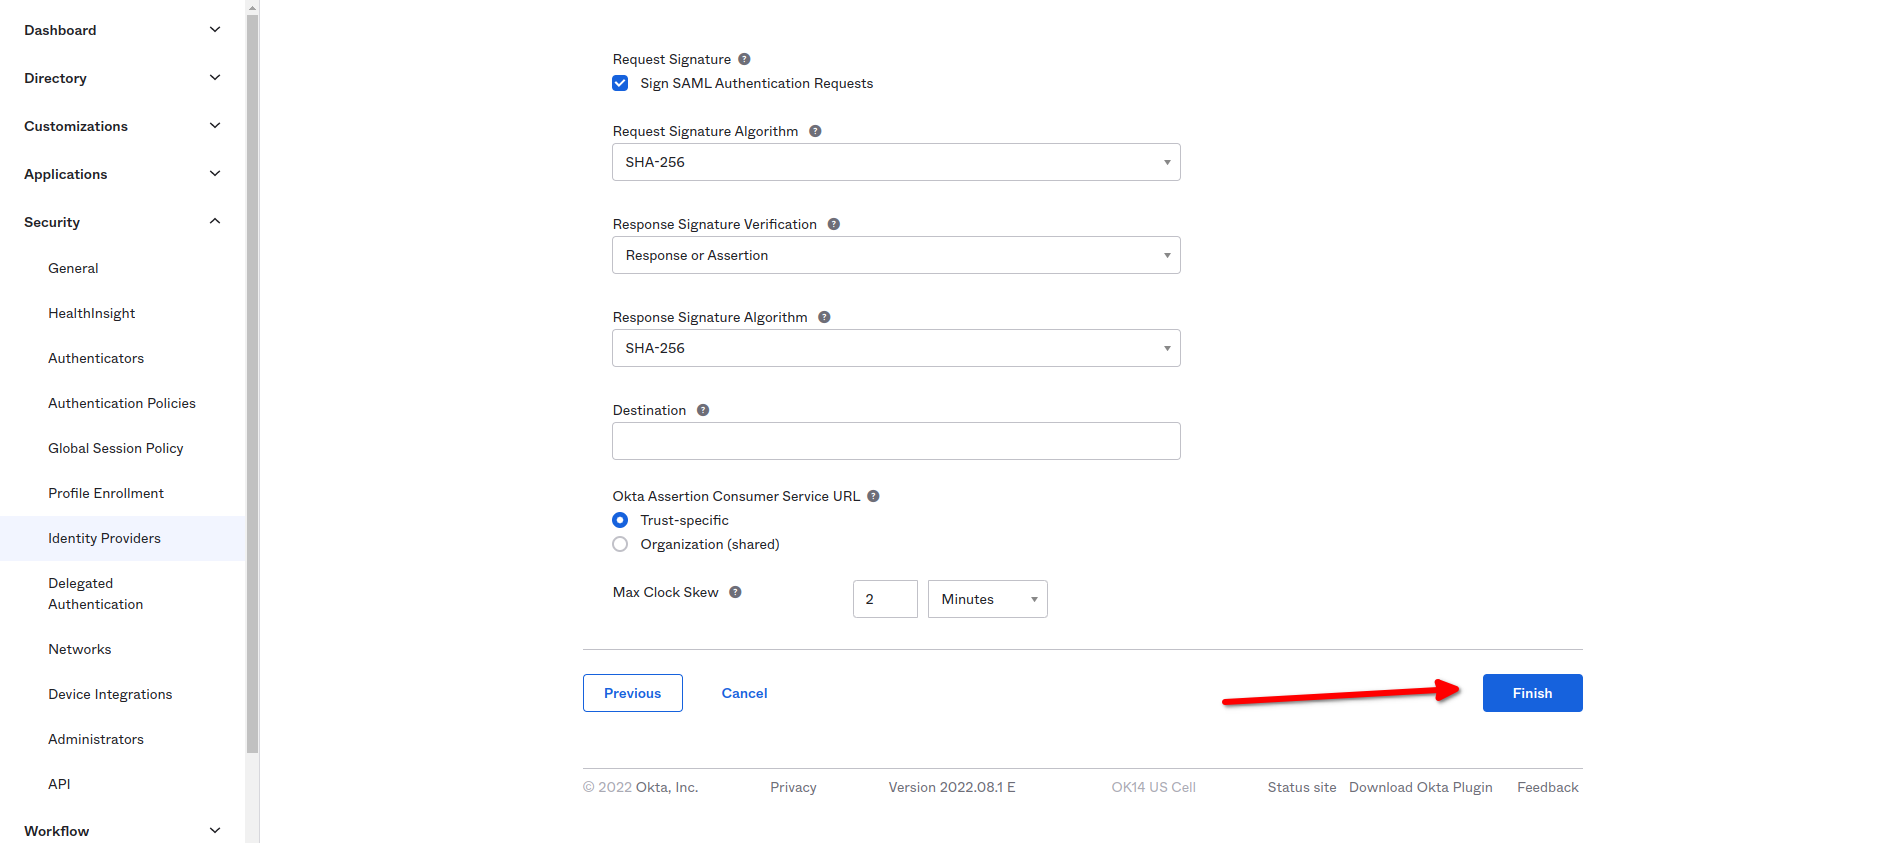
In the continuation of SAML Protocol Settings section:
Get all values for {..} from your IDmelon panel. If you are currently login here, you will see the replaced values instead.
- Request Signature | Sign SAML Authentication Requests:
Should be selected. - Request Signature Algorithm:
SHA-256. - Response Signature Verification:
Response or Assertion. - Response Signature Algorithm:
SHA-256. - Destination: idp_destination
- Okta Assertion Consumer Service URL | Trust-specific:
Should be selected. - Max Clock Skew:
2 Minutes.
And at the end click the Finish button.
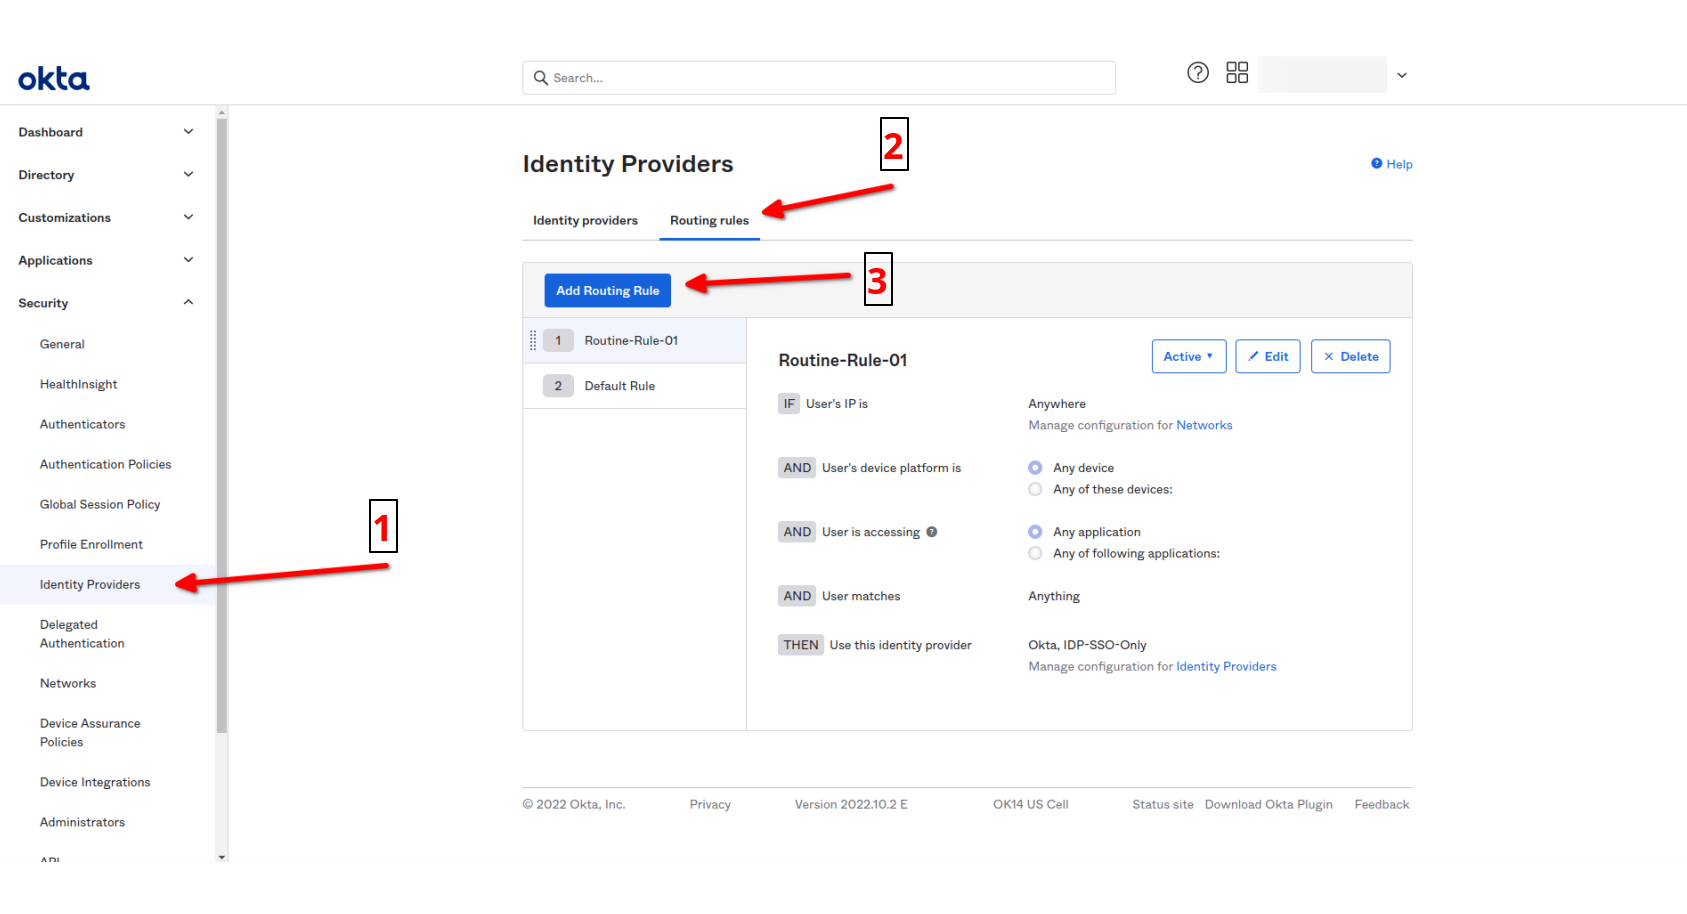
Setup IdP Routing rules
After completing Identity providers section, click on Routing rules and then Add a new rule by clicking Add Routing Rule Button.
Then configs are:
- Choose custom Rule Name.
- Use This identity provider:
Use specific IdP(s). - Idp(s):
Enter your custom name of idp.
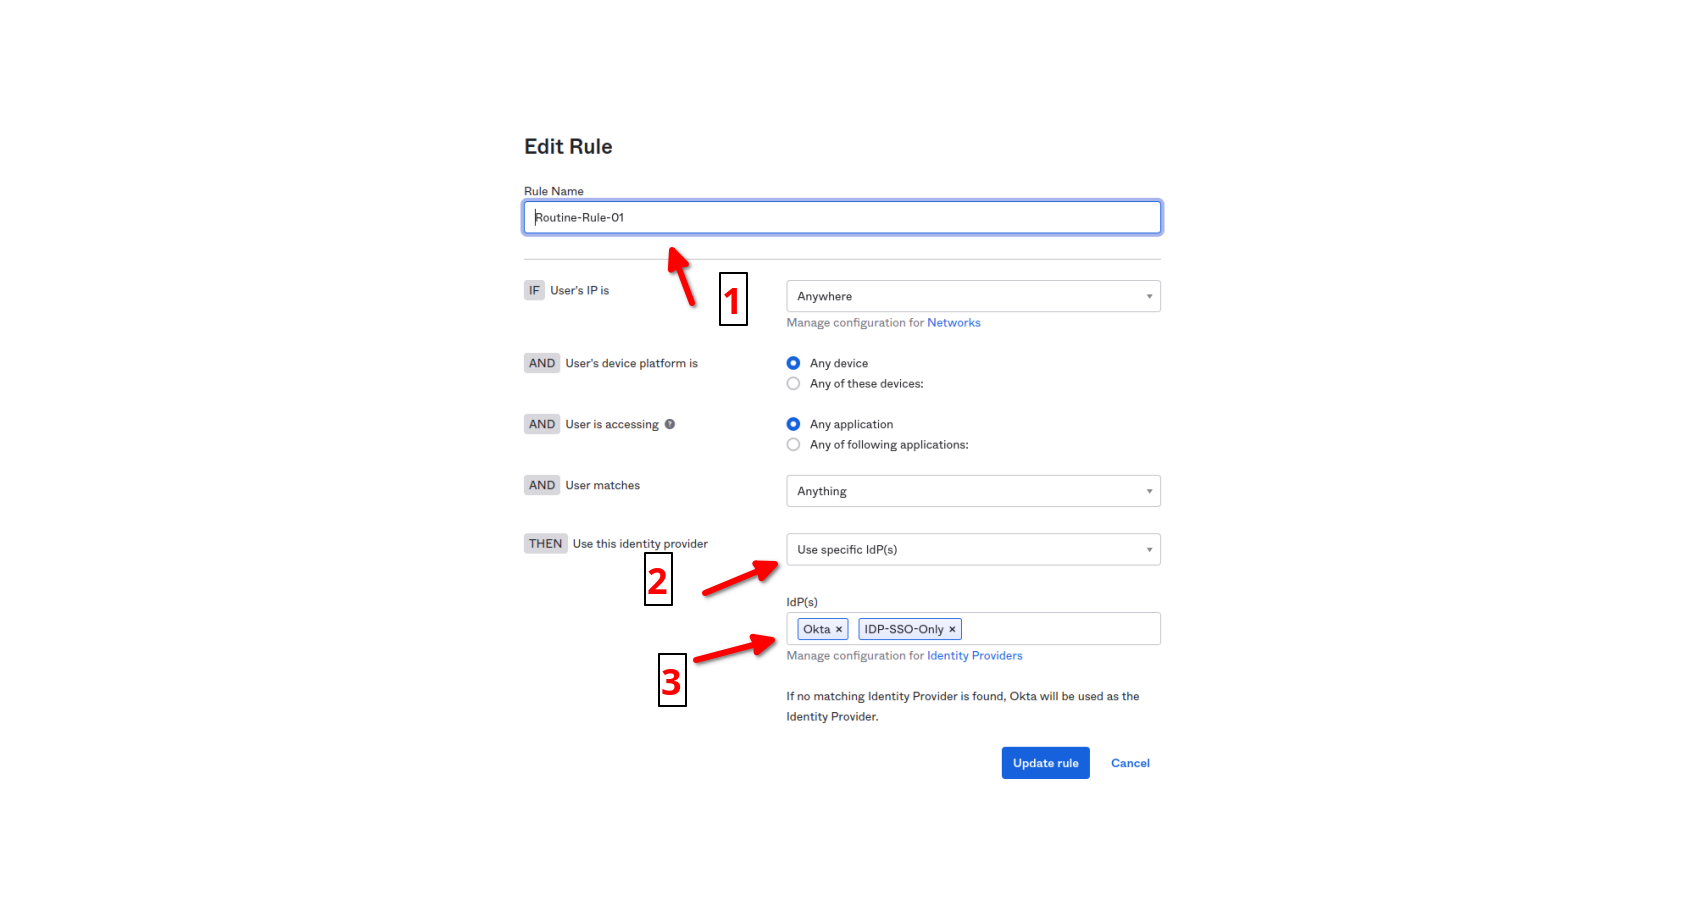
- Click on Update rule.
Activate your new idp rule by clicking on Active button.
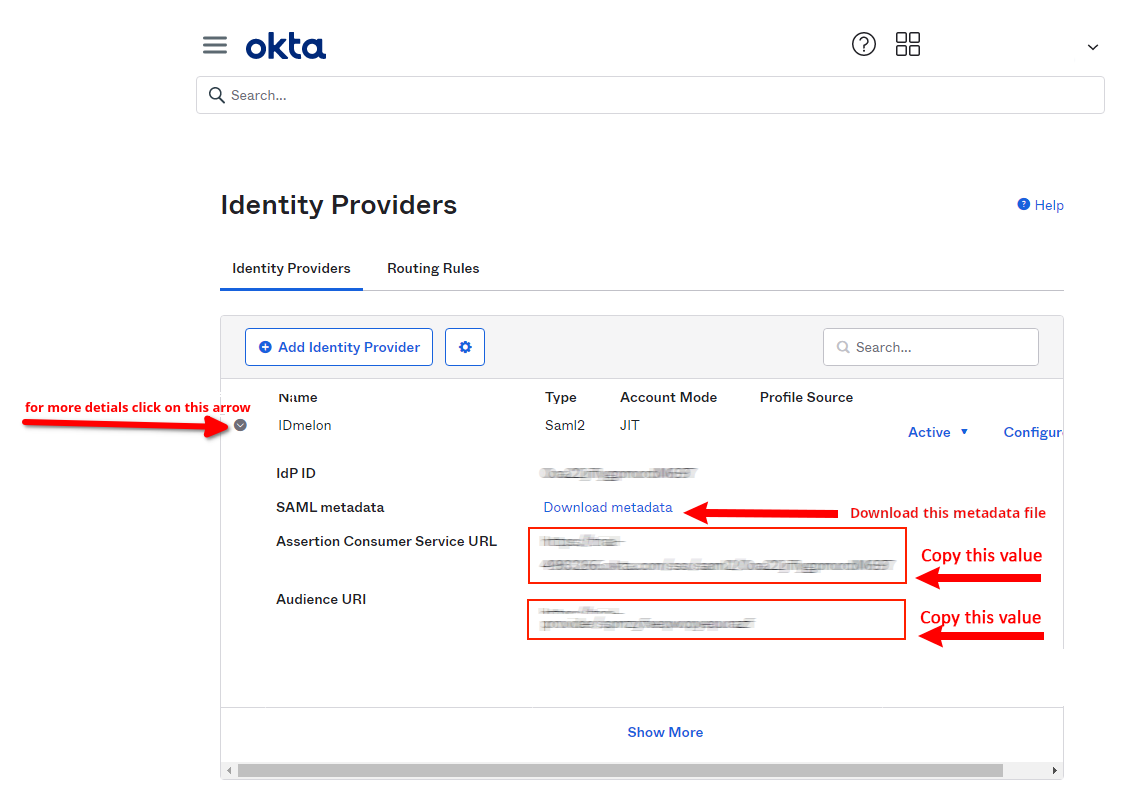
IDmelon SAML configuration
After completing previous Setup Okta connection section and submitting the form, you can see a new IdP added to your list.
Expand the details by clicking on the small arrow left to the added record on the list.
You should copy values of below fields from the Okta panel to the IDmelon Panel:
- SAML metadata.
- Assertion Consumer Service URL.
- Audience URI.
Finishing IDmelon Configuration as IDP
Provide required information in the IDmelon panel which was provided in the previous step.
Passwordless
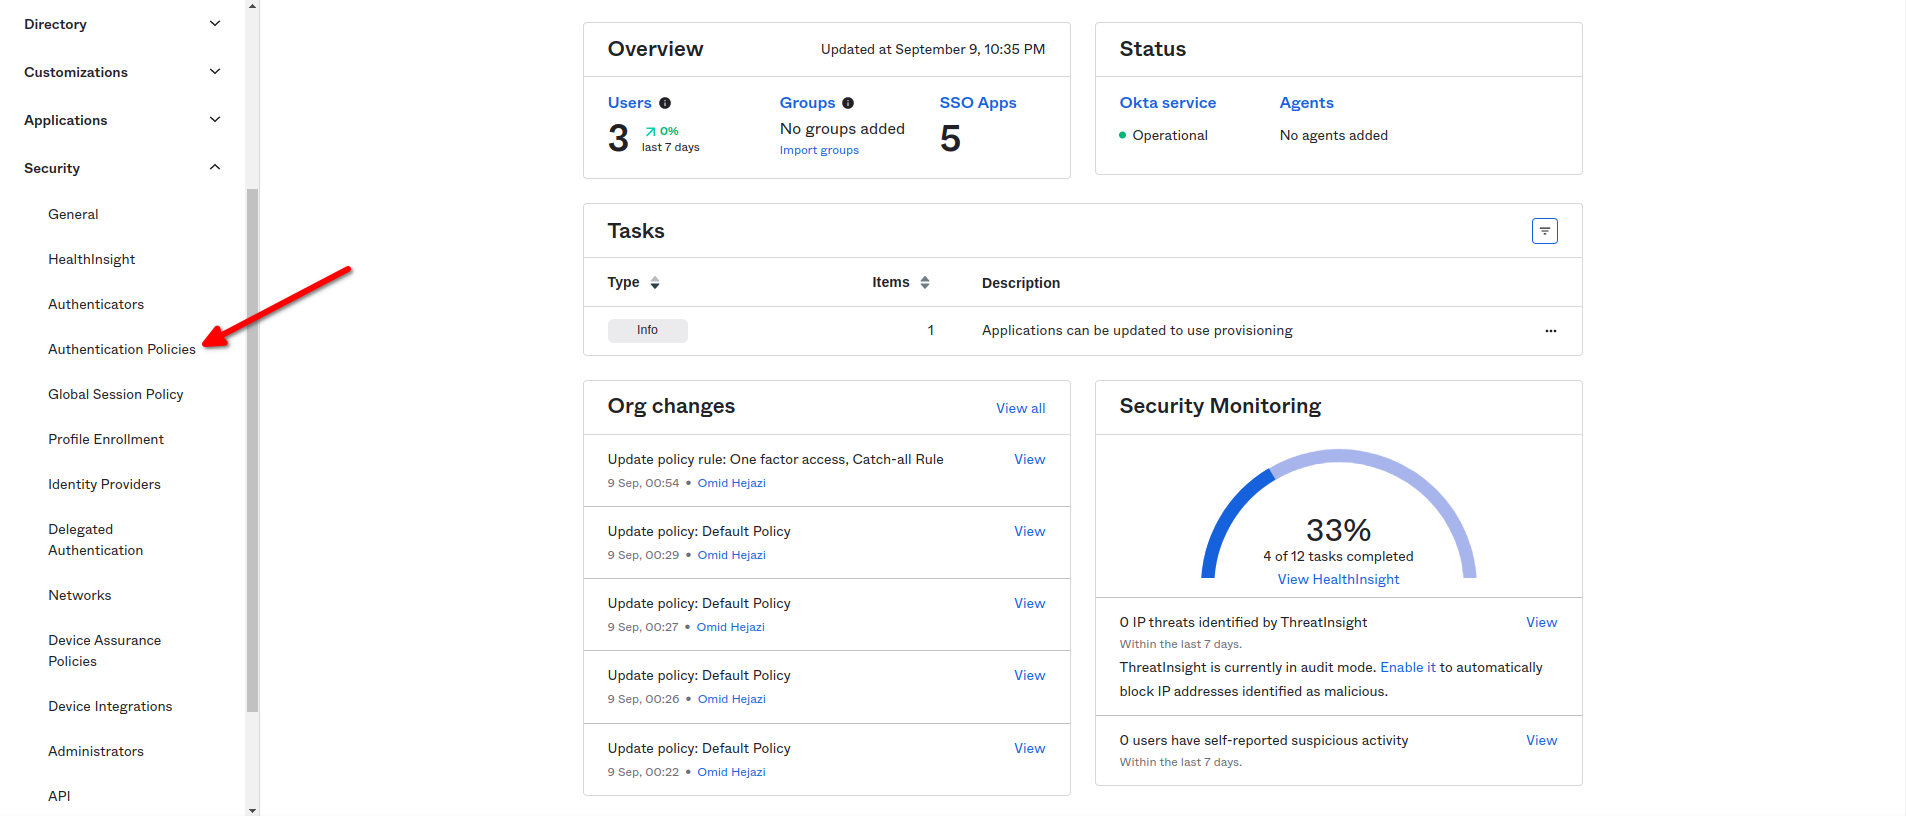
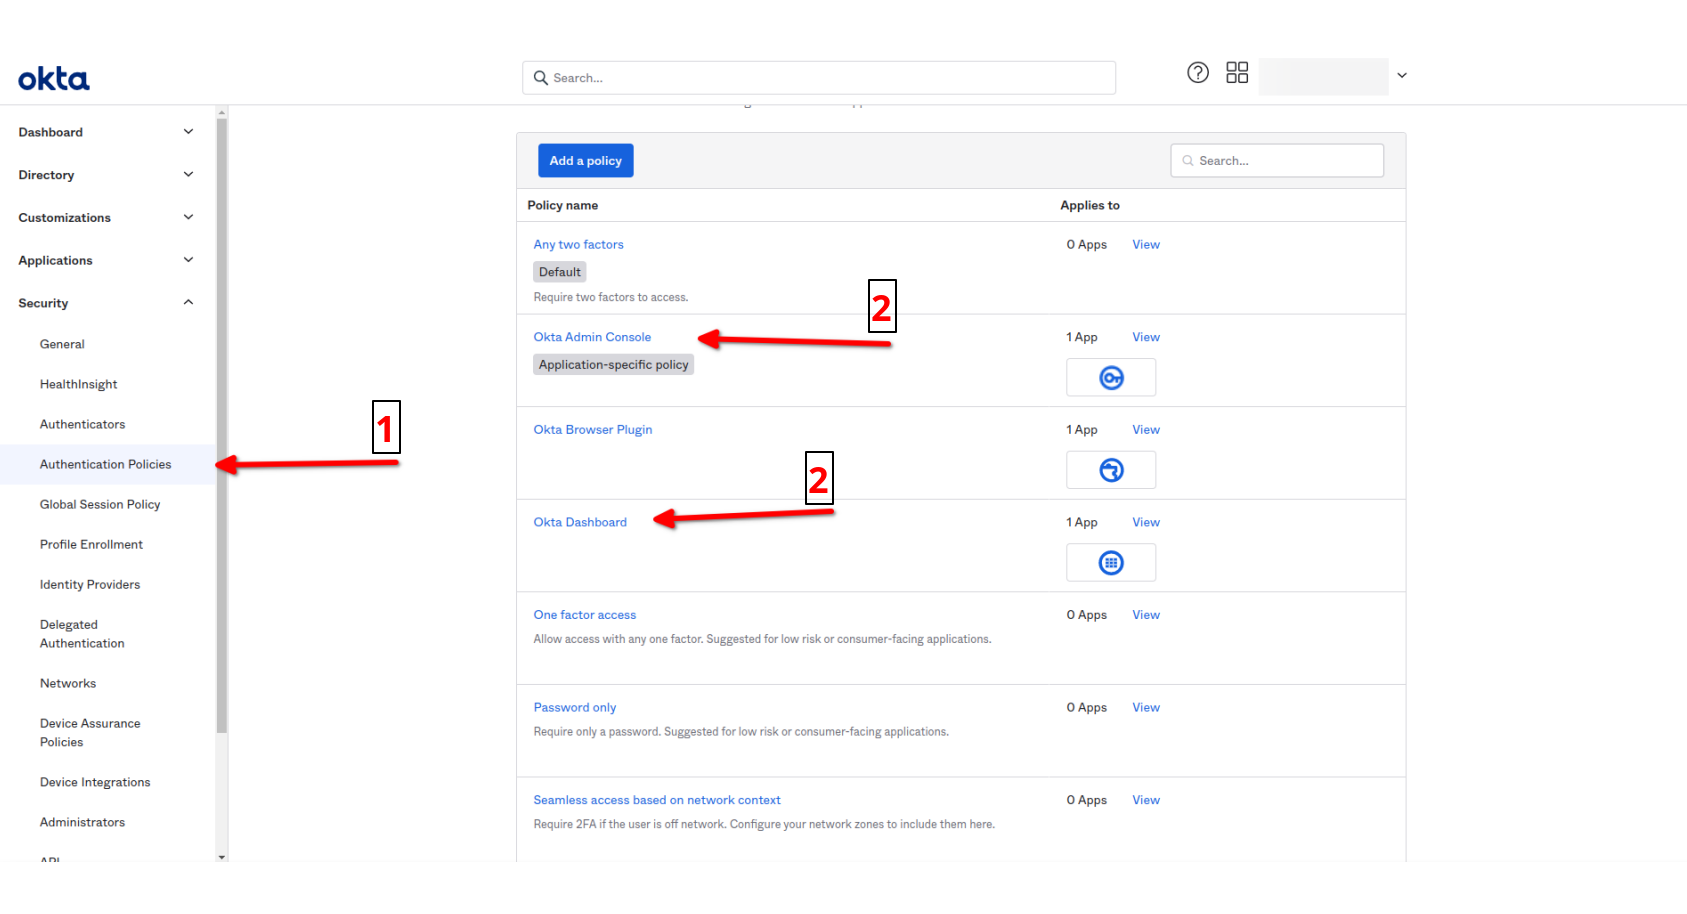
For active Passwordless or one Factor access, from the side menu, navigate to the Security menu and select the Authentication Policies sub-menu.
Then click on any application you wanted to use as one Factor access.
Then click on Actions button and then click the Edit option.
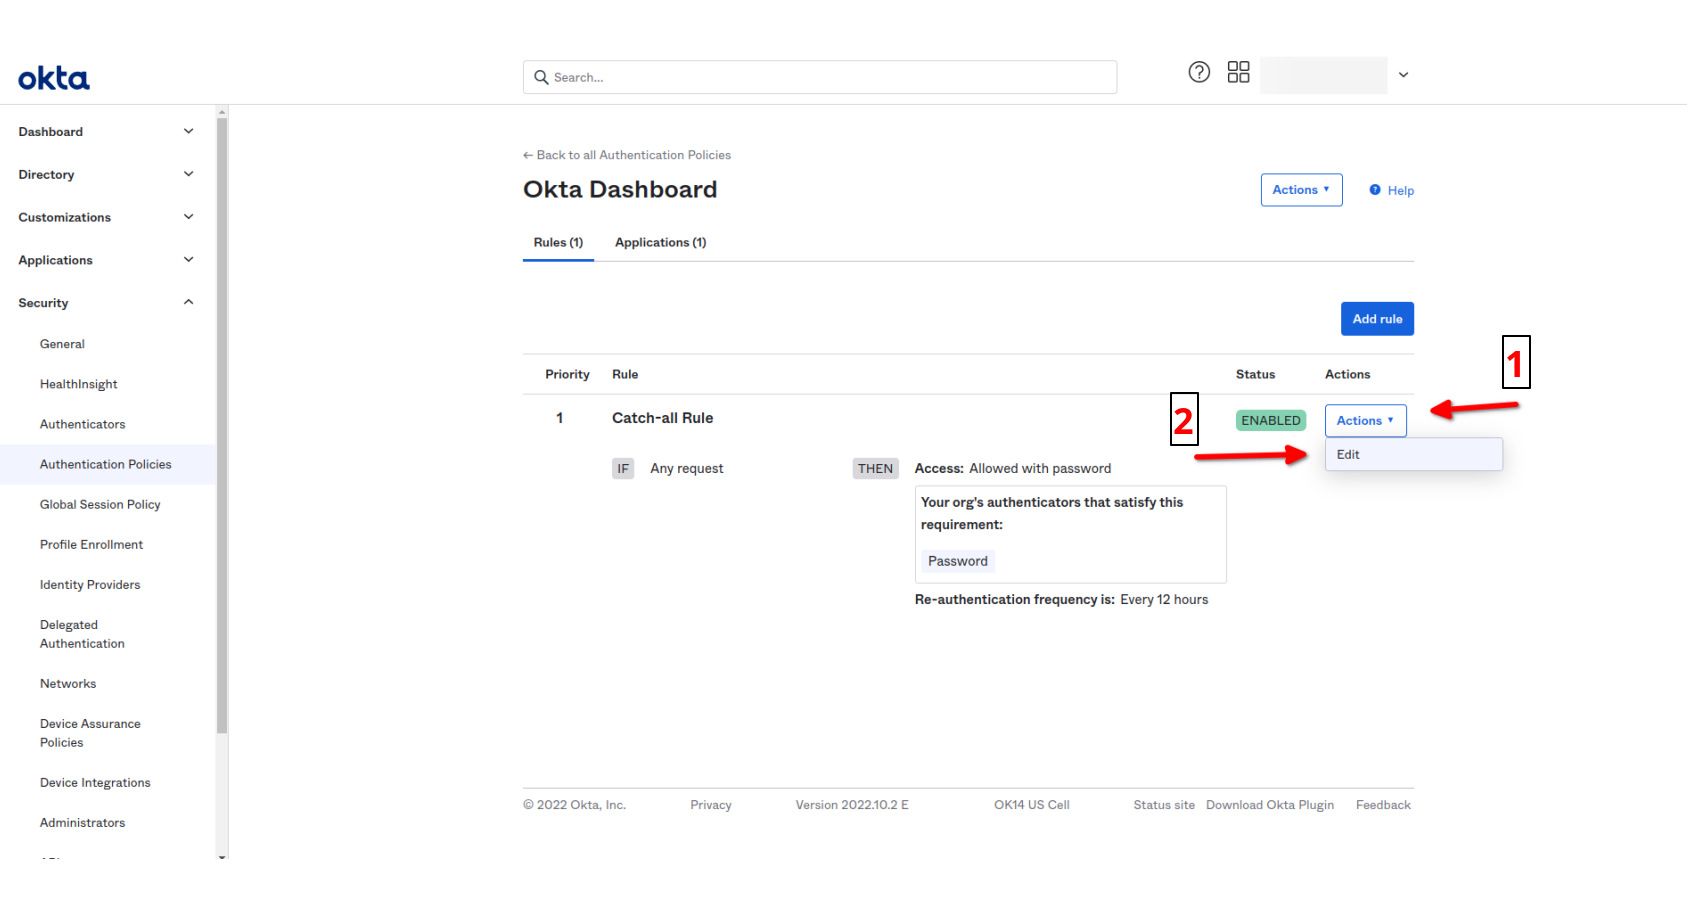
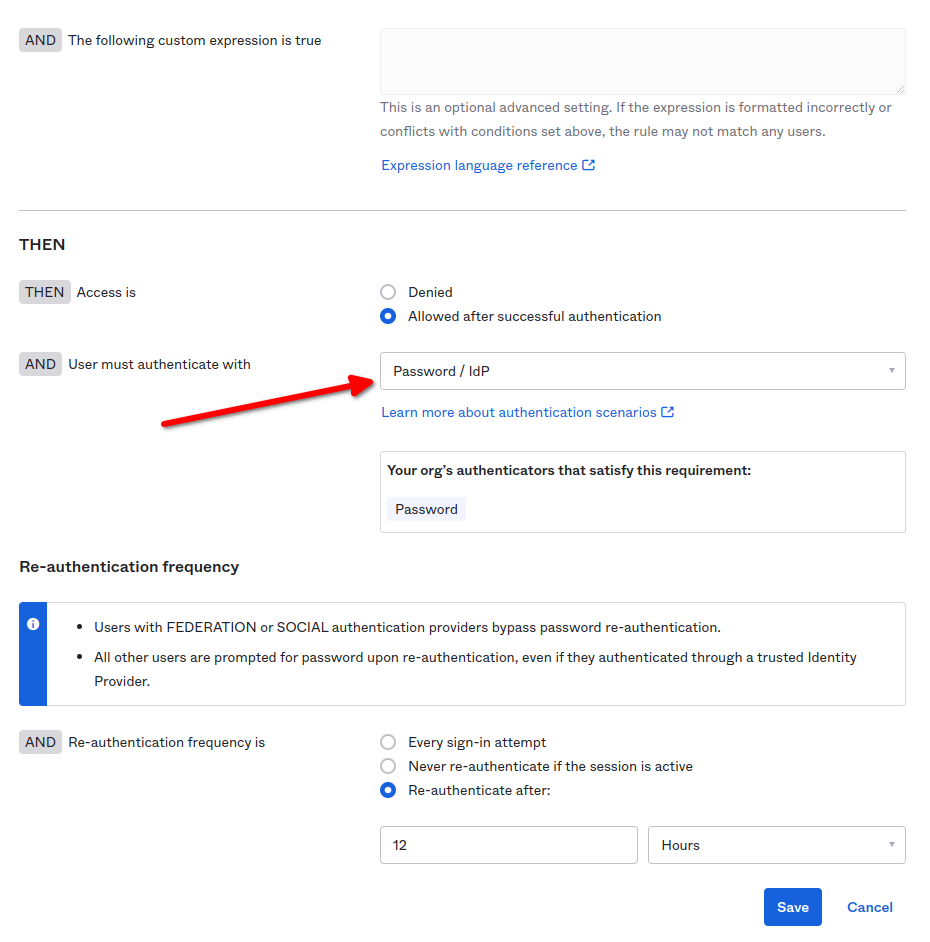
In the THEN section of Edit Rule set values as below:
- AND User must authenticate:
Password / IdP.
And then click Save button.